
Gadgets
Build a Home Media Server
Modified: 3 December 2026
Table of Contents
- What a Home Media Server Actually Does
- Hardware Options for Every Budget
- Choosing Your Operating System
- Installing and Configuring Plex Media Server
- Alternative Server Software: Jellyfin and Emby
- Organizing Your Media Library
- Accessing Your Server Remotely
- Automating Downloads with Sonarr, Radarr, and Transmission
- Troubleshooting Common Issues
- Frequently Asked Questions
You can build a home media server for under $200 that streams your entire movie library to every device in your house, and it doesn’t require a monthly fee.

What a Home Media Server Actually Does
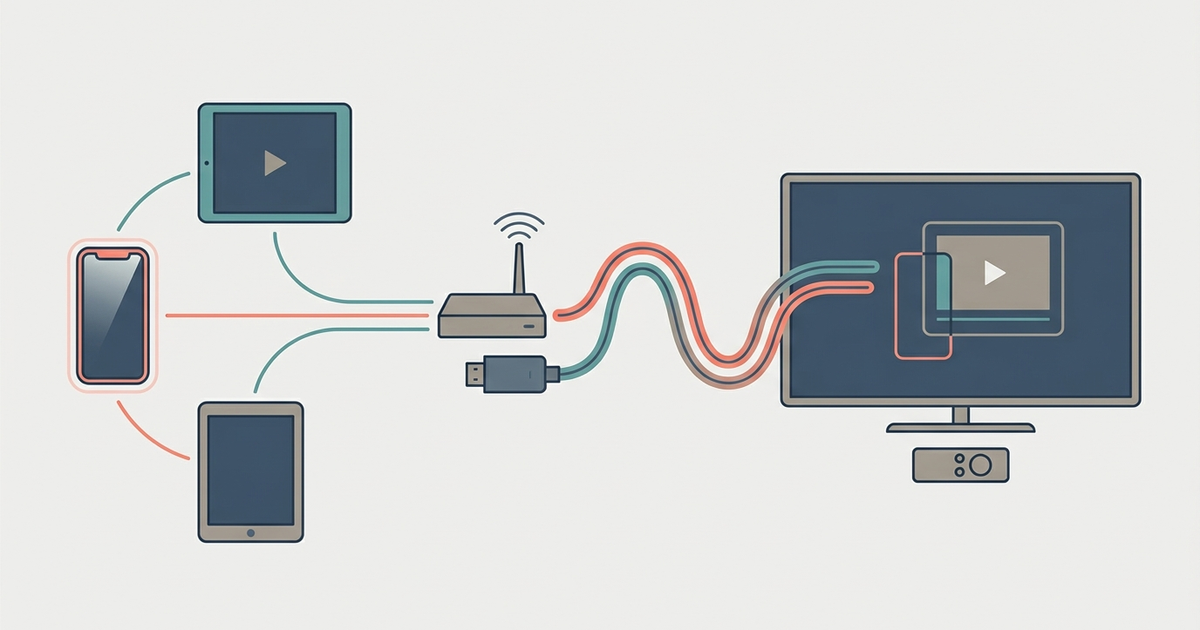
A home media server turns a computer into your personal Netflix. It stores your movies, TV shows, and music on a hard drive and streams them to your TV, phone, tablet, or laptop over your home network. You never pay a subscription for the content you already own.
It also solves the “where’s that file?” problem. No more plugging an external drive into your laptop or hunting for USB sticks. Everything lives in one place, organized with cover art, descriptions, and cast lists.
If you rip your own Blu-rays or download digital copies, a server keeps your library accessible from any room. It handles multiple users at once, so your kids watch cartoons in the living room while you watch a movie in bed.
The real win: zero recurring costs after the hardware. Plex’s free tier does everything most people need. Jellyfin costs nothing at all.
Hardware Options for Every Budget
Budget Build: Raspberry Pi 4 (under $100)
The Raspberry Pi 4 Model B with 4GB RAM costs about $55. Add a 32GB microSD card ($8) for the OS, and you have a silent, low-power server that draws 5 watts. It’s enough for one direct-stream user at 1080p. Don’t expect 4K transcoding. Pair it with an external USB 3.0 hard drive (4TB WD Red Plus, $90) for a total under $150.
Mid-Range Compact: Intel NUC ($300)
The Intel NUC 11 (model NUC11ATKPE, ~$300) packs a Celeron J4125 with Quick Sync Video. This chip handles hardware transcoding for two simultaneous 4K streams. It’s about the size of a paperback book and runs silent. Add 8GB RAM ($25) and a 240GB M.2 SSD ($30) for the OS. Total build around $355 plus storage.
Dedicated Appliance: Synology DS220+ ($300)
The Synology DS220+ is a 2-bay NAS that comes as a complete package. It runs its own DSM operating system with a Plex package ready to install. The Celeron J4025 handles hardware transcoding. Pop in two 4TB WD Red Plus drives ($180 total) for RAID 1 mirroring. Total cost around $480.
For Heavy Users: Full PC Build ($500+)
A used office PC with an 8th-gen Intel i5 ($200), 16GB RAM ($35), and a 120GB SSD ($20) is a beast. Add three 12TB WD Red Pro drives ($660 total) for 24TB of usable storage. This handles four or more concurrent 4K transcodes. You can run multiple automation tools simultaneously without slowdown.
Choosing Your Operating System
Windows is the easiest to set up if you already use it. Install Plex or Jellyfin like any other program. The downsides: Windows eats a lot of RAM and requires updates that reboot your server. Stick with Windows 11 Pro if you want simple file sharing and drive management.
Linux (Ubuntu or Debian) is more efficient. A minimal Ubuntu server install uses under 1GB of RAM. It never forces a reboot. You’ll use the command line for installation, but one-time setup guides are plentiful. If you’re comfortable with a terminal, go with Ubuntu 24.04 LTS.
Synology DSM and Unraid are dedicated NAS operating systems. DSM is point-and-click. Unraid costs $59 minimum but lets you mix different drive sizes. Both include app stores for Plex, Sonarr, Radarr, and Transmission. They’re the best choice if you want a set-it-and-forget-it system.
Installing and Configuring Plex Media Server
Download Plex Media Server from plex.tv for free. Run the installer. On Windows, it runs as a background service. On Linux, use the official Plex repository:
sudo apt update && sudo apt install plexmediaserver
Once installed, open https://your-server-ip:32400/web in a browser. Sign up for a free Plex account. The server wizard asks you to add libraries. Click “Add Library,” choose Movies, TV Shows, or Music, then point it to your folder.
Plex scans the folder automatically. It matches content against online databases and downloads metadata, poster art, and actor photos. The free tier streams to any device on your network. Remote streaming to your phone while away from home costs $4.99/month or a $119.99 lifetime Plex Pass.
Hardware transcoding requires Plex Pass. Without it, your server will struggle to convert 4K HDR to 1080p for older TVs. If you need transcoding, buy the lifetime pass.
Alternative Server Software: Jellyfin and Emby
Jellyfin is completely free with no paid tiers. Installing it on Ubuntu:
sudo apt install jellyfin
Open http://your-server-ip:8096 and set up your admin account. Jellyfin scans the same folder structure as Plex. It offers hardware transcoding for free on Intel Quick Sync GPUs. The client apps work on Roku, Android TV, and iOS. The interface isn’t as polished as Plex, but it’s improving fast. No accounts, no telemetry, no limits.
Emby costs $4.99/month or $99 lifetime for full premium features. It’s the middle ground: more polished than Jellyfin, less than Plex. Emby offers user profiles, live TV support, and sync-to-device downloads for offline use. The free tier limits hardware transcoding to one stream at a time. If you want family accounts and don’t mind paying, go Emby.
Organizing Your Media Library
Correct file naming is the single thing that prevents “No Match Found” errors. Follow this structure exactly:
- Movies:
/Movies/Movie Name (Year)/Movie Name (Year).mkv - TV Shows:
/TV Shows/Show Name (Year)/Season 01/Show Name - S01E01.mkv - Music:
/Music/Artist/Album (Year)/01 - Song Title.mp3
Example: /Movies/The Shawshank Redemption (1994)/The Shawshank Redemption (1994).mkv
Stick with MKV containers for video files. They hold multiple audio tracks and subtitles. Use MP4 only if you need direct compatibility with Apple devices.
Metadata tools like TinyMediaManager (free) automatically rename and gather posters. Point it at your media folder, let it scrape TheMovieDB, and it fixes the mess.
Accessing Your Server Remotely
Plex handles remote access automatically if you enable it in Settings > Remote Access. It opens port 32400 on your router via UPnP. If that fails, manually forward port 32400 in your router’s admin panel. Find your server’s local IP (e.g. 192.168.1.100), then create a rule: external port 32400 to internal IP port 32400, TCP.
Security caution: exposing Plex directly to the internet works, but it’s a single service on a known port. A safer approach is a VPN. Set up WireGuard on a Raspberry Pi or your router. Connect to your home VPN from your phone, then access Plex as if you’re on the local network.
Tailscale is the easiest zero-config remote access. Install it on your server and all client devices. It creates a mesh network over WireGuard. You never open a port on your router. Tailscale is free for up to 100 devices. Install with:
curl -fsSL https://tailscale.com/install.sh | sh
Then sudo tailscale up. Your devices appear in a virtual network. Access Plex at 192.168.1.100:32400 from anywhere.
Automating Downloads with Sonarr, Radarr, and Transmission
Sonarr handles TV shows. Radarr handles movies. Both automate the whole cycle: search for new content, download it via a torrent client, then import it into your media folder.
Install Sonarr and Radarr on your server. On Ubuntu:
sudo apt install sonarr radarr
Open Sonarr at http://your-server-ip:8989. Add a series, configure your download client (Transmission or qBittorrent), and set the root folder to /TV Shows. Sonarr monitors RSS feeds from indexers and grabs new episodes within hours of release.
Transmission is lightweight and web-based. Install it:
sudo apt install transmission-daemon
Edit the config file at /etc/transmission-daemon/settings.json. Set "download-dir" to your incomplete folder and "rpc-whitelist" to your local network. Restart the service. Sonarr and Radarr connect to Transmission via the web interface port 9091.
Automate the pipeline: Radarr imports completed downloads, renames them to your folder structure, and notifies Plex to scan the library. You wake up to new movies fully organized.
Troubleshooting Common Issues
Buffering on local network: Your Wi-Fi is the bottleneck. Hardwire the server with Ethernet. If you must use Wi-Fi, ensure your client device has a 5GHz connection. 4K remux files need 100+ Mbps. Step down to direct-stream 1080p.
Transcoding isn’t working: Enable hardware acceleration in Plex (Settings > Transcoder > Use hardware acceleration when available). It requires Plex Pass and a compatible GPU. On Intel Celeron J4125 or newer, it works out of the box. Verify it’s active by playing a 4K file and checking “Playback Info” in the dashboard. It should say “transcoding (h/w).” If it says “software,” your CPU can’t keep up.
Permission errors on Linux: Plex, Sonarr, Radarr, and Transmission need read/write access to your media folders. Fix by adding the service users to the same group:
sudo usermod -aG media plex
sudo chown -R root:media /media
sudo chmod -R 775 /media
Replace /media with your actual storage path. Restart each service afterwards.
Plex won’t detect new files: The scanner runs on a schedule. Force a scan from the Plex dashboard: click the three dots next to your library and choose “Scan Library Files.” If it still fails, check file permissions. The /Movies folder itself needs execute permission for the plex user.
Remote access shows “not available”: Disable UPnP in Plex settings and manually forward port 32400 in your router. Verify the external port opens by using a tool like canyouseeme.org. If it fails, your ISP might block incoming connections. Use Tailscale instead.
Frequently Asked Questions
Does Jellyfin support hardware transcoding without paying?
Yes, Jellyfin offers hardware transcoding completely free on Intel Quick Sync GPUs. Enable it in the server dashboard under Playback settings by selecting VAAPI for Intel or AMD hardware acceleration, with no premium tier required.
Can I mix different drive sizes in a Synology DS220+?
Synology DSM uses standard RAID configurations which typically require matched drive sizes for full capacity utilization. If you need to mix different drive sizes, Unraid is the operating system that specifically supports this feature.
How do I enable hardware acceleration in Emby?
Navigate to Server Dashboard then Transcoding settings, check the option to enable hardware acceleration when available, and select your preferred engine like VAAPI for Intel or NVENC for NVIDIA. This feature requires an Emby Premiere subscription.
What CPU do I need for direct play without transcoding?
For direct play streaming without any transcoding, a modest CPU like an Intel Atom 1.2GHz meets the minimum requirement. Direct play sends the original file unchanged, so the server CPU handles only file delivery rather than conversion.