Home>Software and Apps>How To Turn Phone Photos Into a Single PDF
Software and Apps
How To Turn Phone Photos Into a Single PDF
Modified: 19 September 2026
Table of Contents
- Why One PDF Beats a Pile of Photos
- Convert Your Photos With PDFBEAR
- iPhone Photos in HEIC Format
- Take Better Photos First
- Receipts, Homework and Documents
- Add the Photos to an Existing PDF
- Keep the File Small Enough to Send
- The Built-In Scanner on Your Phone
- Privacy When Uploading Photos
- The Bottom Line
- Frequently Asked Questions
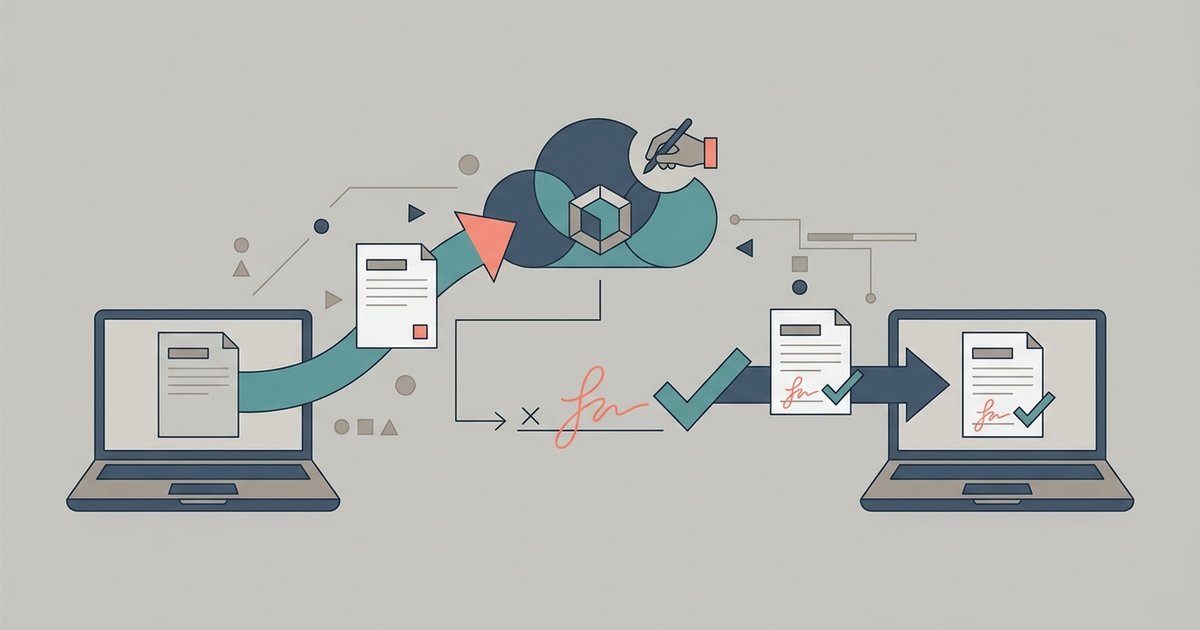
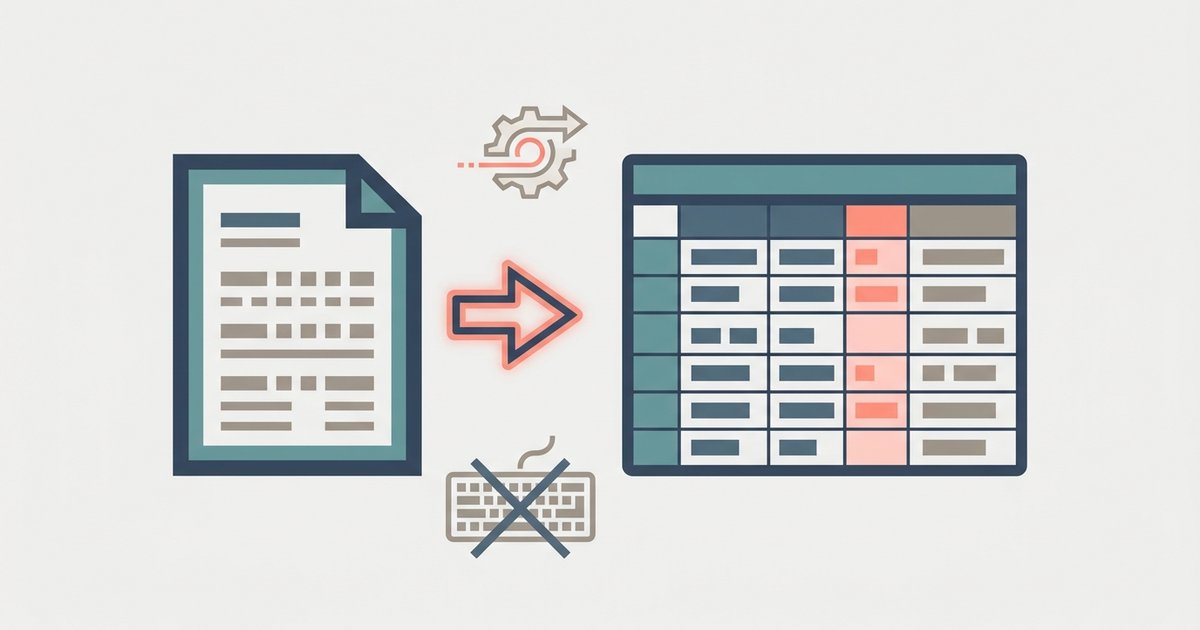
To turn a set of phone photos into a single PDF, upload them together to a JPG to PDF converter, put them in the right order, choose to merge all images into one file and download the result. If you need to add those pages to a PDF you already have, merge the two files afterward. The whole job takes a few minutes and works in your phone's browser.
Why One PDF Beats a Pile of Photos
A phone camera is the scanner most people actually carry. The trouble is what happens after you take the pictures. Eleven receipts become eleven attachments. Homework pages arrive out of order. The front and back of an ID card end up in separate messages. Some upload portals refuse image files entirely and only accept PDF.
Binding the photos into one PDF solves all of this. The recipient opens one file, the pages stay in the order you chose and nothing gets lost along the way.
Convert Your Photos With PDFBEAR
PDFBEAR's JPG to PDF tool combines multiple photos into a single PDF in any browser, so it works from your phone as well as a computer. Here are the steps:
- Open the tool and upload all your photos at once. Select every image you need in the same upload. The tool accepts JPG and JPEG files.
- Arrange the order. Pages follow the order of the upload list, so drag the images into sequence. Renaming files with numbers such as 01, 02 and 03 before uploading also helps.
- Choose your page options. You can set the page orientation to portrait or landscape, choose a page size (Fit, which matches each image, or A4, US Letter, A5 or A3) and pick no margin, a small margin or a big margin.
- Tick Merge all images in one PDF file so you get a single document rather than one PDF per photo.
- Click Convert to PDF and download the finished file. Open it to check every page before you send it.
The site lists a free file size limit of 50 MB and up to 30 files per batch. For documents, a US Letter or A4 page size usually looks more like a real scan than Fit, and a small margin keeps the edges of the paper from touching the edge of the page.
iPhone Photos in HEIC Format
iPhones often save photos in the HEIC format rather than JPG. If your photos are HEIC, use PDFBEAR's separate HEIC to PDF tool, which accepts HEIC and HEIF files and works the same way. PDFBEAR's HEIC page notes that iOS may convert photos to JPG when you share them through some apps or when the camera is set to Most Compatible, so check the file type before you pick a tool.
Take Better Photos First
A converter places your photos on pages as they are. It does not straighten them or fix the lighting, so a few seconds of care at capture time makes a big difference.
- Use even light. Daylight from a window beats a lamp that throws your shadow across the page.
- Shoot straight down. Hold the phone parallel to the paper so lines do not lean.
- Fill the frame with the document and keep the background to a minimum.
- Take one page per photo. Each image becomes one page, which keeps the order predictable.
- Put the paper on a dark surface. Contrast makes the edges clearer and the result easier to read.
Receipts, Homework and Documents
Receipts and expense claims. Finance teams usually want one document per claim. Photograph each receipt, convert them together and name the file with the date and purpose of the claim. If a receipt is long, take two photos and keep them next to each other in the order.
Homework and assignments. Teachers and learning platforms often ask for a single PDF. Number your pages before you photograph them, and check that handwriting is legible at the size the PDF displays.
ID and official documents. Put the front and back on consecutive pages so they stay together. Only send ID images to organizations that genuinely need them, and see the privacy section below.
Add the Photos to an Existing PDF
Sometimes the photos belong inside another document: receipts that go with an expense form, or photo evidence for an insurance claim. Convert the photos first, then use PDFBEAR's Merge PDF tool to combine the new PDF with the existing one. Upload both files, arrange them in the order you want and download a single merged PDF.
The merge page notes that files are stacked in the order they sit in the upload list, so check the order before you merge. It also says merging stacks pages without re-compressing them. Password-protected PDFs need to be unlocked before they can be merged.
Keep the File Small Enough to Send
Phone photos are large, and PDFBEAR's JPG to PDF page notes that wrapping several high-resolution photos into a PDF can make the output bigger than you expect, because each photo is placed at full resolution. If the finished file is too large for an email or an upload form, run it through a compression tool afterward. Compress once at the end, after converting and merging, rather than at each step.
The Built-In Scanner on Your Phone
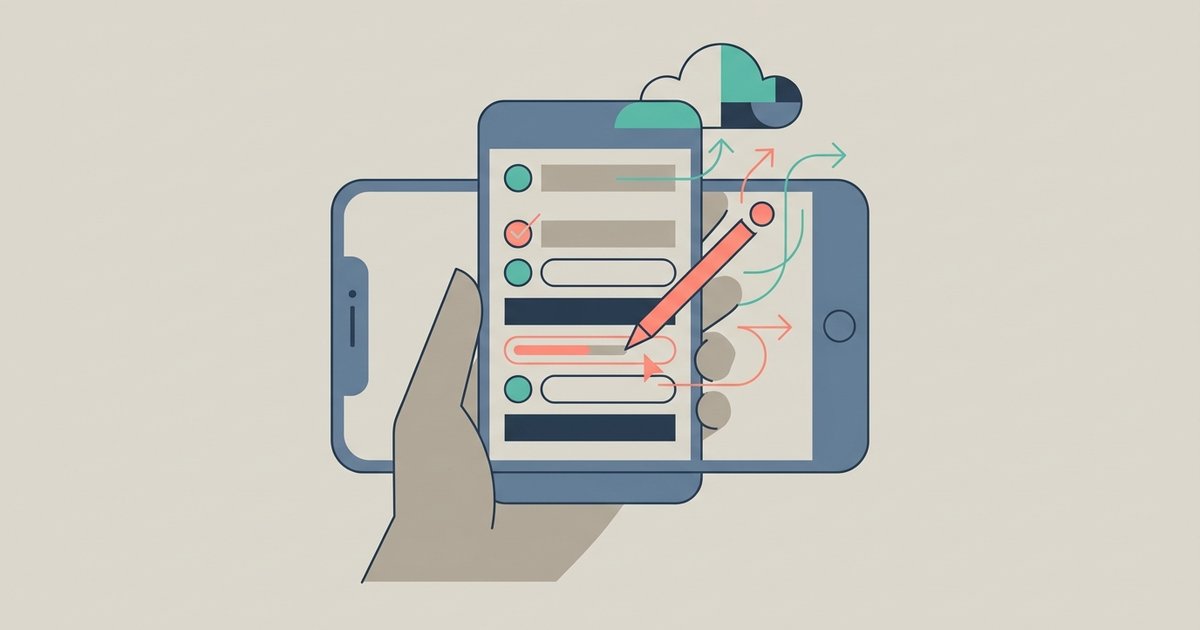
If you have not taken the photos yet, your phone's document scanner may be the better starting point, since it crops and flattens pages as you go and saves a PDF directly.
On iPhone, Apple\'s guide to scanning documents in Notes explains that you can open a note in Notes, tap the Attachment button, then Scan Documents. You position the page, let it capture automatically or tap the shutter, adjust the corners, tap Keep Scan and add more pages before tapping Done.
On Android, Google's Drive help explains that you can open the Google Drive app, tap Camera and point it at a document. You can crop, rotate, apply a filter or clean up marks, then save the scan as a PDF.
A converter is still useful for photos you already took with the regular camera, photos someone sent you and images you need to combine with an existing PDF.
Privacy When Uploading Photos
Photos of receipts and IDs can reveal names, addresses and card or account numbers. PDFBEAR says its uploads travel over an encrypted HTTPS connection, files are processed automatically with no human looking at your images, and files are deleted from its servers after processing. Free-account files saved to its file manager are kept for a limited time after your last activity, and you can delete them sooner. For very sensitive documents, the scanners built into Notes and Google Drive avoid a separate upload to a conversion service.
The Bottom Line
Take clear, straight photos, upload them together, set the order, choose a page size and merge them into one PDF. If they belong with another document, merge the files next, and compress the result at the end if it is too big to send. For anything highly sensitive, use your phone's built-in scanner instead.
Frequently Asked Questions
Can I convert HEIC photos to PDF without a website?
Yes. On iPhone, use the Print method from the Photos app: select the images, tap Share, tap Print, pinch out on the preview, then tap Share again and Save to Files. This works with any photo format including HEIC and keeps everything on the device.
How do I reorder pages inside a PDF I already made?
PDFBEAR's Merge PDF tool stacks files in the order they sit in the upload list, but it does not reorder individual pages inside a single PDF. To change page order, you would need to split the PDF into separate pages first, then merge them back in the new sequence.
Does the Samsung Gallery PDF feature keep photos full resolution?
When you enable Gallery Labs and use Save as PDF on a Samsung device, the photos are placed into the PDF at their original resolution. This can make the output file large, so you may need to compress the finished PDF afterward if it is too big to send.
Why does the Files app Create PDF put my photos in the wrong order?
The Files app on iPhone arranges images in alphabetical order by filename, not the order you selected them. Rename your photos with numbers like 01, 02 and 03 before using Create PDF, or use the Print method from the Photos app where selection order is preserved.