Home>How-To Guides>How to Transfer an eSIM Without Losing Service
How-To Guides
How to Transfer an eSIM Without Losing Service
Modified: 14 October 2026
Table of Contents
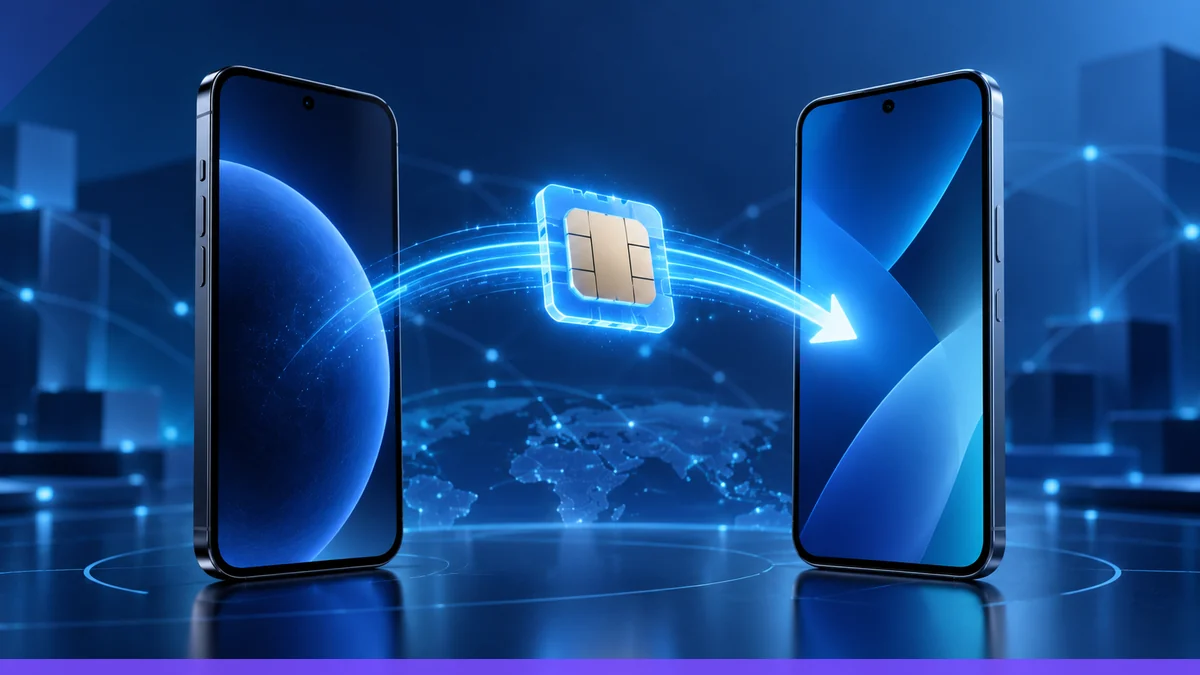
Transfer an eSIM without losing service by setting up the new phone first, confirming the new line works, and only then removing the old profile. On iPhone, Apple's eSIM transfer guidance says the carrier must support eSIM Quick Transfer, both devices must be signed in with the same Apple Account, nearby with Bluetooth on, and running iOS 18.4 or later. On Pixel, Google's Pixel eSIM guidance documents transfer flows in Settings and notes that supported models and minimum software versions can depend on the carrier.
Prepare the old and new devices
Before starting, keep the old phone powered on and unlocked, and keep the new phone nearby. Apple says to unlock the previous iPhone with its passcode, keep both devices close with Bluetooth enabled, and make sure both devices are on iOS 18.4 or later. Google’s Pixel instructions also rely on the devices being close together during transfer, and one path requires the iPhone to remain on and connected to the Pixel during the process.
- Have the old device available until the new eSIM is confirmed active.
- Use the same account or sign-in required by the transfer flow.
- Keep Bluetooth on for iPhone-to-iPhone transfer.
- Check that the new device is on the supported software version for its transfer path.
Transfer on iPhone with eSIM Quick Transfer
On a new iPhone, open Settings, tap Mobile Service, then tap Set Up Cellular or Add eSIM. If a list of numbers appears, choose a mobile plan to transfer from another iPhone; if no list appears, tap Transfer From Nearby iPhone. Follow the prompts on the old iPhone and confirm with Transfer, or enter the verification code shown on the new iPhone if asked.
Apple says to wait for the mobile plan to activate on the new iPhone; when it activates, the plan on the new iPhone deactivates the previous SIM. If a banner appears that says Finish Setting Up Your Network Provider’s Mobile Plan, tap it to open the carrier webpage and complete the eSIM transfer.
Transfer on Pixel from another phone
On a Pixel, open Settings, tap Network and Internet, then SIMs, Add SIM, and Transfer a SIM from another phone. For iPhone-to-Pixel transfer, Google’s instructions say to choose iPhone, then follow the on-screen steps, including keeping the iPhone on and connected and scanning the QR code pairing step when prompted.
Google also documents a separate path under Network & internet > SIMs > Add SIM > Transfer SIM from another device, and another setup path that uses Set up an eSIM. For some devices and carriers, Google says the phone may not detect eSIM transfer automatically, in which case the carrier may need to activate the eSIM.
Keep the old profile until the new line is confirmed
Do not remove the old eSIM until the new phone shows service and can place calls, send texts, and use data on the transferred line. Apple states that the new iPhone’s cellular plan deactivates the previous SIM only when activation completes, so the old line should remain available until that handoff finishes. If the carrier sends you to its own webpage after activation, complete that carrier step before retiring the old device.
For Pixel transfers, Google’s documentation makes the carrier’s role explicit: if transfer is not detected or supported on the device, contact the carrier to activate the eSIM. That means the safe order is to confirm service on the new phone first, then remove the old eSIM only after the carrier or transfer flow confirms the new line is live.
When transfer options do not appear
If the iPhone does not show a nearby transfer option, Apple directs you to use Settings > Mobile Service > Set Up Cellular or Add eSIM, then proceed through the onscreen prompts. If the Pixel does not detect transfer automatically, Google says to contact the carrier to activate the eSIM.
- On iPhone, missing transfer options usually means the carrier or setup state is not ready for quick transfer.
- On Pixel, supported models and minimum software versions can vary by carrier.
- Carrier support pages may be required for final activation even when the phone-to-phone transfer starts on-device.
What the official pages do and do not document
The published Apple and Google pages document the menu paths, button labels, and activation order for supported transfer flows, but they do not provide a universal transfer guarantee for every carrier or model. Google’s pages specifically say to check with the carrier for supported models and minimum software versions where needed. Apple’s page says the transfer flow depends on carrier support for eSIM Quick Transfer.
For a hands-on eSIM transfer guide, the safest documented process is: prepare both devices, start the transfer in the phone’s Settings app, wait for the new line to activate, verify service, and only then retire the old profile.
More eSIM resources: Browse our eSIM guides and troubleshooting resources for compatibility, setup, travel-data and account-safety advice.