Home>How-To Guides>How to Install an eSIM on iPhone, Pixel and Samsung
How-To Guides
How to Install an eSIM on iPhone, Pixel and Samsung
Modified: 10 October 2026
Table of Contents
Install the eSIM first, then choose it as the mobile data line if you want it to carry data. On iPhone and Pixel, the setup screens use different labels for the same basic flow, while Samsung adds the plan in SIM Manager and then lets you pick which SIM to use for mobile data.
iPhone: add the eSIM, then set the active line
Apple says supported iPhone models can store an eSIM digitally, and on iPhone 14 and later some models use eSIM only. Apple's international eSIM guidance says the available setup methods depend on carrier support, and that you may see options such as eSIM Carrier Activation, eSIM Quick Transfer, QR code setup, or carrier app activation.
- Open Settings > Cellular > Set Up Cellular or Add eSIM.
- For carrier transfer from another iPhone, choose the number you want to move, or tap Transfer From Nearby iPhone if no list appears.
- Follow the prompts on the previous iPhone, then tap Transfer or enter the verification code shown on the new iPhone.
- For QR code setup, tap Use QR Code, scan the carrier code, then follow the onscreen steps.
- If the carrier pushed the plan to the phone, tap the Carrier Cellular Plan Ready to Be Installed notification, then tap Continue.
Apple also documents a manual path when a QR code appears in an email app or browser on iPhone with iOS 17.4 or later: tap and hold the QR code, tap Add eSIM, then tap Continue and Add Mobile Plan.
To distinguish installation from line selection, Apple says the plan can be installed first and then you can choose the physical SIM or eSIM for cellular service. The Cellular Service page says to go to Settings > Cellular > Set Up Cellular or Add eSIM, then choose the phone number with a physical SIM and tap Convert to eSIM when moving an existing line.
Pixel: set up the eSIM in SIMs, then choose it for data
Google’s Pixel help says all Pixel phones from Pixel 4 onward support eSIM. The current Pixel setup path is Settings > Network & internet > SIMs > Add SIM > Set up an eSIM.
- Open Settings.
- Tap Network & internet.
- Tap SIMs.
- Tap Add SIM.
- Tap Set up an eSIM.
Google’s help page for eSIM setup says to check with the carrier first to make sure eSIM is supported. The support pages retrieved do not document a separate mobile-data-selection menu in the same detail as Apple and Samsung, so the safest published wording is to treat eSIM setup and data-line selection as separate steps and follow the device’s SIM controls after the plan appears.
Samsung Galaxy: add the eSIM in SIM Manager
Samsung's Galaxy eSIM guidance says you can add a plan by scanning a QR code from the network, installing a pre-assigned plan automatically, or entering the information manually. The UK support page also says you will need to contact your network carrier to receive a QR code in some cases.
- Go to Settings > Connections > SIM manager.
- Tap Add eSIM.
- Use the carrier QR code, automatic installation, or manual entry as offered by the carrier.
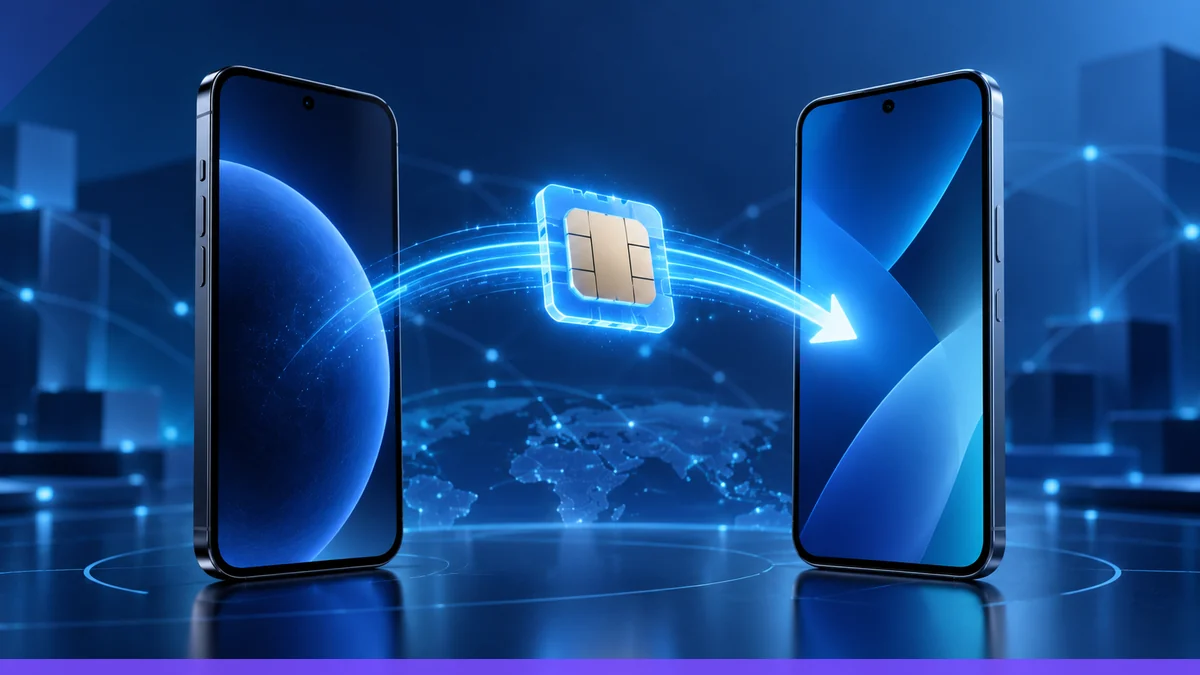
Samsung’s UK pages also document eSIM transfer on supported carriers: on the new device, go to Settings > Connections > SIM manager > Add eSIM, then tap Transfer SIM from another device. The old device then shows a transfer prompt, and you enter the six-digit verification code shown on the new device.
Choosing the line for mobile data
Installing the eSIM does not always mean it becomes the data line. On iPhone, Apple’s setup pages separate eSIM installation from the cellular plan you use, and they show that you can convert or transfer a line after setup. On Samsung, the eSIM is added in SIM manager, where the phone then manages which SIM is used for service. The Pixel support pages retrieved document the setup path, but not a separate labeled data-line flow in the same level of detail.
- On iPhone, complete the install in Settings > Cellular, then review which line is active for cellular service after activation.
- On Samsung, complete the install in Settings > Connections > SIM manager, then check the phone’s SIM controls for the active line.
- On Pixel, finish Set up an eSIM in Network & internet > SIMs, then use the phone’s SIM settings to confirm the active line.
When setup does not work
If the carrier does not support the method you are trying, the phone will not finish activation. Apple says carrier support determines whether eSIM Carrier Activation, eSIM Quick Transfer, QR code setup, or carrier app activation is available. Google says to check with the carrier before setting up an eSIM. Samsung says some transfers work only with supported carriers, and otherwise the carrier has to help move the eSIM to the new device.
- Apple: check Settings > Cellular for Set Up Cellular, Add eSIM, or a carrier-ready notification.
- Pixel: check Settings > Network & internet > SIMs > Add SIM > Set up an eSIM.
- Samsung: check Settings > Connections > SIM manager > Add eSIM.
For a publication-ready eSIM installation guide, the cleanest user advice is to install the profile first, confirm it appears in the SIM settings, then switch the mobile-data line only after the plan is active.
More eSIM resources: Browse our eSIM guides and troubleshooting resources for compatibility, setup, travel-data and account-safety advice.