
Home>How-To Guides>Tips and Tricks>How To Add Subtitles In Premiere Pro
Tips and Tricks
How To Add Subtitles In Premiere Pro
Modified: September 5, 2024
Learn the best tips and tricks for adding subtitles in Premiere Pro. Enhance your video editing skills with these expert techniques.
(Many of the links in this article redirect to a specific reviewed product. Your purchase of these products through affiliate links helps to generate commission for Techsplurge.com, at no extra cost. Learn more)
Table of Contents
Understanding Subtitles and Captions
Adding subtitles to videos enhances accessibility and engagement. Before diving into the process, it's important to understand the difference between subtitles and captions.
Subtitles: Text versions of dialogue or narration, displayed on the screen to help viewers understand the content.
Captions: Include dialogue and descriptions of other sounds, such as music, laughter, or ambient noise. Captions are particularly useful for viewers who are deaf or hard of hearing.
Types of Captions
Open Captions: Permanently embedded in the video, cannot be turned off by the viewer. Ideal for social media platforms like Instagram, TikTok, or Facebook.
Closed Captions: Can be turned on and off by the viewer, commonly used on platforms like YouTube or Vimeo.
Using Premiere Pro's Automated Captioning Feature
Premiere Pro offers an automated captioning feature that can save time and effort. This feature uses speech-to-text technology to convert audio into text, which can then be edited and adjusted as needed.
Step-by-Step Guide to Automated Captioning
-
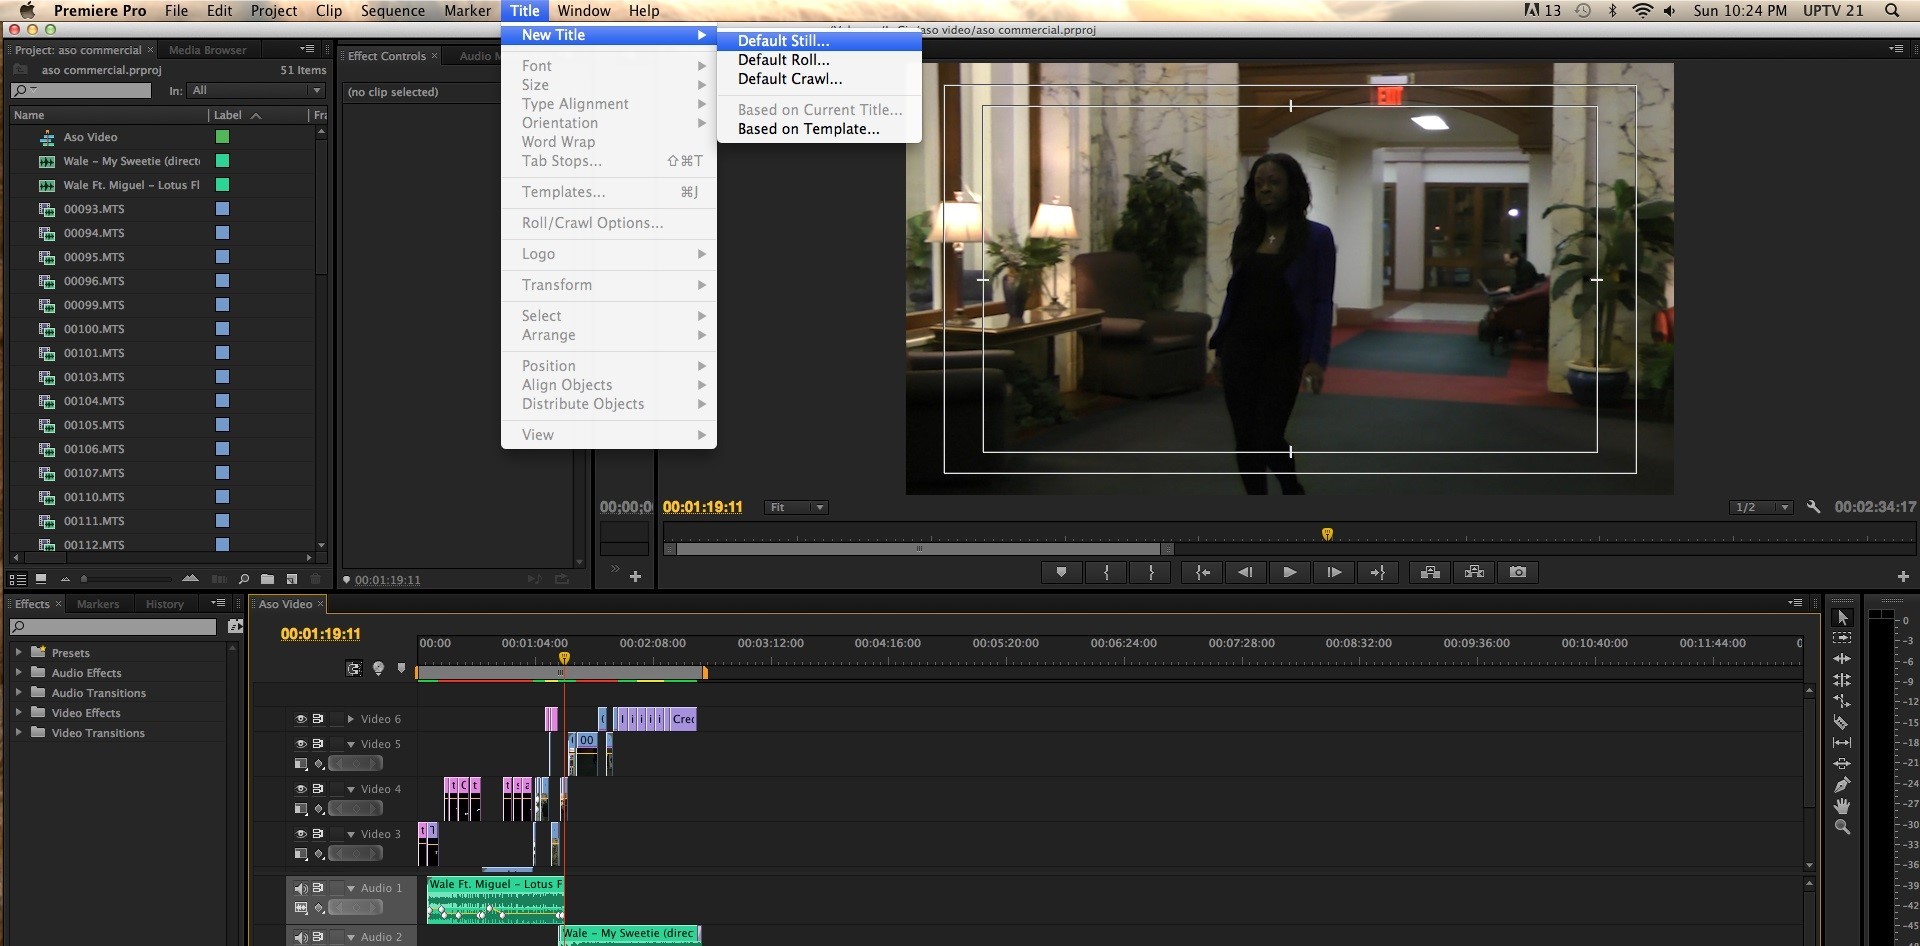
Open the Captions Workspace:
- Navigate to the top right corner of the window and select Workspaces > Captions.
-
Transcribe Sequence:
- Click on ‘Transcribe Sequence’. Select the language of the audio and choose the portion of the recording sequence to transcribe.
-
Select Audio Language and Speakers:
- Turn on speaker recognition to differentiate between speakers. Tag clips as dialogue in the Essential Sound panel to ensure only dialogue is transcribed.
-
Generate Transcription:
- Click ‘Transcribe’. Premiere Pro will generate a transcription of the audio. This process may take some time depending on the length and complexity of the dialogue.
-
Edit Captions:
- Review the transcription in the top left-hand portion of the captions workspace. Click on the transcription text to make edits or changes directly in-line.
-
Create Captions Track:
- Click on the ‘Create Captions’ button. Premiere Pro will add captions to the timeline. Adjust these captions using the Essential Graphics panel to customize font, weight, size, and color.
Adding Subtitles Manually
Some users may prefer to add subtitles manually for better control over the transcription process. This method is particularly useful for shorter sequences or when precise control over subtitles is needed.
Step-by-Step Guide to Manual Captioning
-
Open the Captions Workspace:
- Launch Premiere Pro and go to Window > Workspaces > Captions and Graphics > Text > Create new caption track.
-
Customize Caption Track Format and Style:
- In the Text panel, select Create New Caption Track and choose Subtitle as the format option. Select a previously created text style to apply it to the subtitles.
-
Position Playhead and Align Text Caption:
- Position the playhead at the start of the dialogue and align the text caption with the audio using waveforms.
-
Start Typing Subtitles:
- Click the plus (+) icon on the text panel to create a blank caption. Start typing subtitles, adding multiple lines of text and adjusting their timing as needed.
-
Refine Your Subtitles:
- Check for any errors or inconsistencies. Adjust the timing of each line to ensure it matches the audio perfectly.
Using Third-Party Transcription Services
Third-party transcription services can be used to import SRT files into Premiere Pro for easy integration. This method is particularly useful if high-accuracy transcription tools like Notta are available.
Step-by-Step Guide to Using Third-Party Transcription Services
-
Import Video Files into Notta Web App:
- Go to the Notta Web App and click ‘Import Files’. Drag and drop video files saved on the device into the pop-up window.
-
Transcribe Video Files:
- Double-click the recently transcribed file to view the transcription. Select the ‘Download’ icon to save the SubRip Subtitle (SRT) file.
-
Import SRT File into Premiere Pro:
- Drop the SRT text file into Premiere Pro, then drag SRT from the project panel into the sequence. Premiere Pro will create a new caption file with all the subtitles.
Exporting Captions and Subtitles
Once captions or subtitles have been added, export the video with them.
-
Go to File > Export > Media:
- Navigate to File > Export > Media and choose the desired file format.
-
Select Export Settings:
- In the export settings, ensure the option to include captions or subtitles is selected. Choose whether to burn the captions into the video image or export them as a sidecar file so viewers can hide them if desired.
Troubleshooting Common Issues
While adding captions and subtitles in Premiere Pro is generally straightforward, some common issues might be encountered.
-
Ensure Video Format Compatibility:
- Make sure the video format is compatible with Premiere Pro. Convert it using a plug-in converter if necessary.
-
Check Project Settings:
- Ensure project settings match the settings of the video to avoid compatibility or formatting issues.
-
Use Correct Subtitle Format:
- Use the correct subtitle format (SRT or WebVTT) and ensure a caption track is present in the timeline. Import caption files correctly through the "File" menu.
-
Keep Premiere Pro Updated:
- Regularly update Premiere Pro to benefit from bug fixes and new features that enhance captioning capabilities. If encountering corrupted projects, create new ones and re-import media and subtitles.
-
Verify Computer Resources:
- Verify computer resources to prevent any hindrance during the captioning process. Consider closing unnecessary applications for better performance.
By following these steps and tips, subtitles and captions can be effectively added to videos using Adobe Premiere Pro. Whether using the automated speech-to-text feature or manual transcription, Premiere Pro offers robust tools to enhance accessibility and engagement of video content.