Home>Tips and Tricks>How To Transfer Photos From Phone to Computer Without Losing Quality
Tips and Tricks
How To Transfer Photos From Phone to Computer Without Losing Quality
Modified: 18 September 2026
Table of Contents
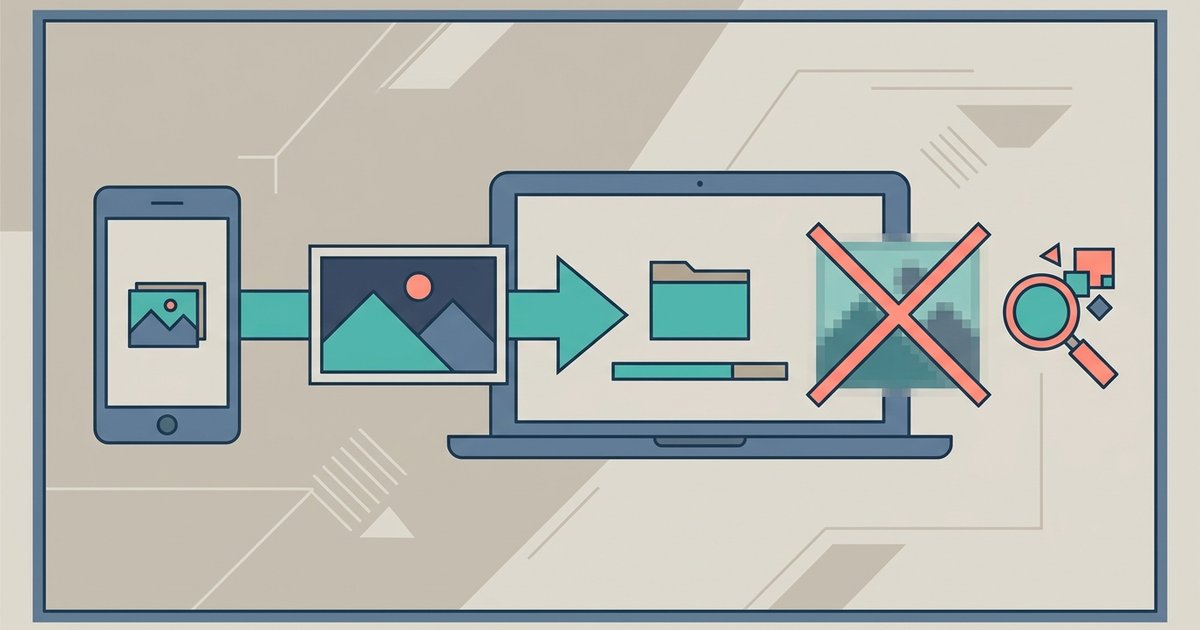
You can transfer photos from a phone to a computer without losing quality as long as you avoid the routes that compress them. A USB import, AirDrop, a cloud photo library set to keep originals, or a file sharing link all move the original file. Emailing photos to yourself or sending them through a messaging app often shrinks them, strips details or both.
Where Photo Quality Gets Lost
A photo straight off a modern phone camera is a large, detailed file with extra information attached: the date and time, camera settings and often the location. Several common ways of moving it reduce that:
- Messaging apps usually compress photos to save data, sending a smaller version with fewer pixels and more compression. Some offer an HD or original-quality option, but it is rarely the default.
- Email has attachment size limits, and some mail apps offer to resize photos before sending. Choosing a smaller size discards detail for good.
- Screenshots and social media are the worst option. A screenshot captures only what fits on the screen at screen resolution, and social platforms recompress everything you upload.
- Format conversion can reduce quality slightly each time a photo is saved again as a JPEG, and some conversions drop the photo's metadata.
Lossless Option 1: USB Import
Connecting the phone with a cable and importing with the computer's photo app copies the original files. On Windows, unlock the phone, choose file transfer mode on Android or tap Trust on an iPhone, then use the Photos app's import option. On a Mac, use the Photos app or Image Capture. This is the most complete way to move a whole library, and it copies the files byte for byte.
iPhone owners should know one setting. Under Settings, then Photos, the Transfer to Mac or PC option decides what the computer receives. Keep Originals copies the HEIC files exactly as the camera saved them. Automatic converts photos to a more widely supported format as they transfer, which is convenient on Windows but is a conversion rather than a straight copy. For archiving, choose Keep Originals and install HEIC support on the computer.
Lossless Option 2: AirDrop and Quick Share
AirDrop between an iPhone and a Mac sends photos at full resolution, and Quick Share does the same between Android phones and Windows PCs. They are the quickest options for a handful of photos when your devices support them.
Lossless Option 3: Cloud Photo Libraries
iCloud Photos and Google Photos can both keep originals, but check the settings. On an iPhone with Optimize iPhone Storage turned on, the full-resolution originals live in iCloud and the phone keeps smaller versions, so download from iCloud rather than copying from the phone. Google Photos lets you choose the backup quality; if it is set to a storage-saving option, the backed-up copies are compressed, so download from the phone or change the setting before relying on it.
Lossless Option 4: File Sharing Links
A browser-based file sharing service uploads and downloads the file exactly as it is, which makes it a good lossless option when the built-in routes don't connect your devices. ShareIt.onl shares photos online in original quality with no app and no account:
- Open ShareIt.onl in the phone's browser and add the photos from your library, up to 100 files or 3 GB in total per share.
- Pick a short expiry, since the link only needs to last until you download on the computer.
- Open the link on the computer and download the photos.
- For private photos, add a password or turn on delete after first download.
One caution applies to every browser upload from a phone. When you pick photos through the phone's photo picker, some phones offer to share a compatible or reduced version rather than the original, or convert HEIC to JPEG. Look for an options or size setting in the picker, and choose the original or actual size where it is offered.
Check That the Transfer Kept Full Quality
Before you delete anything from your phone, compare a few photos on the computer:
- File size. A full-resolution phone photo is usually several megabytes. A file of a few hundred kilobytes has almost certainly been compressed.
- Dimensions. Check the width and height in the file's properties or info panel and compare them with the phone camera's resolution.
- Metadata. The date taken, camera details and location should still be there. If every photo shows the transfer date instead of the date taken, the metadata was stripped along the way.
- Live Photos and videos. An iPhone Live Photo is a photo plus a short video. Some methods only carry the still image.
Quality at a Glance
| Method | Keeps original quality | Notes |
|---|---|---|
| USB import | Yes | Set iPhone transfer to Keep Originals for exact copies |
| AirDrop or Quick Share | Yes | Only between supported devices |
| iCloud or Google Photos | Yes, if set to keep originals | Check storage-saving settings first |
| File sharing link | Yes | Choose the original size in the phone's picker |
| Sometimes | Size limits, and apps may offer to resize | |
| Messaging apps | Usually not | Compressed unless an HD or original option is used |
The Bottom Line
Quality is lost in the shortcuts, not in the transfer itself. Use a cable, a nearby-sharing feature, a cloud library set to originals or a file sharing link, check a few files on the computer, and only then clear space on your phone.