
Home>Latest News>Technology Trends>Creating an Augmented Reality App
Technology Trends
Creating an Augmented Reality App
Modified: September 5, 2024
Stay ahead of the curve with our guide to creating an augmented reality app. Explore the latest technology trends and take your app development to the next level.
(Many of the links in this article redirect to a specific reviewed product. Your purchase of these products through affiliate links helps to generate commission for Techsplurge.com, at no extra cost. Learn more)
Table of Contents
Introduction
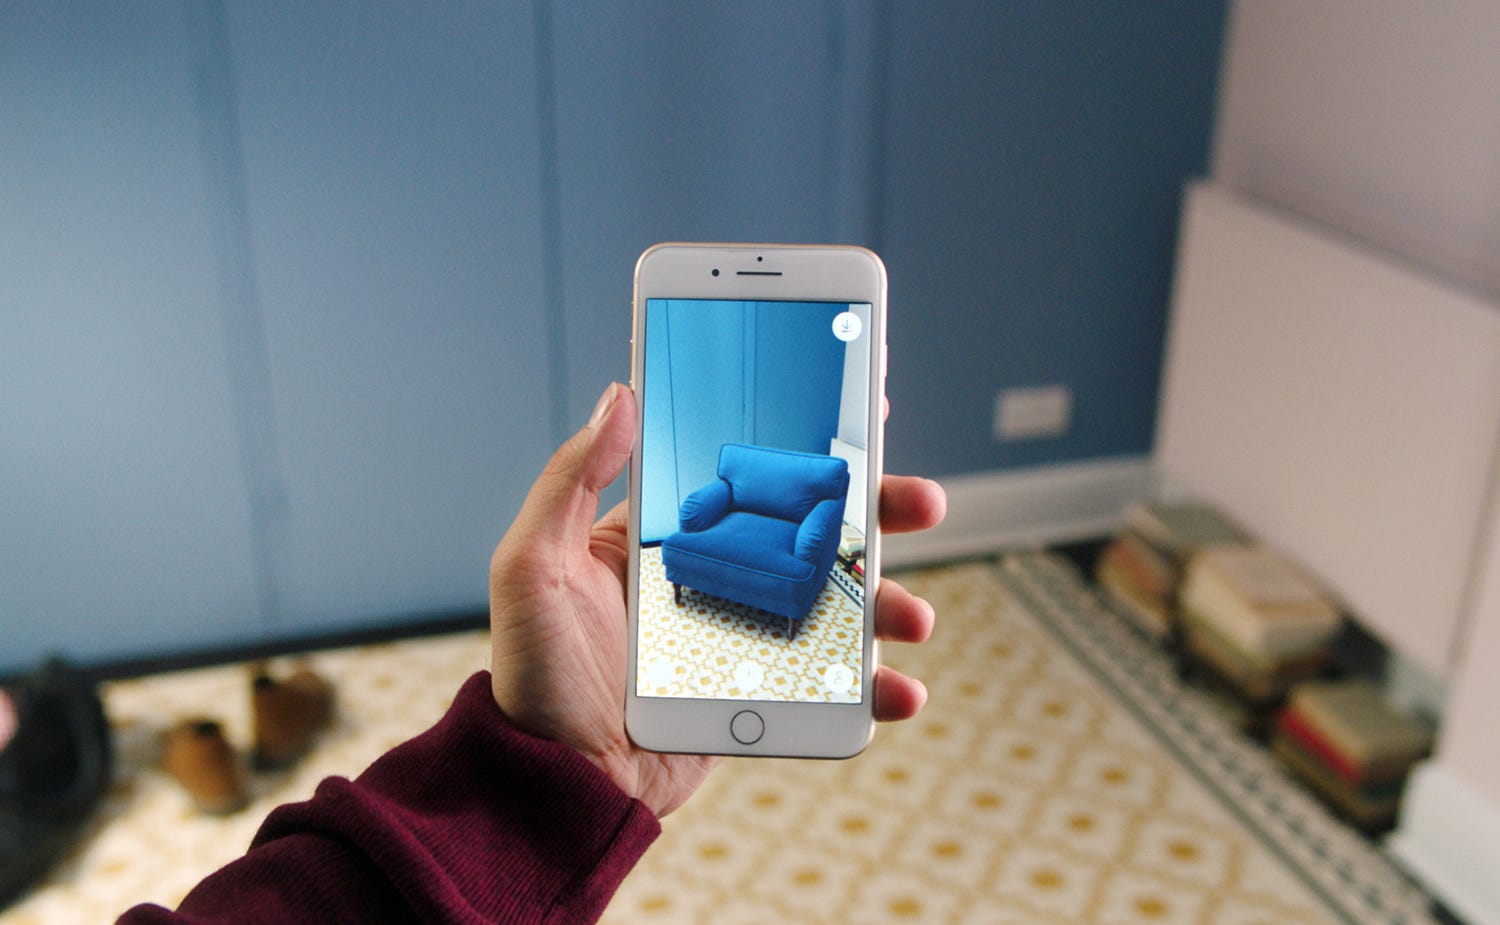
Augmented reality (AR) has changed how we interact with the world around us. From the immersive experiences of Pokémon Go to virtual try-ons of lip shades, AR has become an integral part of modern technology. However, creating an AR app requires a deep understanding of various technologies and a well-planned approach. This guide will walk you through the process of building an AR app, from conceptualization to deployment.
Conceptualization
Before diving into the technical aspects, conceptualize your AR app. This involves defining the purpose, target audience, and functionalities of your app. Here are some steps to help you get started:
Define Your Purpose
- What problem does your AR app solve?
- Is it for entertainment, education, or another purpose?
- Clearly defining the purpose will help you focus on the right features.
Identify Your Target Audience
- Who will be using your app?
- Understanding your audience will help tailor the experience to their needs and preferences.
Determine the Features
- What functionalities will your app have?
- Will it include 3D models, interactive elements, or real-time tracking?
- Make a list of all the features you want to include.
Choosing the Right Tools
Once you have a clear idea of what you want to achieve, choose the right tools for the job. Here are some essential tools and technologies you'll need:
Software Development Kit (SDK)
- An SDK is a collection of tools specifically designed for a particular platform.
- For AR development, popular SDKs include Vuforia, ARKit (for iOS), and ARCore (for Android).
- Each SDK has its own strengths and weaknesses, so choose one that best fits your needs.
Game Engine
- A game engine like Unity or Unreal Engine is often used for AR development.
- These engines provide powerful tools for rendering, manipulating objects, and building results for multiple platforms.
3D Modeling Tools
- You'll need 3D models to augment reality.
- Tools like Blender, SketchUp, or Jmol can help you create or import 3D models.
Image Recognition
- For image recognition, you'll need an image recognition library like Vuforia's Target Manager.
- This tool helps you create and manage image targets that your app will recognize.
Setting Up Your Development Environment
Before you start coding, make sure you have the right development environment set up. Here’s a step-by-step guide to setting up Unity, one of the most popular game engines for AR development:
Download and Install Unity
- Go to the Unity website and download the Personal Edition.
- Follow the on-screen instructions to install Unity.
Create a New Project
- Once installed, open Unity and follow the instructions to create a new project.
- You can choose a template or start from scratch.
Set Up Your Account
- Follow the on-screen instructions to create a free Unity account and log in.
Select Personal Edition License
- If you’re using the Personal Edition, select this license option.
Create a New Project
- Click “NEW” to create a new project.
- Choose a name for your project and select the appropriate settings.
Creating 3D Models
3D models are the backbone of any AR app. Here’s how you can create or import 3D models using Jmol:
Download Jmol
- Jmol is an open-source molecule visualization tool that can be used to create 3D models.
- Download the Jmol .jar file and unzip it to a folder.
Create a Molecule Model
- Open Jmol and go to “File” > “Create MOL.”
- Type in the name of the molecule you want to create.
- Jmol knows about most molecules, so you can type in any name.
Write the Molecule Object File
- Go to “File” > “Console” and type “Write molecule.obj” followed by Enter.
- This will create an .obj file containing the 3D model.
Import the Model into Unity
- In Unity, go to “Assets” > “Import New Asset.”
- Select the .obj file you created in Jmol.
- This will import the 3D model into your Unity project.
Implementing Vuforia
Vuforia is a powerful SDK for AR development. Here’s how you can implement Vuforia in your Unity project:
Download Vuforia SDK
- Download the Vuforia SDK from the official website.
- Extract the SDK files and place them in your Unity project folder.
Set Up Vuforia in Unity
- In Unity, go to “Window” > “Package Manager.”
- Search for Vuforia and install it.
- This will add the Vuforia package to your project.
Create an Image Target
- In Vuforia, create an image target by uploading an image or creating one from scratch.
- This image will be recognized by your app and used to trigger the AR experience.
Add the Image Target to Your Scene
- In Unity, add the image target to your scene by dragging it into the Hierarchy panel.
- This will link the image target to the 3D model you created.
Test Your App
- Run your app on a device and point the camera at the image target.
- The 3D model should appear in front of you, creating an immersive AR experience.
Testing and Debugging
Testing and debugging are crucial steps in the AR development process. Here are some tips to help you test and debug your app:
Use TestFlight for Android
- If you’re developing for Android, use TestFlight to test and deploy your app.
- This tool allows you to distribute your app to a limited number of users for testing purposes.
Check for Real-Time Performance
- AR apps require real-time performance to provide an immersive experience.
- Use tools like Unity’s Profiler to check for lagging issues and optimize your code accordingly.
Test on Different Devices
- Test your app on different devices to ensure compatibility across various operating systems and hardware configurations.
Use Debugging Tools
- Unity provides powerful debugging tools like the Debugger and Profiler.
- Use these tools to identify and fix bugs in your code.
Deployment
Once you’ve tested and debugged your app, it’s time to deploy it. Here are some steps to follow:
Publish Your App
- Publish your app on the App Store (for iOS) or Google Play Store (for Android).
- Make sure to follow all guidelines and requirements set by the respective stores.
Optimize for Performance
- Optimize your app for performance by reducing file sizes, using caching, and minimizing network requests.
Provide User Instructions
- Provide clear instructions on how to use your app, including how to recognize image targets and interact with the AR experience.
Monitor User Feedback
- Monitor user feedback and update your app regularly to improve performance and add new features.
Additional Tips
- Use Cloud Support: Consider using cloud support for storing and managing your AR content. This can help reduce storage space on devices and improve performance.
- Add Interactive Elements: Add interactive elements like buttons, sliders, and text boxes to enhance user engagement and interaction.
- Use Realistic 3D Models: Use realistic 3D models to improve the AR experience. High-quality visuals significantly enhance the overall experience.
- Keep the Experience Consistent: Ensure that the AR experience is consistent across all operating systems. This helps reach a wider audience and improves user satisfaction.
By following these tips and guidelines, you can create an AR app that not only meets but exceeds user expectations, providing an immersive and engaging experience that sets your app apart in the market.