
Home>Software and Apps>How To Use A VPN On iPhone
Software and Apps
How To Use A VPN On iPhone
Modified: September 5, 2024
Learn how to use a VPN on your iPhone to secure your online activities and access geo-restricted content. Explore the best software and apps for a seamless VPN experience.
(Many of the links in this article redirect to a specific reviewed product. Your purchase of these products through affiliate links helps to generate commission for Techsplurge.com, at no extra cost. Learn more)
Table of Contents
Why Use a VPN on Your iPhone?
Understanding the benefits of using a VPN on your iPhone can help you appreciate its importance. Here are some key advantages:
Privacy and Security
A VPN encrypts internet traffic, making it difficult for hackers and third-party entities to intercept data. This is particularly crucial when using public Wi-Fi networks, which are often vulnerable to cyber threats. By encrypting traffic, a VPN ensures online activities remain private and secure.
Access to Geo-Restricted Content
Many streaming services, such as Netflix and Hulu, offer different content libraries based on geographical locations. By masking your IP address with a VPN, you can access content otherwise restricted in your region. This is especially useful for travelers or expats who want to enjoy their favorite shows without geographical limitations.
ISP Internet Throttling
Internet Service Providers (ISPs) can throttle internet speed based on the type of activity you're engaging in. For example, if you're streaming videos or participating in peer-to-peer file sharing, your ISP might slow down your connection. A VPN can help avoid this by encrypting traffic and making it harder for ISPs to detect and throttle activities.
Avoiding Censorship
In some countries, internet access is heavily censored. A VPN can help bypass these restrictions by routing traffic through a secure server, allowing access to information that might otherwise be blocked.
Malware Protection
Many VPNs come with built-in malware protection tools that block malicious websites and intrusive ads. This adds an extra layer of security to your browsing experience, ensuring exposure to potential threats is minimized.
How to Set Up a VPN on Your iPhone
There are two primary methods to set up a VPN on your iPhone: using a third-party VPN app and manually configuring the VPN settings.
Using a Third-Party VPN App
This is the most straightforward and recommended method for setting up a VPN on your iPhone. Here’s how:
-
Open the App Store:
- Tap on the Apple App Store icon on your iPhone’s home screen.
-
Search for Your VPN Provider:
- Use the search bar at the bottom of the screen to look for your preferred VPN provider. Popular options include NordVPN, ExpressVPN, and Surfshark.
-
Install the VPN App:
- Once you find the app, tap the “Get” button next to it. If the app is free, you might see a “Get” button; if it’s paid, you’ll see a price and a “Get” button.
- Confirm the installation by entering your Apple ID password or using Face ID, Touch ID, or a passcode.
-
Open the VPN App:
- After installation, open the VPN app you just downloaded.
-
Connect to a VPN Server:
- Log in to your VPN account if prompted.
- Select a server location from the list provided by your VPN provider.
- Tap the “Connect” button to establish a secure connection.
-
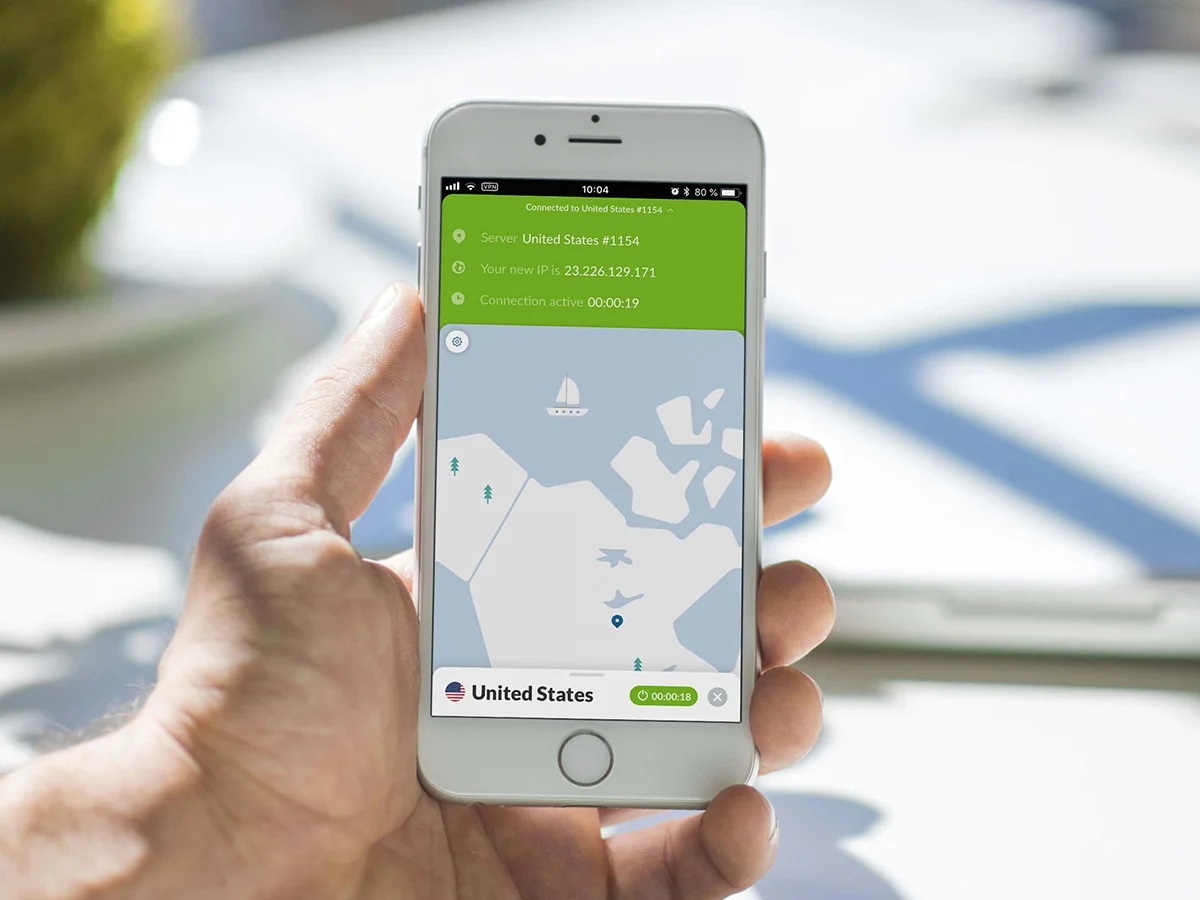
Verify Connection:
- Once connected, you should see a VPN symbol in the upper-right corner of your screen. Alternatively, you can check the VPN settings in the Settings app to confirm that you are connected.
Manually Configuring VPN Settings
While using a third-party app is more convenient, some users might prefer to configure their VPN settings manually. Here’s how:
-
Open Settings App:
- Tap on the Settings icon on your iPhone’s home screen.
-
Navigate to VPN & Device Management:
- Scroll down and select “General.”
- Tap on “VPN & Device Management.”
-
Add a VPN Configuration:
- Tap on “Add VPN Configuration.”
- Select the type of VPN you want to configure (e.g., IKEv2, IPsec, L2TP).
- Enter the necessary details such as server address, username, and password.
- Save your configuration.
-
Activate the VPN:
- Go back to the VPN & Device Management section.
- Toggle the switch next to your newly added VPN configuration to activate it.
- You should see a VPN symbol in the upper-right corner of your screen indicating that you are connected.
Choosing the Right VPN for Your iPhone
With numerous VPN options available, choosing the right one can be overwhelming. Here are some key factors to consider:
Security Features
Look for a VPN that offers robust encryption protocols (like AES-256) and supports multiple protocols (IKEv2, OpenVPN, etc.). Ensure the VPN has a no-logs policy to protect your privacy.
Server Locations
A VPN with a wide range of server locations can provide better performance and access to geo-restricted content. Consider a VPN with servers in multiple countries to ensure options for different regions.
Speed and Performance
A good VPN should not significantly impact internet speed. Look for VPNs that offer fast and stable connections with no download limits or bandwidth restrictions.
Additional Features
Some VPNs come with additional features like malware protection, ad-blocking, and password managers. These features can enhance overall online security and convenience.
Using a VPN on your iPhone is an essential step in enhancing online privacy and security. Whether you choose to use a third-party VPN app or manually configure the settings, the benefits of a VPN are undeniable. By encrypting traffic, masking your IP address, and providing access to geo-restricted content, a VPN can significantly improve your overall online experience. Always choose a reputable VPN provider to ensure the best protection available.