Home>Software and Apps>How To Delete VPN On IPhone

How To Delete VPN On IPhone How To Delete VPN On IPhone

Software and Apps

How To Delete VPN On IPhone

Written by: Gerrilee Alden

Learn how to easily delete a VPN from your iPhone and manage your software and apps with our step-by-step guide. Keep your device organized and secure.

(Many of the links in this article redirect to a specific reviewed product. Your purchase of these products through affiliate links helps to generate commission for Techsplurge.com, at no extra cost. Learn more)

Table of Contents

Introduction

Deleting a Virtual Private Network (VPN) from your iPhone can be necessary for various reasons, such as troubleshooting connectivity issues, switching to a different VPN service, or simply decluttering your device. While VPNs are valuable tools for safeguarding your online privacy and security, there may come a time when you need to remove a VPN configuration from your iPhone.

In this guide, we will walk you through the step-by-step process of deleting a VPN on your iPhone. Whether you're an experienced iPhone user or new to managing VPN settings, this comprehensive tutorial will provide you with the knowledge and confidence to seamlessly remove a VPN configuration from your device.

By following the instructions outlined in this guide, you can effectively declutter your iPhone's VPN settings, ensuring that only the VPNs you actively use remain configured on your device. Let's dive into the step-by-step process of removing a VPN from your iPhone and reclaim control over your network configurations.


Step 1: Accessing the VPN Settings

Accessing the VPN settings on your iPhone is the first crucial step in the process of removing a VPN configuration. Whether you have a specific VPN in mind that you want to delete or you simply want to review your current VPN configurations, accessing the VPN settings is the gateway to managing your network connections.

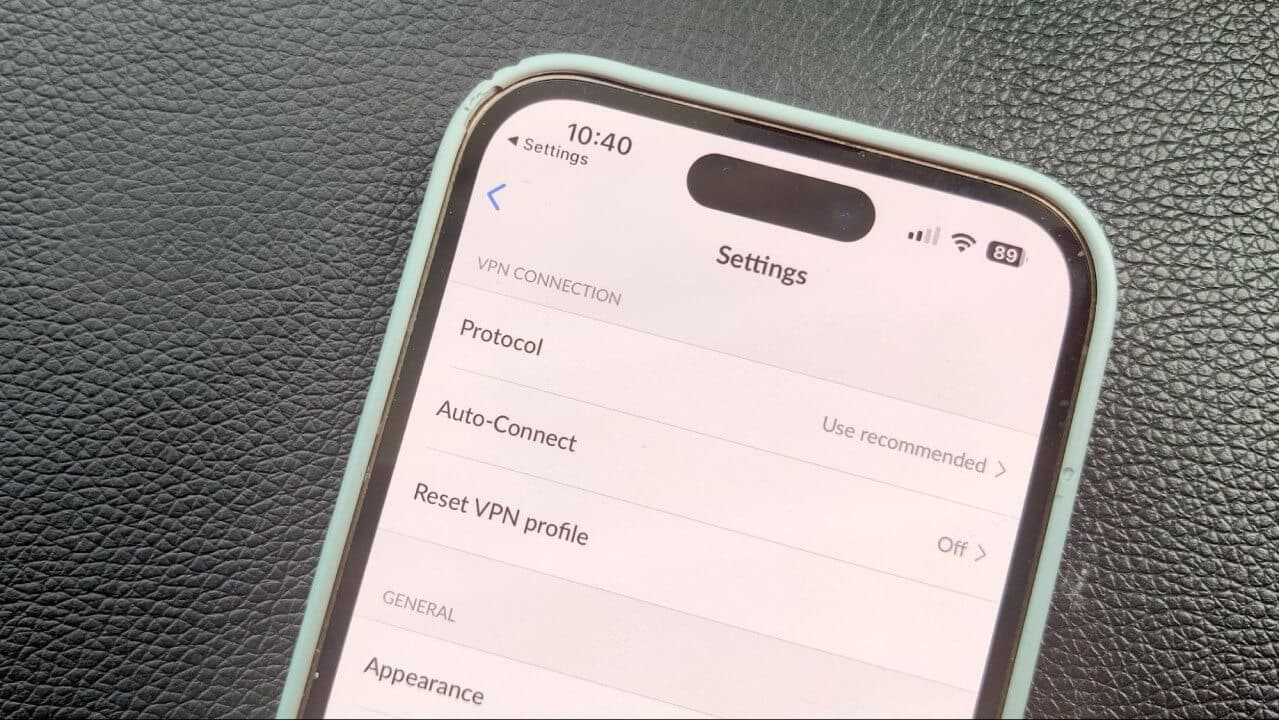
To begin, unlock your iPhone and navigate to the home screen. From the home screen, locate and tap on the "Settings" app. The Settings app is represented by a gear icon and serves as the central hub for customizing various aspects of your iPhone's configuration.

Once you have entered the Settings app, scroll down the list of options until you find the "General" tab. Tap on "General" to access a wide range of device management settings, including those related to network configurations and security.

Within the "General" settings, look for the "VPN" option. Depending on your device's configuration and whether you have any VPNs currently set up, the VPN option may be readily visible or nested within the "Network" or "Security" submenus. Once you have located the "VPN" option, tap on it to access the VPN settings on your iPhone.

Upon entering the VPN settings, you will be presented with a list of configured VPN connections, if any. Each VPN configuration will be listed with its respective details, such as the VPN name, type, and connected status. This interface provides a clear overview of the VPNs currently set up on your iPhone, allowing you to easily identify the specific VPN that you intend to remove.

In the event that you have multiple VPN configurations and need to remove a specific one, take note of the name or type of the VPN you wish to delete. This information will be essential in the subsequent steps of removing the VPN configuration from your iPhone.

Accessing the VPN settings on your iPhone is a straightforward process that empowers you to manage your network connections with ease. By familiarizing yourself with the location of the VPN settings and the layout of the VPN configurations, you are now prepared to proceed to the next step of removing the VPN from your iPhone.


Step 2: Removing the VPN Configuration

Now that you have accessed the VPN settings on your iPhone and identified the specific VPN configuration you wish to remove, it's time to proceed with the removal process. Removing a VPN configuration from your iPhone involves a few simple yet crucial steps to ensure that the network connection is effectively deleted from your device.

To initiate the removal of the VPN configuration, begin by tapping on the specific VPN entry that you want to delete from the list of configured VPN connections. Upon selecting the desired VPN configuration, you will be directed to a detailed view of the VPN settings, including its connection status, type, and other relevant parameters.

Within the VPN configuration details, you will find an option to delete or remove the selected VPN from your iPhone. This option is typically represented by a "Delete VPN" or "Remove Configuration" button, depending on the iOS version and device settings. Tap on this button to initiate the removal process for the selected VPN configuration.

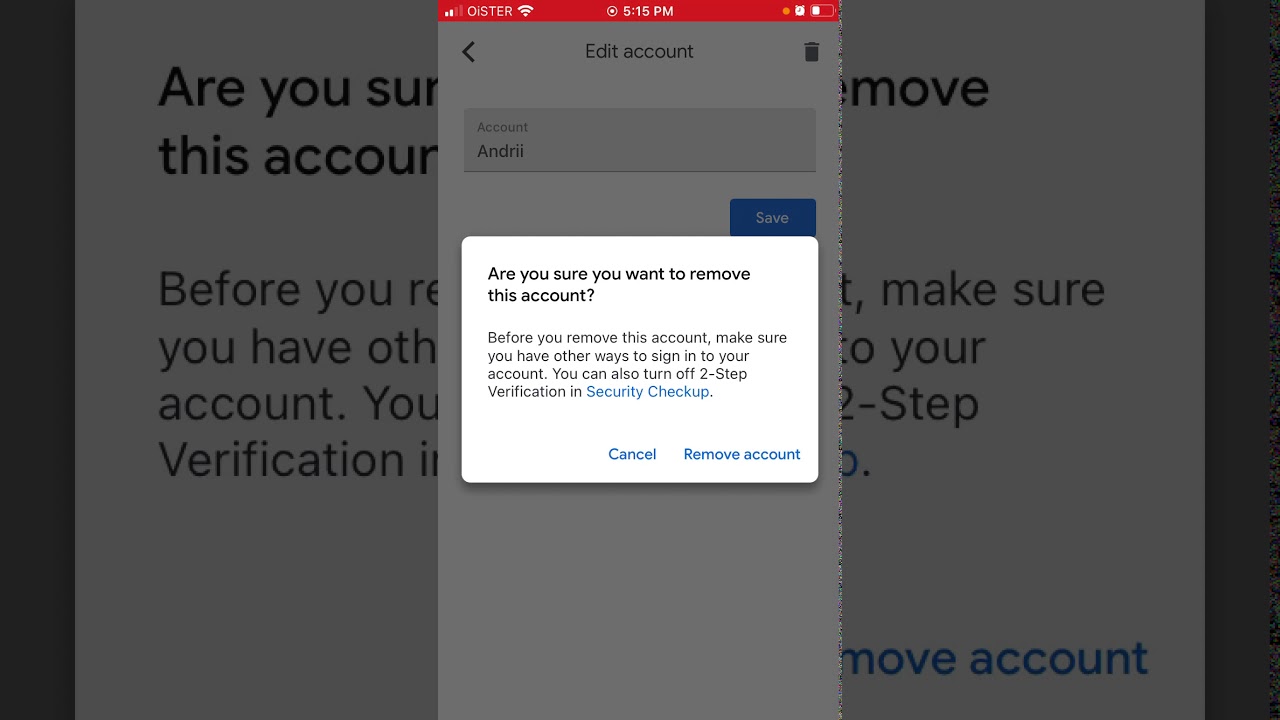
Upon tapping the "Delete VPN" or "Remove Configuration" button, your iPhone will prompt you to confirm the action, ensuring that you intend to proceed with the deletion of the selected VPN. This confirmation dialog serves as a safeguard against accidental removal of critical network configurations and provides you with the opportunity to verify your decision.

Once you have confirmed the deletion of the VPN configuration, your iPhone will proceed to remove the selected VPN from its network settings. This process typically occurs swiftly, and upon successful removal, you will be returned to the list of VPN configurations, where the deleted VPN entry will no longer be present.

It's important to note that the removal of a VPN configuration from your iPhone does not impact the functionality of other VPNs or disrupt your device's network connectivity. By following these simple steps, you can effectively declutter your VPN settings and ensure that only the VPNs you actively use remain configured on your iPhone.

With the selected VPN configuration successfully removed from your iPhone, you have taken a proactive step in managing your network connections and maintaining a streamlined device configuration. This process empowers you to tailor your VPN settings to your specific needs, ensuring that your iPhone's network configurations align with your preferences and usage patterns.

By following the straightforward steps outlined in this guide, you can confidently remove unwanted VPN configurations from your iPhone, optimizing your device's network settings and enhancing your overall user experience. With the VPN configuration successfully removed, you are now ready to enjoy a more streamlined and personalized network setup on your iPhone.


Step 3: Confirming the Deletion

After initiating the removal of a VPN configuration from your iPhone, it is essential to confirm the deletion to ensure that the intended action is carried out accurately. The confirmation step serves as a final checkpoint, allowing you to verify your decision and prevent inadvertent removal of critical network configurations.

Upon tapping the "Delete VPN" or "Remove Configuration" button to remove the selected VPN, your iPhone will prompt you with a confirmation dialog. This dialog is designed to validate your intent and provides a crucial opportunity to review the action before the VPN configuration is permanently deleted from your device.

The confirmation dialog typically presents a message that explicitly confirms the deletion of the selected VPN configuration. It may include details such as the name or type of the VPN being removed, along with a prompt to confirm the action. This clear and concise message ensures that you are fully aware of the impending deletion and have the opportunity to proceed with confidence.

When presented with the confirmation dialog, carefully review the details to ensure that the correct VPN configuration is being deleted. This step is particularly important if you have multiple VPNs configured on your iPhone, as it allows you to double-check the selection and prevent accidental removal of the wrong VPN.

Once you have verified the details and are certain of your decision to delete the VPN configuration, proceed by confirming the action as prompted. This typically involves tapping a "Confirm" or "Delete" button within the confirmation dialog, signaling to your iPhone that you intend to proceed with the deletion.

Upon confirming the deletion, your iPhone will swiftly execute the removal process, effectively eliminating the selected VPN configuration from its network settings. This seamless process ensures that the VPN is promptly removed, and you are returned to the list of VPN configurations with the deleted entry no longer present.

By conscientiously confirming the deletion of the VPN configuration, you demonstrate a deliberate approach to managing your network settings. This final verification step empowers you to maintain control over your device's configurations and provides peace of mind, knowing that the intended action has been successfully carried out.

With the confirmation of the deletion completed, you have effectively streamlined your iPhone's VPN settings, ensuring that only the VPN configurations you actively use remain configured on your device. This meticulous approach to managing VPN configurations reflects your commitment to maintaining a personalized and optimized network setup on your iPhone.


Conclusion

In conclusion, the process of deleting a VPN on your iPhone is a straightforward yet essential task that empowers you to maintain a streamlined and personalized network setup. By following the step-by-step guide outlined in this tutorial, you have gained the knowledge and confidence to effectively remove unwanted VPN configurations from your device, ensuring that only the VPNs you actively use remain configured on your iPhone.

Through the meticulous process of accessing the VPN settings, identifying the specific VPN configuration to remove, and confirming the deletion, you have demonstrated a proactive approach to managing your device's network connections. This deliberate effort not only declutters your VPN settings but also enhances the overall user experience by aligning your device's configurations with your preferences and usage patterns.

By accessing the VPN settings and navigating through the configuration details, you have familiarized yourself with the essential steps involved in managing VPNs on your iPhone. This foundational knowledge equips you with the ability to confidently modify and optimize your device's network settings, ensuring that your VPN configurations align with your evolving needs and preferences.

The removal of unwanted VPN configurations from your iPhone reflects your commitment to maintaining a streamlined and efficient device setup. By decluttering your VPN settings, you create a more organized and tailored network environment, allowing you to focus on the VPNs that best serve your privacy, security, and connectivity requirements.

Furthermore, the confirmation step in the deletion process underscores the importance of verifying your decisions when managing critical device configurations. This conscientious approach to confirming the deletion of a VPN configuration exemplifies your dedication to maintaining control over your network settings and preventing inadvertent actions that could impact your device's connectivity.

In essence, the process of deleting a VPN on your iPhone empowers you to curate a personalized and optimized network setup that aligns with your specific preferences and usage patterns. By leveraging the knowledge and insights gained from this guide, you are well-equipped to manage your device's VPN configurations with confidence, ensuring that your iPhone's network settings remain tailored to your individual needs.

With the unwanted VPN configuration successfully removed from your iPhone, you can now enjoy a more streamlined and efficient network setup, free from unnecessary clutter and aligned with your personalized preferences. This proactive approach to managing your device's VPN configurations reflects your commitment to optimizing your iPhone's network settings and maintaining a seamless user experience.

Was this page helpful?

Related Post