
Home>Software and Apps>How To Restore Google Authenticator On New iPhone
Software and Apps
How To Restore Google Authenticator On New iPhone
Modified: September 5, 2024
Learn how to restore Google Authenticator on your new iPhone with our step-by-step guide. Get back to using your favorite software and apps securely!
(Many of the links in this article redirect to a specific reviewed product. Your purchase of these products through affiliate links helps to generate commission for Techsplurge.com, at no extra cost. Learn more)
Table of Contents
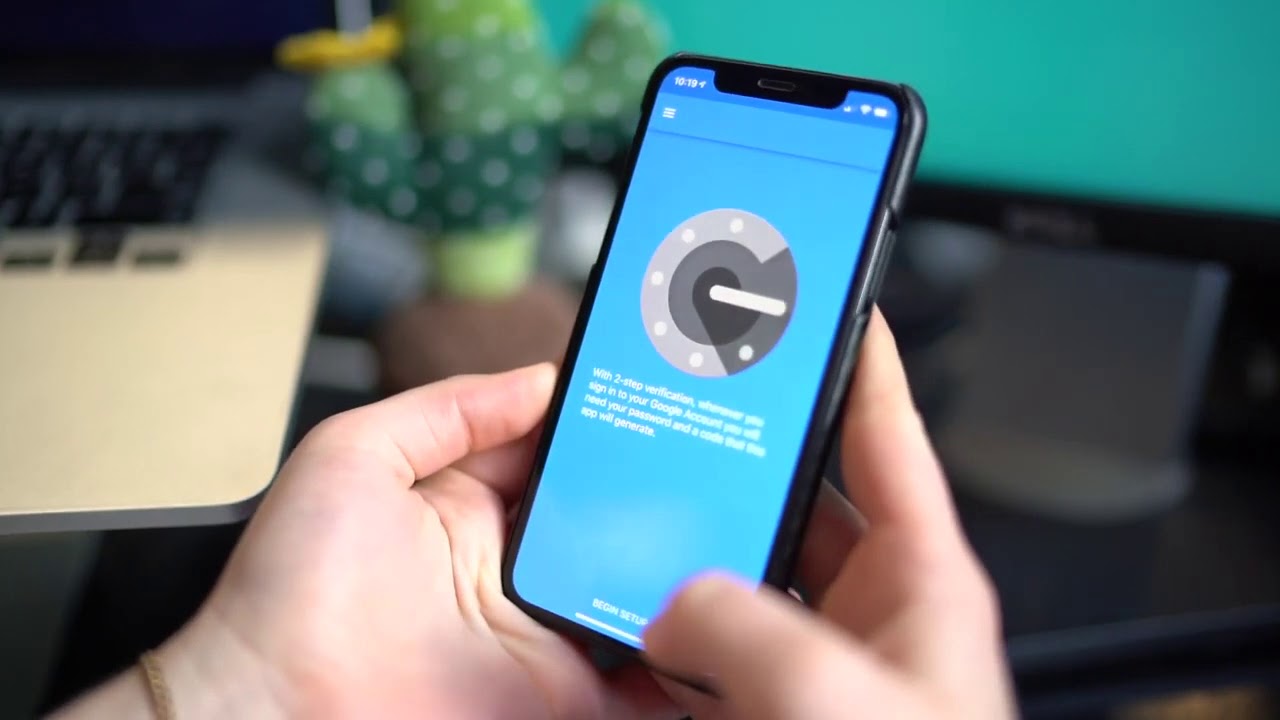
Understanding Google Authenticator
Restoring Google Authenticator on a new iPhone can be complex, but with the right steps, you can transfer your codes easily. Before diving into the process, it's important to understand what Google Authenticator is and how it works.
Features of Google Authenticator
- Two-Factor Authentication: Generates one-time codes required in addition to your password for logging into accounts.
- QR Code Setup: Uses QR codes to set up 2FA for various services.
- Code Generation: Continuously generates new codes based on the current time, ensuring each code is valid for a short period.
- Code Storage: Stores these codes on your device, making them easy to access when needed.
Preparing for the Transfer
Before starting the transfer process, ensure you have the following:
- Old Device: Your old iPhone with Google Authenticator installed.
- New Device: Your new iPhone.
- Google Account: Ensure you are logged into your Google Account on both devices.
- Latest Google Authenticator App: Install the latest version on your new device.
Steps to Transfer Google Authenticator Codes
Set Up Google Account on New Device
- Install Google Authenticator: Download and install from the App Store.
- Sign In: Open the app and sign in with your Google Account credentials.
Transfer Authenticator Codes
-
Old Device Setup:
- Open Google Authenticator on your old device.
- Tap the menu icon (usually three horizontal lines) and select Transfer accounts.
- Tap Export accounts.
-
Create QR Code:
- Follow the on-screen instructions to create a QR code for each account you want to transfer.
-
New Device Setup:
- Open Google Authenticator on your new device.
- Tap the menu icon and select Transfer accounts.
- Tap Import accounts.
-
Scan QR Code:
- On your new device, tap Scan QR code.
- Use your camera to scan the QR code created on your old device.
- The app will automatically detect the QR code and start the transfer process.
-
Verify Codes:
- After scanning the QR code, you will be prompted to verify the codes.
- Enter the codes generated by Google Authenticator on your old device into the new device.
- Tap Verify to confirm the transfer.
Confirm Transfer
Once you have scanned the QR code and entered the verification codes, a confirmation message should appear, indicating successful transfer.
Additional Tips
Using Multiple Google Accounts
If you have multiple Google Accounts set up with Google Authenticator, you can easily add them to your new device:
-
Add Another Account:
- Open Google Authenticator on your new device.
- Tap the profile picture or initials at the top right corner of the home screen.
- Select Add another account.
- Sign in with the credentials of the additional Google Account.
-
Sync Codes:
- Once added, the codes for this new account will sync with your primary account.
Editing and Organizing Codes
After transferring your codes, you might need to edit or organize them:
-
Edit Codes:
- Swipe left on any code to show the edit option.
- Update the username for the code or change the associated Google Account where that code is saved.
-
Organize Codes:
- Touch and hold any code, then drag it to reorder it to a desired location.
- Use the search bar to find specific codes by entering any text matching the username.
-
Delete Codes:
- Swipe right on any code to show the delete option.
- Confirm deletion by tapping Delete.
- If you’ve synced your codes to your Google Account, they’ll also be deleted from all devices where your codes are synced.
Troubleshooting Common Issues
Sometimes, things might not go as smoothly as expected. Here are some common issues and their solutions:
Lost Authenticator Codes After iOS Update
If you've lost your authenticator codes after an iOS update or backup:
- Check iCloud Backup: Ensure that your iCloud backup includes data from Google Authenticator.
- Restore from Backup: Restore your old device from the iCloud backup that contains the authenticator data.
- Re-transfer Codes: Once restored, re-transfer the codes to your new device using the steps outlined above.
Duplicate Entries
If you notice duplicate entries of the same codes across devices:
- Delete Duplicates: Go through each device and delete the duplicate sets of codes.
- Confirm Lists: Confirm on each device that it has the same list of authenticator codes as the others.
Restoring Google Authenticator on a new iPhone involves transferring your existing codes from your old device to your new one. By following these steps carefully and ensuring that you have the latest version of Google Authenticator installed on both devices, you can easily set up two-factor authentication for all your Google Accounts. Understanding how to edit, organize, and delete codes will help you manage your authenticator setup efficiently.
If you encounter any issues during the transfer process, refer to the troubleshooting section for solutions. With these steps and tips, you'll be able to restore Google Authenticator seamlessly on your new iPhone, ensuring that your accounts remain secure and protected with two-factor authentication.