Home>Software and Apps>How To Check Your VPN Location


Software and Apps
How To Check Your VPN Location
Modified: September 5, 2024
Learn how to check your VPN location using software and apps. Ensure your privacy and security with these simple steps. Protect your online activities today!
(Many of the links in this article redirect to a specific reviewed product. Your purchase of these products through affiliate links helps to generate commission for Techsplurge.com, at no extra cost. Learn more)
Table of Contents
Understanding VPNs
Before diving into the steps, it’s essential to understand what a VPN is and how it works. A VPN creates a secure, encrypted connection between your device and a VPN server. This connection masks your IP address, making it appear as though you are accessing the internet from the VPN server's location rather than your actual location.
Why Check Your VPN Location?
There are several reasons why you might want to check your VPN location:
- Verification: Ensure that the VPN is working correctly and that your traffic is being routed through the VPN server.
- Geographical Location: Verify that the VPN server is located in the country or region you expect.
- Privacy: Ensure that your internet activity is not being tracked by your ISP or other third parties.
Methods to Check Your VPN Location
There are several methods to check your VPN location, each with its own set of tools and steps.
Method 1: Using a VPN Client App
Most VPN client apps provide an option to check the current server location. Here’s how you can do it using some popular VPN client apps:
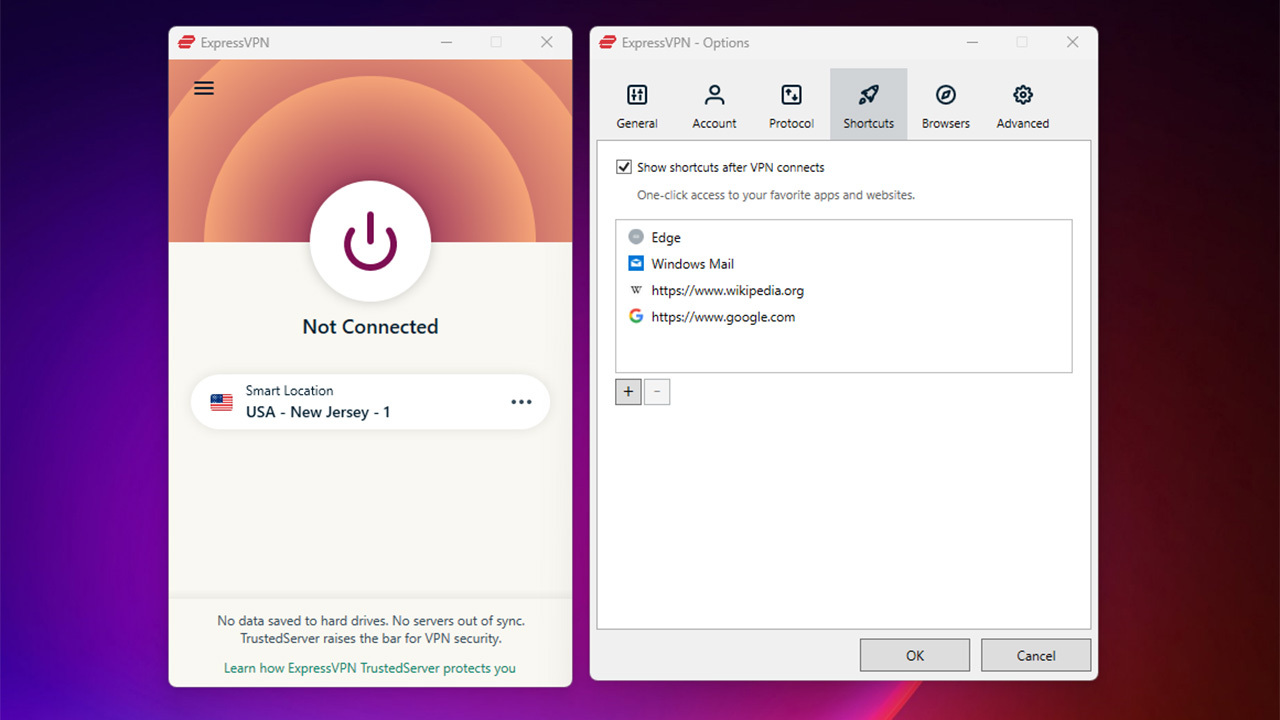
ExpressVPN
- Open the ExpressVPN app: Launch the ExpressVPN app on your device.
- Check the Server Location: Look for the server list or the “Location” section within the app. This will display the current server you are connected to and its geographical location.
- Verify IP Address: Check your IP address using the built-in IP checker tool provided by ExpressVPN. This will show you the IP address you are using, which should be different from your original IP address and should match the location of the VPN server.
NordVPN
- Open the NordVPN app: Launch the NordVPN app on your device.
- Check the Server Location: Navigate to the “Servers” section within the app. This will list all available servers, along with their locations.
- Verify IP Address: Use the built-in IP checker tool provided by NordVPN to verify that your IP address has changed and matches the location of the VPN server.
Method 2: Using Online Tools
There are several online tools that can help you check your VPN location without needing to use a VPN client app.
IP Address Checkers
- Visit an IP Address Checker Website: Go to a website that checks IP addresses, such as WhatIsMyIP.com or IPChicken.com.
- Check Your IP Address: Enter your IP address in the provided field and click “Check.” This will display your current IP address and its geographical location.
- Compare with VPN Server Location: Compare the displayed IP address with the expected location of your VPN server.
GeoIP Services
- Visit a GeoIP Service Website: Use a service like GeoIP2 or IP2Location to check the geographical location of your IP address.
- Enter Your IP Address: Enter your IP address in the provided field and click “Check.”
- Verify Location: The service will display the geographical location of your IP address, which should match the location of your VPN server.
Method 3: Using Command Line Tools
For advanced users, command line tools can provide detailed information about your VPN connection and location.
Using curl Command
-
Open Terminal/Command Prompt: Open a terminal or command prompt on your device.
-
Use
curlCommand: Run the following command to check your current IP address:
bash
curl -s https://ipinfo.io/ip -
Check Output: The output will display your current IP address.
-
Compare with VPN Server Location: Compare this IP address with the expected location of your VPN server.
Using dig Command
-
Open Terminal/Command Prompt: Open a terminal or command prompt on your device.
-
Use
digCommand: Run the following command to check the DNS records associated with your current IP address:
bash
dig +short myip.opendns.com @resolver1.opendns.com -
Check Output: The output will display your current IP address.
-
Compare with VPN Server Location: Compare this IP address with the expected location of your VPN server.
Method 4: Using Browser Extensions
Some browser extensions can also help you check your VPN location by providing additional features and tools.
VPN Buddy
- Install VPN Buddy Extension: Install the VPN Buddy extension from the Chrome Web Store or Mozilla Add-ons.
- Open Extension: Open the VPN Buddy extension and click on “Check IP.”
- Verify Location: The extension will display your current IP address and its geographical location.
IP Address Extension
- Install IP Address Extension: Install an IP address extension like IP Address from the Chrome Web Store or Mozilla Add-ons.
- Open Extension: Open the IP Address extension and click on “Check IP.”
- Verify Location: The extension will display your current IP address and its geographical location.
Additional Tips
- Regularly Check Your VPN Location: It’s a good practice to regularly check your VPN location to ensure that it hasn’t changed unexpectedly.
- Use Multiple Methods: Using multiple methods can help you verify the accuracy of your VPN location.
- Choose a Reliable VPN Service: Selecting a reliable VPN service with good server coverage and fast speeds is essential for maintaining a secure and private internet connection.
By following these tips and using the methods outlined above, you can effectively check your VPN location and ensure that your online activities remain private and secure.

