Home>Software and Apps>How To Get A VPN On A School Computer


Software and Apps
How To Get A VPN On A School Computer
Modified: September 5, 2024
Learn how to safely install software and apps like a VPN on your school computer with our step-by-step guide. Bypass restrictions and access blocked content easily.
(Many of the links in this article redirect to a specific reviewed product. Your purchase of these products through affiliate links helps to generate commission for Techsplurge.com, at no extra cost. Learn more)
Table of Contents
Understanding VPNs and Their Importance
Installing a Virtual Private Network (VPN) on a school computer can be challenging, especially with network restrictions. However, with proper guidance and awareness of potential risks and benefits, setting up a VPN becomes manageable.
Read more: How To Chromecast To Computer
Why Use a VPN on a School Computer?
- Security and Privacy: Protect personal data from interception by third parties, including network administrators or hackers.
- Accessing Restricted Content: Bypass school-imposed restrictions on certain websites by routing traffic through a different server location.
- Enhanced Browsing Experience: Encrypting traffic can improve browsing by making it harder for others to monitor online activities.
Risks and Consequences
- School Policies: Most schools have strict rules against unauthorized software, including VPNs. Violating these can lead to disciplinary actions like suspension or expulsion.
- Network Security: Improperly configured VPNs might compromise school network security or introduce malware.
Selecting a Reputable VPN Provider
Choosing the right VPN provider is crucial for a secure and reliable experience.
Steps to Select a Reputable VPN Provider
- Research Top Providers: Look for well-known VPN providers such as ExpressVPN, CyberGhost, and NordVPN.
- Check Features and Pricing: Compare features and pricing plans to find the best fit.
- Read Reviews and Testimonials: Online reviews and testimonials can provide insights into performance and reliability.
Read more: How To Get A VPN
Popular VPN Providers
-
ExpressVPN:
- High-speed servers and robust security features.
- 30-day money-back guarantee.
-
CyberGhost:
- User-friendly interface and strong encryption.
- 45-day money-back guarantee.
-
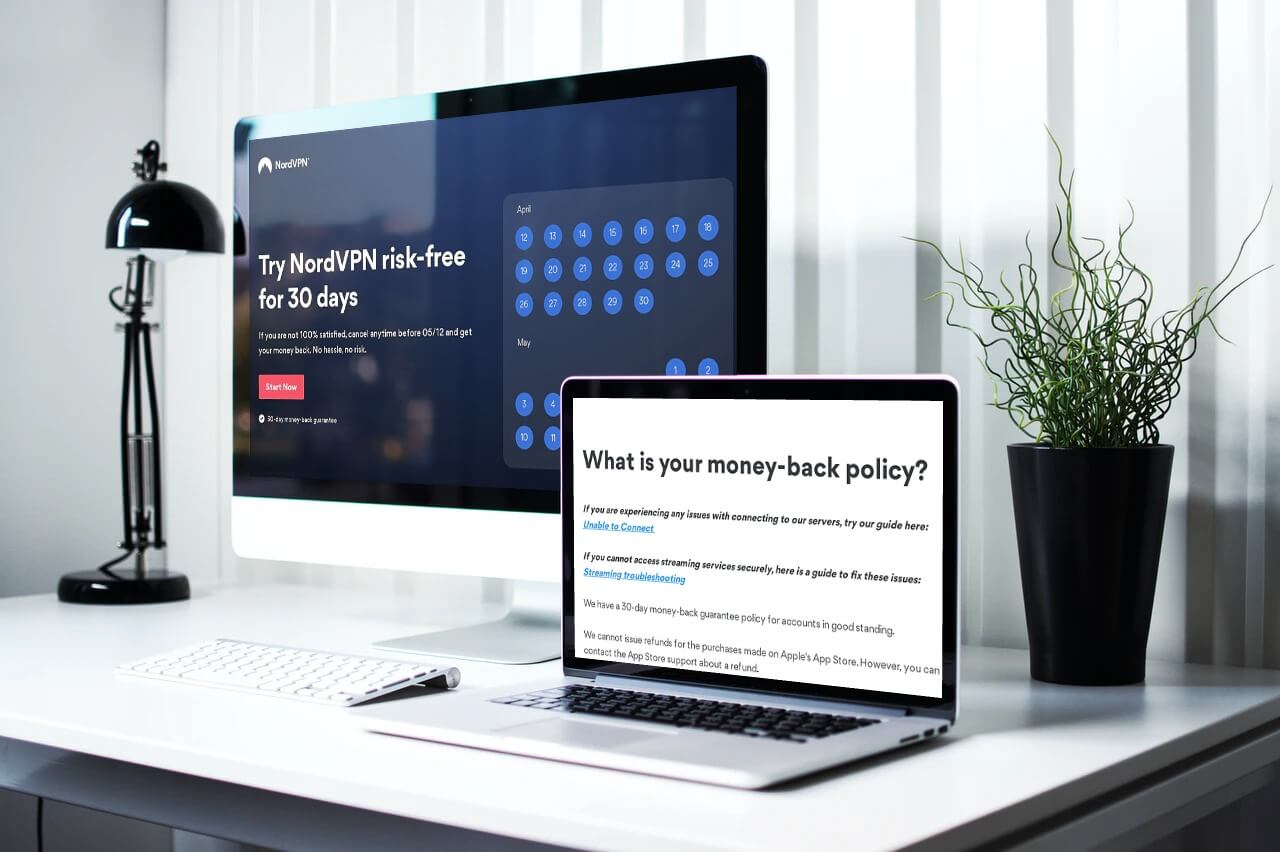
NordVPN:
- Advanced security features like double encryption and a no-logs policy.
- 30-day money-back guarantee.
Creating an Account with the VPN Provider
After selecting a VPN provider, create an account on their official website.
- Visit the Provider's Website: Navigate to the chosen VPN provider's website.
- Sign Up: Locate the “Sign Up” button, usually in the top-right corner.
- Provide Email and Password: Enter an email address and create a password. Follow the instructions to complete the account setup.
Downloading and Installing the VPN Client
After creating an account, download and install the VPN client on the school computer.
- Visit the Download Section: Go to the “Download” section of the VPN provider's website.
- Select the Correct Client Version: Choose the client version matching the computer's operating system (Windows, macOS, or Linux).
- Download the Client: Click the download link to start the process. The file is usually an .exe or .dmg file.
- Install the Client: Locate the downloaded file and double-click to start the installation. Administrator rights may be needed, so consider asking the IT department for permissions or use a portable VPN client that doesn’t require installation.
Installation Steps
- Run the Installer: Double-click the downloaded file.
- Follow On-Screen Instructions: Complete the installation by following on-screen instructions. Administrator password may be required.
- Launch the VPN App: Open the VPN app and log in with credentials.
Read more: How To Get Into Augmented Reality
Configuring the VPN Connection
After installing and launching the VPN app, configure the connection settings.
- Select a Server Location: Choose a server location geographically close for optimal speed and performance.
- Configure Additional Settings: Depending on the VPN provider, configure additional settings like proxy settings or specific network protocols.
- Connect to the VPN: Click the “Connect” button to activate the VPN, ensuring online identity protection and private browsing.
Verifying the VPN Connection
To verify the VPN connection is secure, use a website like https://ipleak.net to check the IP address. If it matches the one shown in the VPN app, the connection is secure. If not, disconnect and reconnect to the server.
Using the VPN Safely
Using a VPN on a school computer requires caution to avoid potential risks.
- Understand School Policies: Ensure understanding of school policies regarding VPN usage. Violating these can result in serious consequences.
- Use the VPN Responsibly: Only use the VPN for legitimate purposes and avoid activities that could compromise network security.
- Disconnect When Not in Use: Always disconnect from the VPN server when not in use to minimize potential security risks.
Uninstalling the VPN Client
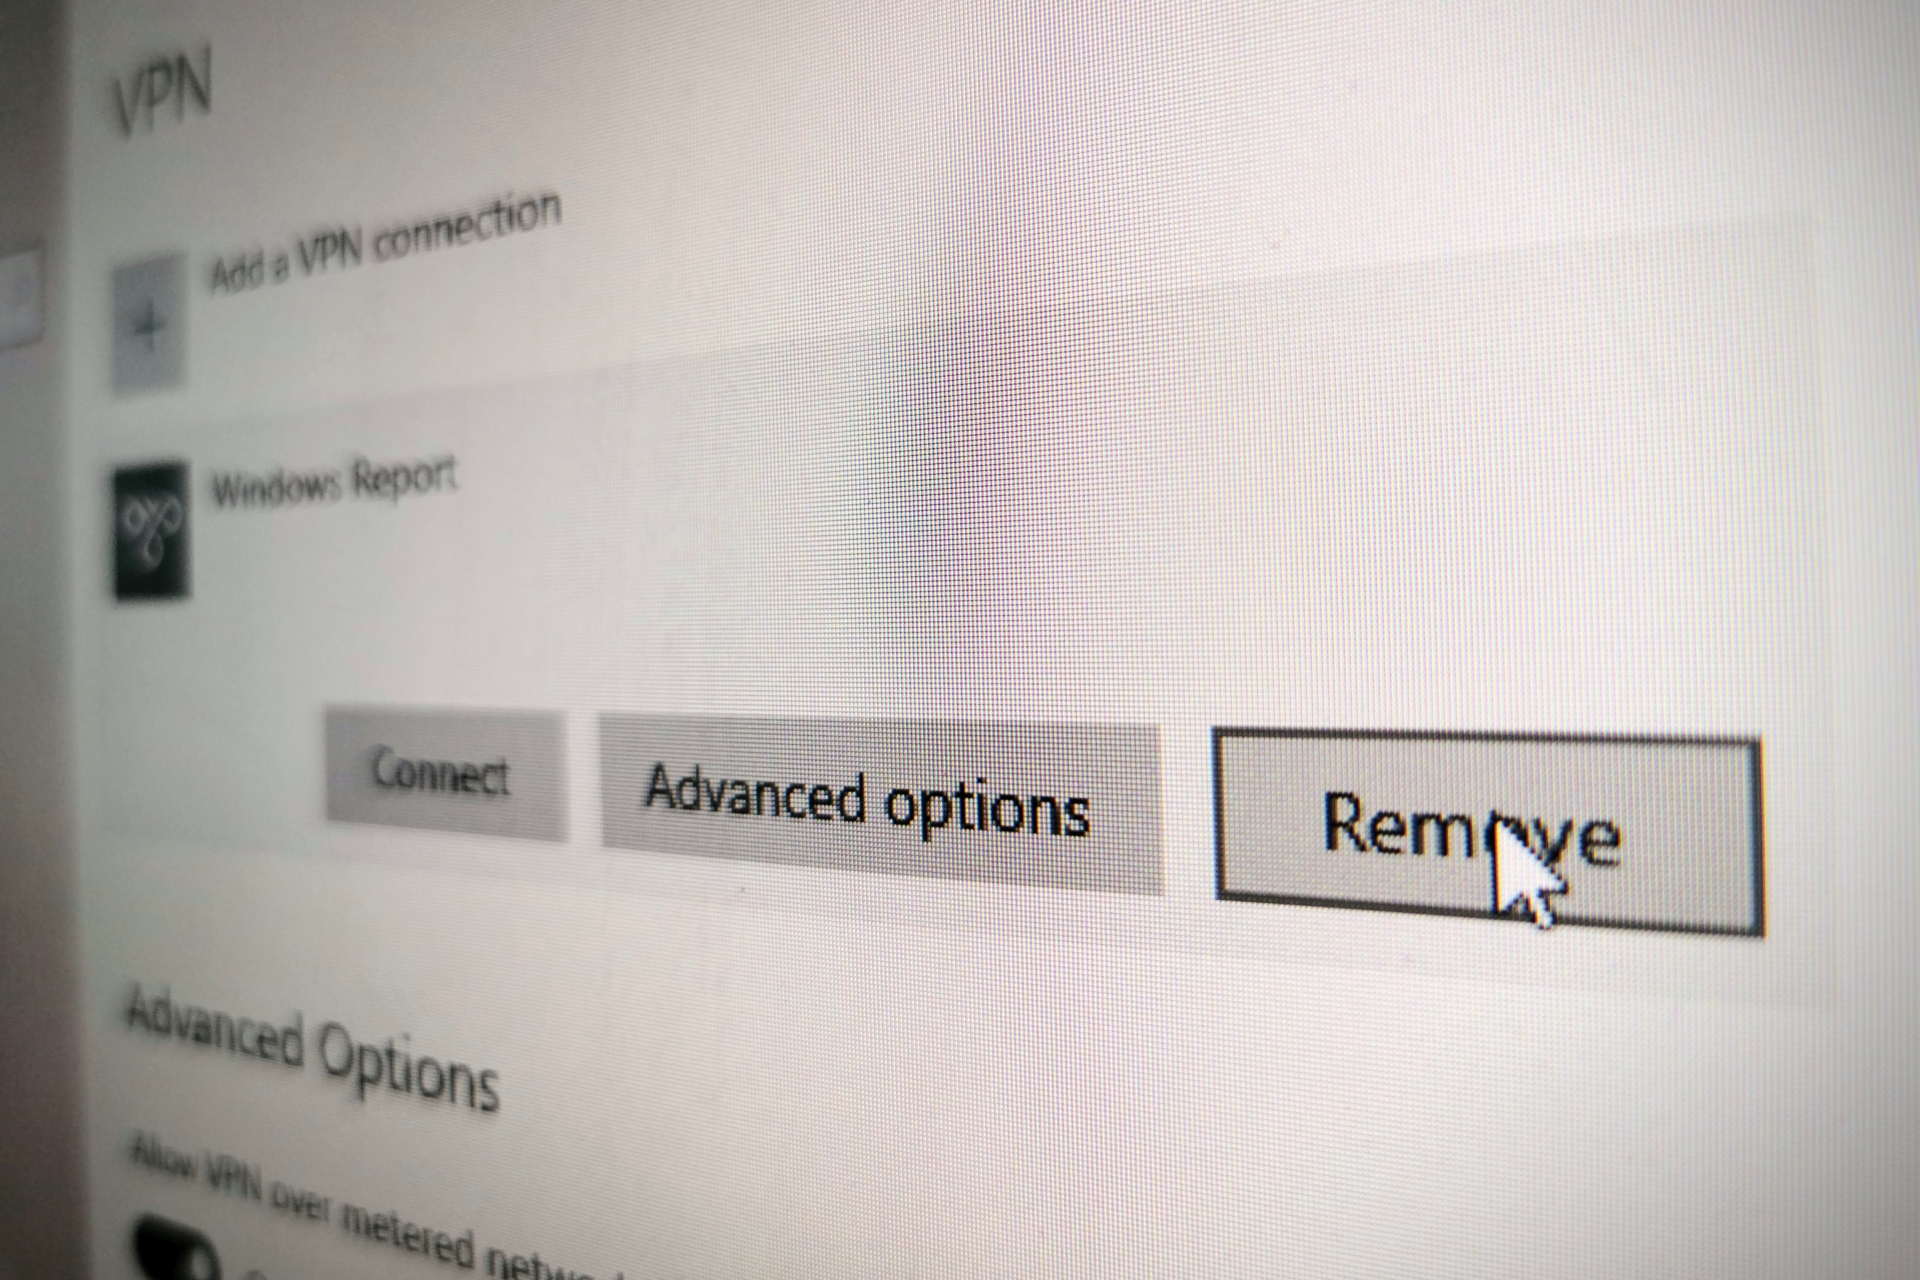
When the VPN is no longer needed, uninstall the client to remove any traces of its use.
- Open Control Panel/Settings: Depending on the operating system, go to Control Panel or Settings.
- Select Apps: Find the VPN client in the list of installed apps.
- Uninstall: Follow the uninstall instructions provided by the operating system. On macOS, drag the VPN app to the trash bin; on Windows, use the “Add or Remove Programs” feature.
By following these steps and understanding the importance of VPNs, ensure a secure and private browsing experience on a school computer.


