
Home>Reviews>Gadgets>Reviving Chromecast: How to Reboot and Get it Running Again
Gadgets
Reviving Chromecast: How to Reboot and Get it Running Again
Modified: September 5, 2024
Learn how to revive your Chromecast and get it running again with these simple rebooting techniques. Get your gadgets back up and running in no time!
(Many of the links in this article redirect to a specific reviewed product. Your purchase of these products through affiliate links helps to generate commission for Techsplurge.com, at no extra cost. Learn more)
Table of Contents
Understanding Chromecast Basics
Before diving into troubleshooting, it's essential to grasp the basics of Chromecast. This small, compact device plugs into your TV's HDMI port, connects to your Wi-Fi network, and streams content from your smartphone, tablet, or computer to your TV. Using Google's Cast technology, it mirrors or extends your screen, making it perfect for watching movies, playing games, and more.
Types of Chromecast Devices
Over the years, Google has released several versions of Chromecast. The most common ones include:
- Chromecast (1st Generation): The original model that started it all.
- Chromecast 2nd Generation: An improved version with a faster processor and better Wi-Fi connectivity.
- Chromecast Ultra: Designed for 4K streaming with HDR support.
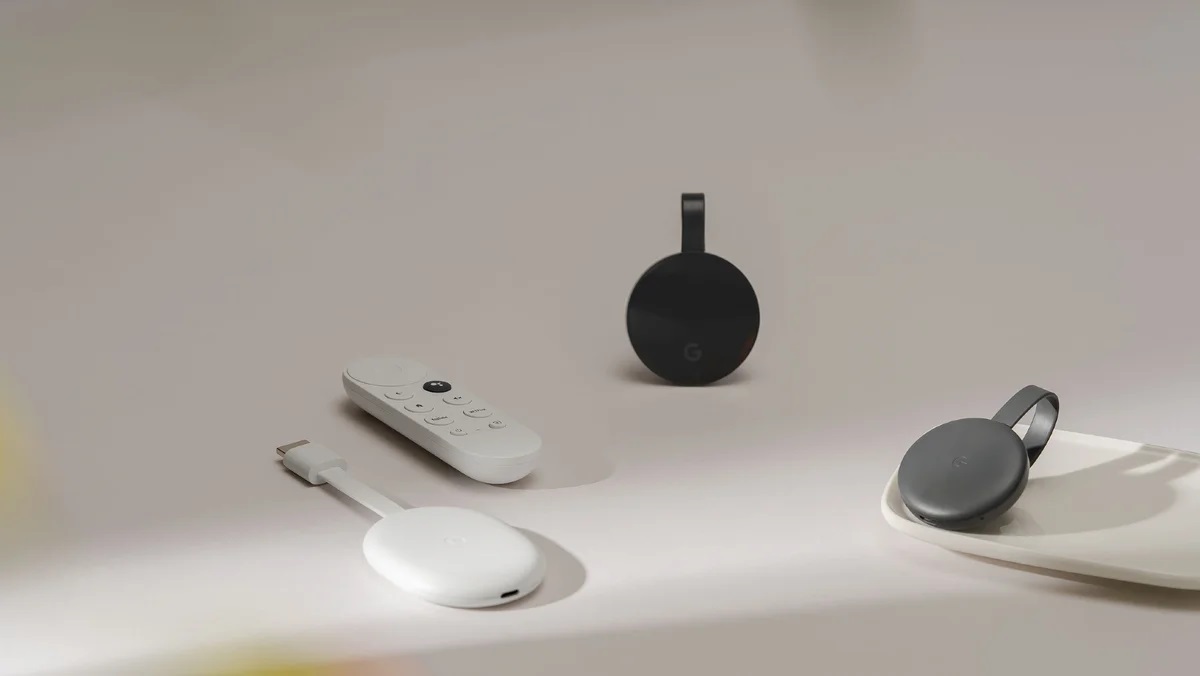
- Chromecast with Google TV: The latest model featuring a built-in remote and improved interface.
Each model has its own set of features and specifications, but the basic principle of operation remains the same.
Common Issues with Chromecast
Chromecast can experience various issues that might require a reboot or more advanced troubleshooting. Here are some common problems you might encounter:
Device Not Connecting to Wi-Fi
Symptoms: Your Chromecast is not detecting your Wi-Fi network or is unable to connect.
Causes: Weak Wi-Fi signal, incorrect network settings, or firmware issues.
Solutions: Move the Chromecast closer to your router, restart your router, or check if your network settings are correct.
Streaming Issues
Symptoms: Video playback is choppy, lagging, or freezing.
Causes: Insufficient bandwidth, outdated firmware, or hardware limitations.
Solutions: Check your internet speed, update your Chromecast's firmware, or consider upgrading to a higher-end model.
App Not Recognizing Device
Symptoms: The app you're using does not recognize your Chromecast.
Causes: Outdated app version, incorrect device settings, or interference from other devices.
Solutions: Update the app to the latest version, ensure that your device settings are correct, and try restarting both devices.
Device Freezing or Crashing
Symptoms: Your Chromecast freezes or crashes frequently.
Causes: Overheating, software glitches, or hardware failure.
Solutions: Unplug the device for 30 seconds to cool down, perform a factory reset if necessary, or consider replacing it if it's old.
Steps to Reboot Your Chromecast
Rebooting your Chromecast is often the simplest and most effective way to resolve common issues. Here’s how you can do it:
Method 1: Unplug and Replug
- Locate Your Chromecast: Find your Chromecast device and unplug it from the power source.
- Wait for 30 Seconds: Allow the device to cool down and discharge any residual power.
- Plug It Back In: Reconnect the power cord to the wall outlet.
- Wait for It to Boot Up: Give it a few minutes to boot up and connect to your Wi-Fi network.
Method 2: Restart via Google Home App
If unplugging and replugging doesn’t work, you can try restarting it using the Google Home app:
- Open Google Home App: Launch the Google Home app on your smartphone or tablet.
- Select Your Device: Tap on the device icon representing your Chromecast.
- Tap on Settings Icon: Look for three horizontal lines or a gear icon at the top right corner of the screen.
- Choose Restart Option: Select “Restart” from the menu options.
- Confirm Restart: Confirm that you want to restart your device.
Method 3: Perform a Factory Reset
If restarting doesn’t resolve the issue, you might need to perform a factory reset:
- Open Google Home App: Launch the Google Home app on your smartphone or tablet.
- Select Your Device: Tap on the device icon representing your Chromecast.
- Tap on Settings Icon: Look for three horizontal lines or a gear icon at the top right corner of the screen.
- Choose Factory Reset Option: Select “Factory Reset” from the menu options.
- Confirm Factory Reset: Confirm that you want to perform a factory reset by tapping “Reset.”
Note that performing a factory reset will erase all settings and data stored on your device, so make sure you have backed up any important information before proceeding.
Advanced Troubleshooting Steps
If rebooting doesn’t resolve your issue, there are several advanced troubleshooting steps you can take:
Check Wi-Fi Network
Ensure that your Wi-Fi network is stable and strong enough for streaming purposes:
- Check Network Strength: Move closer to your router if possible or consider upgrading your router for better coverage.
- Restart Router: Sometimes restarting your router can resolve connectivity issues with other devices as well.
Update Firmware
Outdated firmware can cause compatibility issues with newer apps or services:
- Open Google Home App: Launch the Google Home app on your smartphone or tablet.
- Select Your Device: Tap on the device icon representing your Chromecast.
- Tap on Settings Icon: Look for three horizontal lines or a gear icon at the top right corner of the screen.
- Check Firmware Updates: Look for any available firmware updates and follow instructions provided by Google Home app.
Clear Cache
Clearing cache can help resolve issues related to app performance:
- Open Google Home App: Launch Google Home app on your smartphone or tablet.
- Select Your Device: Tap on device icon representing Chromecast.
- Tap on Settings Icon: Look for three horizontal lines or gear icon at top right corner of screen.
- Choose Clear Cache Option: Select “Clear Cache” from menu options if available.
Check for Interference
Other devices in your home might be interfering with Wi-Fi signals:
- Move Devices Away: Try moving other devices away from Chromecast to reduce interference.
- Use Wi-Fi Analyzer Tool: Use tools like Wi-Fi Analyzer (available for Android) to scan nearby networks and identify channels causing interference.
Additional Tips for Maintaining Your Chromecast
To ensure optimal performance from your Chromecast, here are some additional tips:
Regularly Update Apps
Keep all apps up-to-date to ensure compatibility with latest features and bug fixes:
- Update Streaming Apps: Regularly update streaming apps like Netflix, YouTube, etc., from respective app stores.
- Update Google Home App: Ensure that Google Home app is also updated regularly as it controls many functions related to Chromecast.
Use Quality HDMI Cable
A good quality HDMI cable can improve video quality and reduce lag:
- Check HDMI Cable Quality: Ensure that you're using a high-quality HDMI cable capable of handling high-definition video streams.
- Replace Old Cables: If using an old cable, consider replacing it with a new one for better performance.
Keep Software Updated
Regularly update software on both Chromecast and connected devices:
- Update Firmware Regularly: Keep firmware updated on Chromecast by following instructions provided by Google Home app.
- Update Operating System: Ensure that operating system on connected devices like smartphones or tablets is also updated regularly.
Rebooting and reviving your Chromecast is often straightforward but requires patience and persistence when dealing with complex issues. By following these steps—unplugging and replugging, restarting via Google Home app, performing factory reset—you should be able to resolve most common problems associated with Chromecast devices. Additionally, maintaining good network strength, updating firmware regularly, clearing cache when necessary, checking for interference from other devices can help prevent future malfunctions.
Sometimes hardware failure might require professional assistance or replacement depending upon age and usage patterns over time. However, following these guidelines should help you troubleshoot effectively without needing external help most of the time.