
Gadgets
How To Change WiFi On Chromecast
Modified: September 5, 2024
Learn how to change the WiFi network on your Chromecast and stay connected to your favorite gadgets hassle-free. Get step-by-step instructions and troubleshooting tips.
(Many of the links in this article redirect to a specific reviewed product. Your purchase of these products through affiliate links helps to generate commission for Techsplurge.com, at no extra cost. Learn more)
Table of Contents
Why Change WiFi on Chromecast?
Understanding why you might need to change the WiFi network on your Chromecast is essential. Here are a few common scenarios:
- New Home Network: Moving to a new home requires connecting your Chromecast to the new WiFi network.
- Internet Service Provider Change: Changes in your ISP might necessitate updating network details on your devices.
- Network Security: Addressing security issues with your current network might require a change.
- Performance Issues: Poor streaming quality or frequent disconnections could be resolved by switching networks.
Read more: How To Change VPN
Prerequisites
Before changing the WiFi network on your Chromecast, ensure you have:
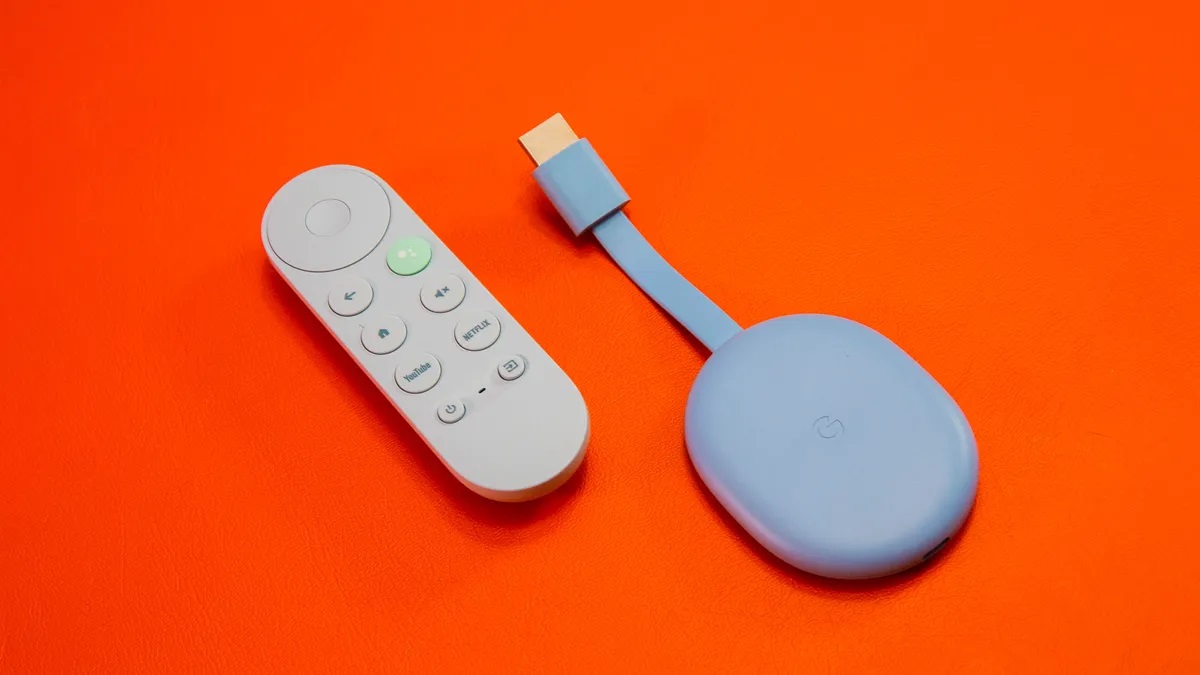
- Chromecast Device: A functioning Chromecast device.
- Mobile Device or Computer: A smartphone or tablet running Android or iOS, or a computer with Google Chrome installed.
- New WiFi Network Details: The SSID (network name) and password of the new WiFi network.
Step-by-Step Guide to Changing WiFi on Chromecast
Using a Mobile Device
-
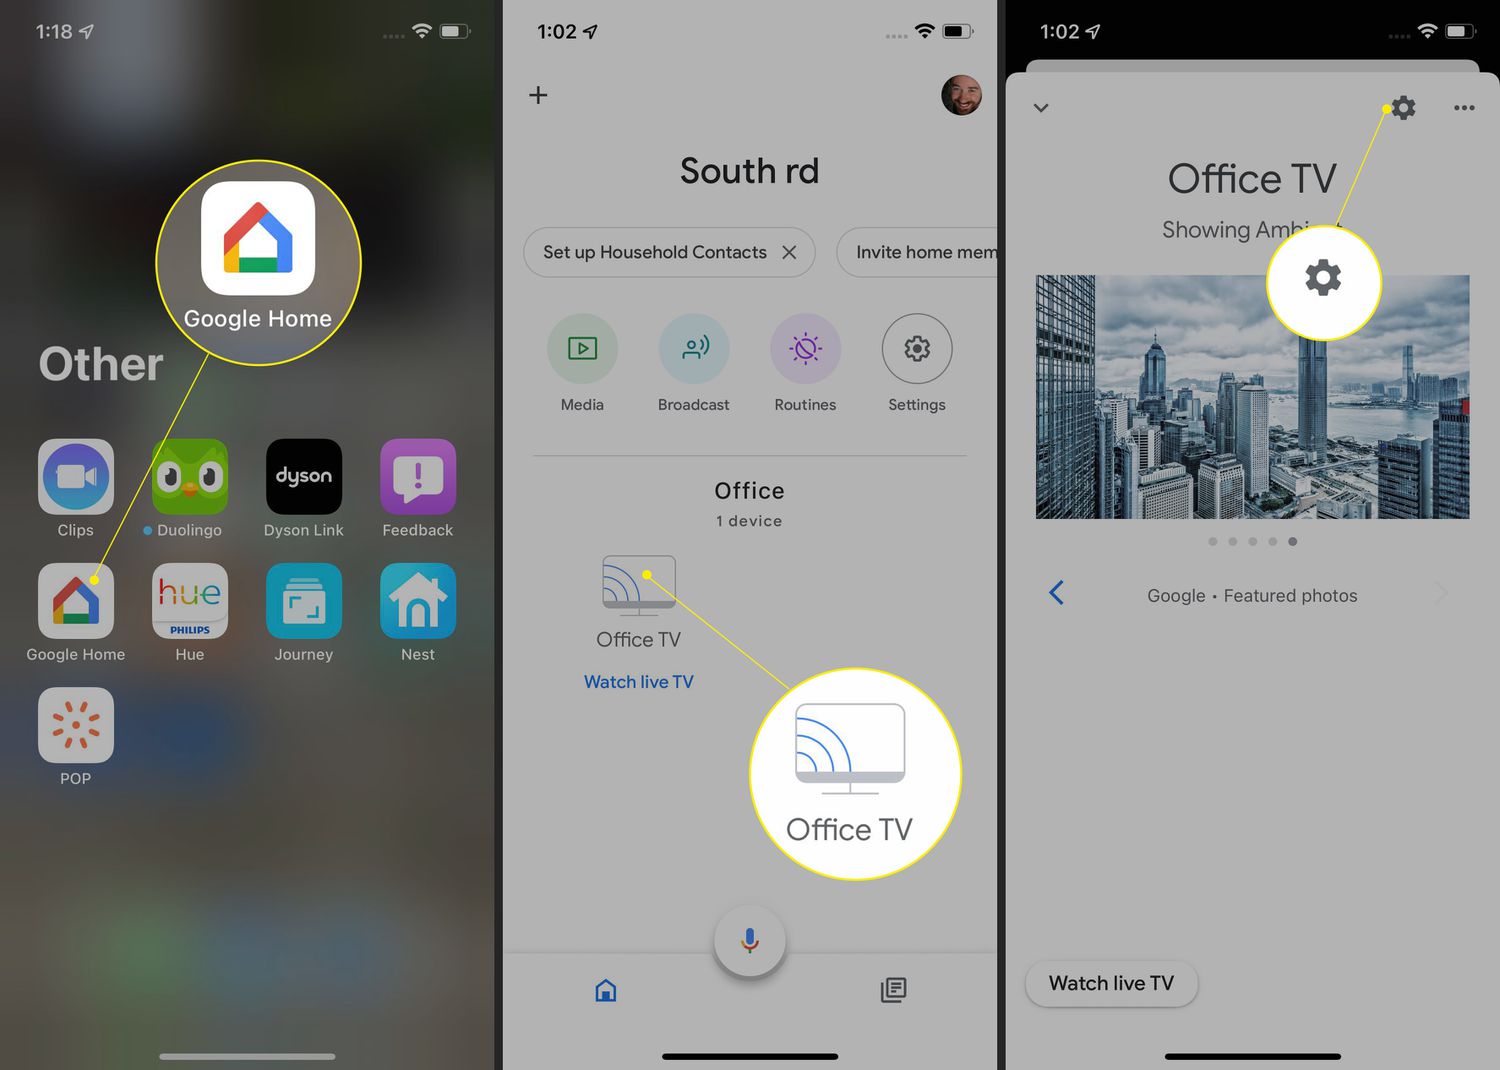
Open Google Home App:
- On your mobile device, open the Google Home app. Download it from the App Store (iOS) or Google Play Store (Android) if not already installed.
-
Select Your Chromecast:
- Tap the device icon in the top-left corner of the screen.
- Choose your Chromecast from the list of available devices.
-
Go to Settings:
- Tap the three horizontal lines (menu icon) in the top-left corner.
- Scroll down and select “Settings.”
-
Network Settings:
- In the settings menu, find “Network” or “Wi-Fi” and tap on it.
-
Change WiFi Network:
- Tap “Forget Network” next to your current network.
- The Chromecast will disconnect from its current WiFi network.
-
Reconnect to New Network:
- Tap “Set up new device.”
- Select your new WiFi network from the available networks list.
- Enter the password for your new WiFi network when prompted.
-
Wait for Connection:
- The Chromecast will attempt to connect to the new WiFi network. This process may take a few moments.
-
Verify Connection:
- A confirmation message will indicate that your Chromecast has successfully connected to the new WiFi network.
Using a Computer
-
Open Google Chrome:
- On your computer, open Google Chrome and navigate to chrome://devices.
-
Select Your Chromecast:
- A list of available devices connected via Google Cast will appear. Click on your Chromecast device.
-
Network Settings:
- In the device settings, click on “Network.”
-
Change WiFi Network:
- Click “Forget Network” next to your current network.
- The Chromecast will disconnect from its current WiFi network.
-
Reconnect to New Network:
- Click “Set up new device.”
- Select your new WiFi network from the available networks list.
- Enter the password for your new WiFi network when prompted.
-
Wait for Connection:
- The Chromecast will attempt to connect to the new WiFi network. This process may take a few moments.
-
Verify Connection:
- A confirmation message will indicate that your Chromecast has successfully connected to the new WiFi network.
Read more: How To Connect Chromecast To WiFi
Troubleshooting Tips
Changing the WiFi network on your Chromecast might encounter some issues. Here are some troubleshooting tips to help resolve common problems:
Connection Issues
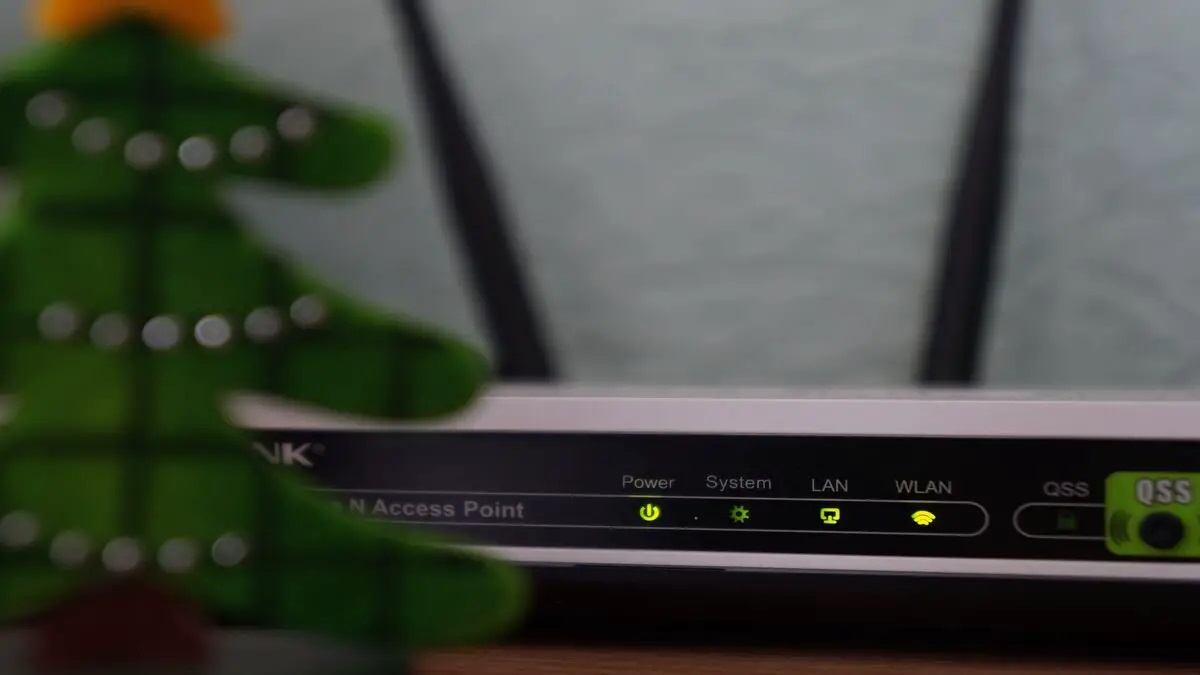
- Restart Your Router:
- Restarting your router can often resolve connectivity issues.
- Check WiFi Signal Strength:
- Ensure you're within range of the WiFi signal and that it's strong enough for stable streaming.
- Check for Interference:
- Other devices might interfere with your WiFi signal. Try moving your router or using a WiFi analyzer app to identify potential sources of interference.
Authentication Errors
- Check Password Spelling:
- Double-check that you've entered the correct password for your new WiFi network.
- Use WPA2 Encryption:
- Ensure your new WiFi network uses WPA2 encryption for better security.
Device Not Showing Up
- Restart Chromecast:
- Restarting your Chromecast can resolve issues where it doesn't show up in the list of available devices.
- Check for Firmware Updates:
- Ensure your Chromecast is running the latest firmware by checking for updates in the Google Home app or through the Google Cast website.
Additional Tips for Optimal Performance
For the best performance from your Chromecast, consider these additional tips:
- Use a 5GHz Channel:
- If possible, use a 5GHz channel for better performance and less interference compared to 2.4GHz channels.
- Avoid Overcrowding:
- Avoid overcrowding your WiFi network with too many devices connected simultaneously, as this can lead to performance issues.
- Use Quality of Service (QoS) Settings:
- If you have advanced networking capabilities, consider setting up Quality of Service (QoS) settings to prioritize traffic for critical applications like video streaming.
Changing the WiFi network on your Chromecast is a straightforward process that can be completed using either a mobile device or a computer. By following these steps and troubleshooting tips, you'll be able to switch between different WiFi networks without disrupting your streaming experience. Maintaining a stable and secure connection is crucial for uninterrupted entertainment. Keeping your Chromecast firmware up-to-date and ensuring optimal network settings will allow you to enjoy all that Google's streaming technology has to offer. Happy streaming!

