
Gadgets
How To Connect Chromecast To WiFi
Modified: September 5, 2024
Learn how to connect your Chromecast to WiFi and start streaming your favorite content. Get step-by-step instructions for setting up your gadget hassle-free. Discover the best way to connect Chromecast to WiFi now!
(Many of the links in this article redirect to a specific reviewed product. Your purchase of these products through affiliate links helps to generate commission for Techsplurge.com, at no extra cost. Learn more)
Table of Contents
Plug in Your Chromecast Device
Step 1: Connect Chromecast to TV
- Insert Chromecast into HDMI port: Locate an available HDMI port on your TV and securely plug in the Chromecast device.
- Attach USB power cable: Connect the USB power cable to the Chromecast device.
- Connect USB cable to power adapter: Plug the other end of the USB power cable into the included power adapter.
- Plug power adapter into wall outlet: Ensure the power adapter is connected to a wall outlet.
Connect to the Correct HDMI Input
Step 2: Switch TV Input
- Change TV input: Use the TV remote to switch to the HDMI port where the Chromecast is connected.
- Verify welcome screen: Confirm that the Chromecast welcome screen appears on your TV.
Install the Google Home App
Step 3: Download and Install
- Get the Google Home app: Download the app from the App Store (iOS) or Google Play Store (Android).
- Open the app: Launch Google Home on your mobile device.
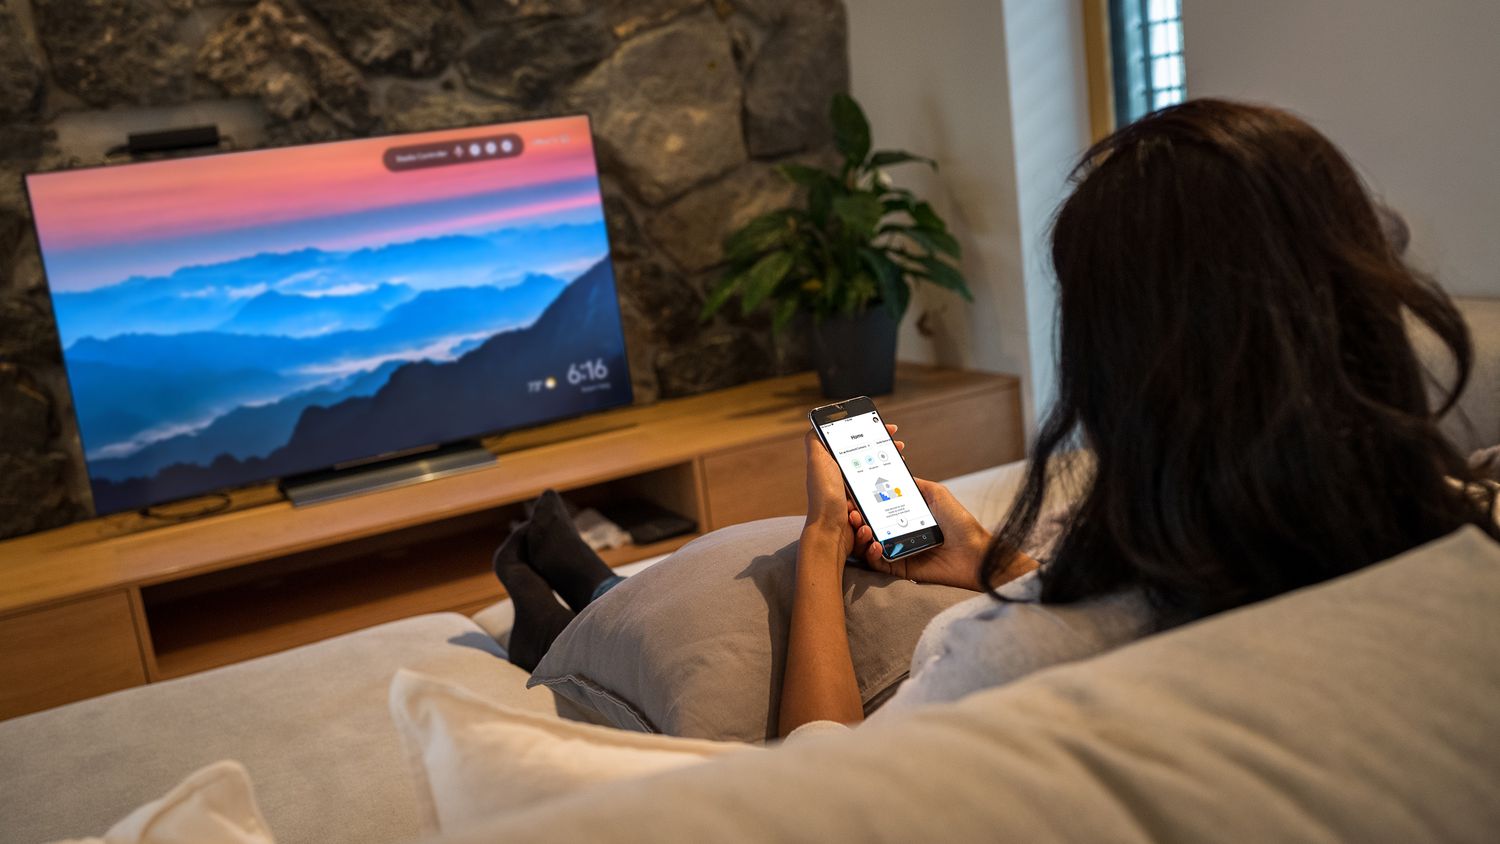
Setup Chromecast with Google Home
Step 4: Begin Setup
- Select ‘Set up device’: Open the Google Home app and choose ‘Set up device’.
- Choose ‘New device’: In the setup menu, select ‘New device’ to search for available Chromecast devices.
- Connect to Chromecast: Select your Chromecast from the list and follow on-screen instructions.
- Confirm code match: Ensure the code on your TV matches the one in the app.
Connect Chromecast to Wi-Fi
Step 5: Wi-Fi Connection
- Ensure same network: Make sure your mobile device is connected to the same Wi-Fi network you want for Chromecast.
- Follow prompts: During setup, select your Wi-Fi network and enter the password.
- Wait for connection: Allow a few moments for the connection to complete.
Troubleshooting Wi-Fi Connection Issues
Common Issues and Solutions
Other Devices Connecting?
If other devices connect to Wi-Fi but Chromecast does not, check for router firmware updates and ensure proper router functionality.
Business, Hotel, School, or Dorm?
Chromecast does not support networks requiring a captive portal, common in hotels, schools, dormitories, or businesses.
Using a Wi-Fi Hotspot?
Wi-Fi hotspots can cause connectivity issues. Use a stable Wi-Fi network instead.
Distance from Router
Ensure Chromecast is within 15 to 20 feet of both the setup device and Wi-Fi router for better signal strength.
Reboot Devices
Reboot the Wi-Fi router and Chromecast by unplugging them for about one minute before plugging back in.
Disable AP Isolation
If using a dual-band router, disable Access Point (AP) isolation to allow devices to connect.
Use a Different Setup Device
Try using another phone or tablet for setup if issues persist.
Manual Connection to SSID
Open your phone’s Settings app, tap Wi-Fi, and manually connect to Chromecast’s SSID. Then, open Google Home and set up the device again.
Additional Setup Steps
Sign into Google Account
You may need to sign into your Google Account during setup to activate Google Assistant and access various features.
Activate Google Assistant
Activate Google Assistant during setup to control Chromecast using voice commands.
Casting Content to Your TV
How to Cast
- Open a compatible app: Use apps like YouTube, Netflix, or Spotify on your mobile device or computer.
- Tap the ‘Cast’ icon: Look for the ‘Cast’ icon, usually resembling a TV with a Wi-Fi signal.
- Select Chromecast: Choose your Chromecast from the list of available devices to start casting content to your TV.