Home>Software and Apps>Mastering VPN on Mac: A Comprehensive Guide


Software and Apps
Mastering VPN on Mac: A Comprehensive Guide
Modified: September 5, 2024
Learn how to set up and use VPN on your Mac with our comprehensive guide. Explore the best software and apps for secure and private browsing. Unlock the full potential of VPN on Mac today!
(Many of the links in this article redirect to a specific reviewed product. Your purchase of these products through affiliate links helps to generate commission for Techsplurge.com, at no extra cost. Learn more)
Table of Contents
What is a VPN and Why Use It on a Mac?
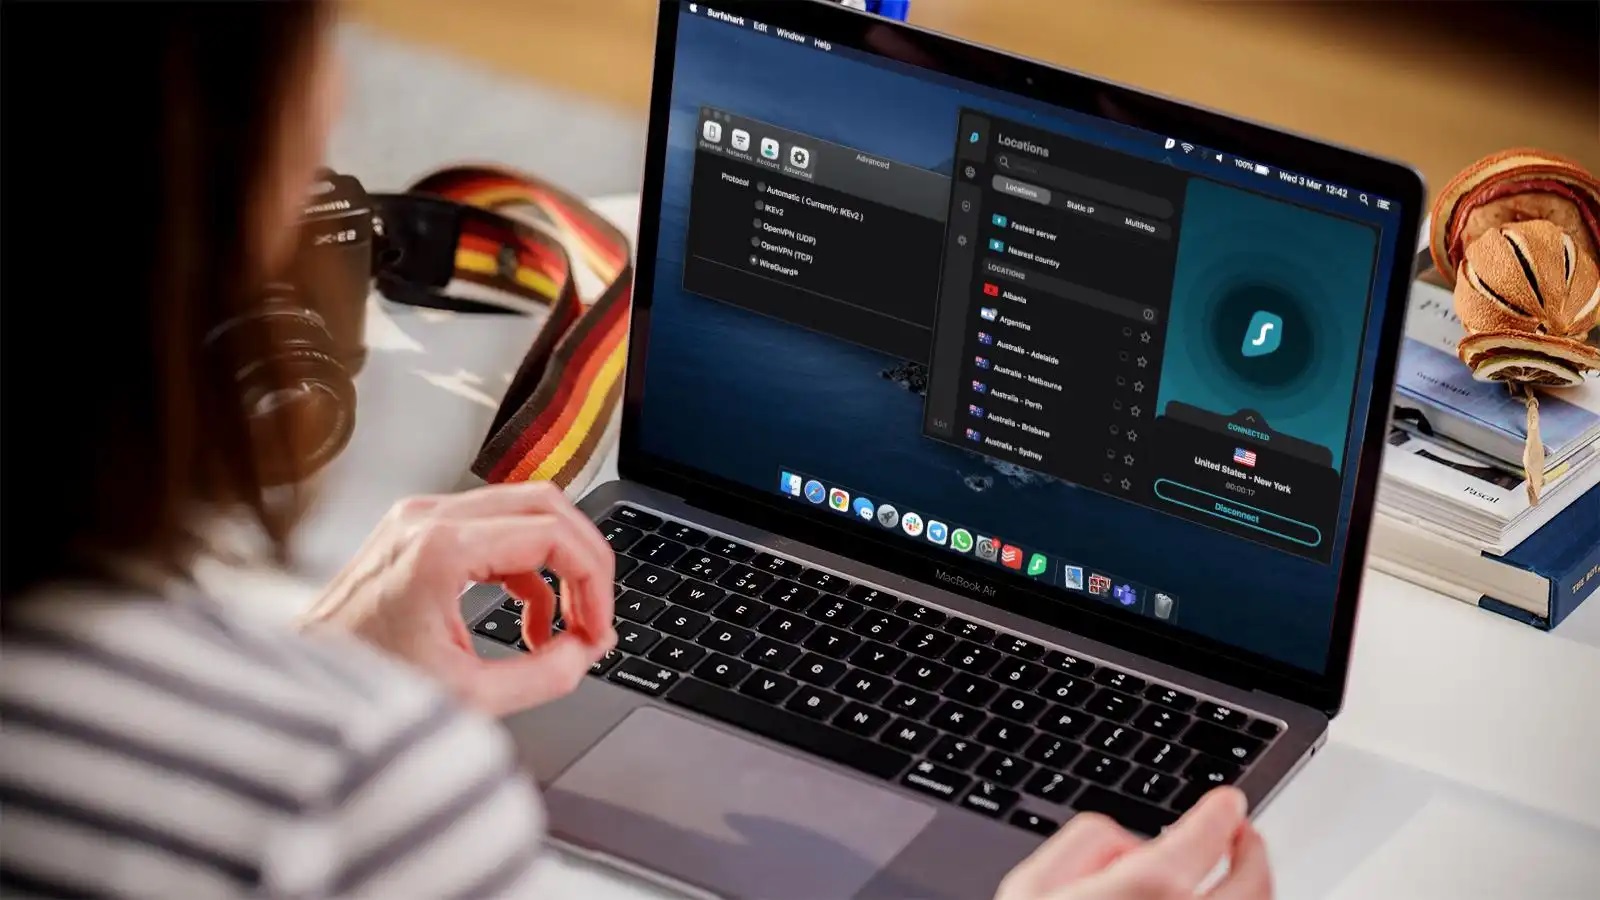
A VPN creates a secure channel for internet traffic, routing it through a protected server to safeguard online activities. Here are compelling reasons to use a VPN on your Mac:
- Enhanced Security: Encrypts internet traffic, shielding data from hackers and cyber threats.
- Privacy Protection: Masks your IP address, making it difficult for third parties to track online activities.
- Access to Geo-Restricted Content: Bypass restrictions by connecting to a server in a different country.
- Public Wi-Fi Safety: Ensures data remains secure and private, even on compromised networks.
Key Features to Look For in a VPN
When selecting a VPN for your Mac, consider these key features:
Configuration Settings and Compatibility
- Detailed configuration settings, including server address, account name, and authentication settings.
- Compatibility with macOS for a seamless experience.
Reliable Customer Support
- Access to comprehensive support from the VPN provider.
- Detailed setup guides and responsive customer service.
Protocols Offered
- Support for protocols beneficial to Mac users, such as L2TP, IPSec, and IKEv2.
- Stable and secure VPN connection.
Privacy and Security
- Transparent data collection and usage policies.
- Robust encryption methods, like AES 256-bit.
Server Availability and Location
- A vast network of servers around the globe.
- Connect to a server close to you for better speed and access to geo-restricted content.
Speed and Performance
- Fast connection speeds to enjoy uninterrupted browsing and streaming.
- Ensure the VPN does not hinder your device’s performance.
User Interface
- Intuitive and user-friendly interface.
- Clean and straightforward design mirroring macOS.
Setting Up a VPN on Your Mac
Setting up a VPN on your Mac is relatively straightforward. Follow these steps:
Step 1: Choose a VPN Provider
Select a reliable VPN provider that meets your needs. Research different providers, considering factors like server availability, protocol support, and customer support.
Step 2: Obtain VPN Configuration Settings
Obtain the necessary configuration settings from your chosen VPN provider. These settings typically include:
- Server Address: IP address or hostname of the VPN server.
- Account Name: Username or account name for the VPN.
- Password: Password for the VPN.
- Authentication Method: Method used to authenticate your connection, such as a certificate or username/password combination.
Step 3: Enter VPN Settings Manually
If you don’t receive a VPN settings file, enter the settings manually:
-
Open System Settings:
- Click the Apple menu and select “System Settings.”
-
Navigate to Network Settings:
- In System Settings, click on “Network” in the sidebar.
-
Add VPN Configuration:
- Click the Action pop-up menu on the right and choose “Add VPN Configuration.”
-
Select VPN Type:
- Choose the type of VPN connection you want to set up, such as L2TP over IPSec, Cisco IPSec, or IKEv2.
-
Enter VPN Service Details:
- Enter a name for the new VPN service in the Display Name field.
- For L2TP over IPSec, click the Configuration pop-up menu and select a configuration. Use the Default configuration if multiple configurations are unnecessary.
-
Enter Required Settings:
- Enter required settings, including server address, account name, password, and authentication method.
- For L2TP over IPSec, enter additional settings such as Options, TCP/IP, DNS, and Proxies.
- For Cisco IPSec or IKEv2, enter settings for DNS and Proxies.
-
Create the VPN Configuration:
- Click “Create” to add the VPN configuration.
Step 4: View or Modify a VPN Configuration
To modify an existing VPN configuration:
-
Open System Settings:
- Click the Apple menu and select “System Settings.”
-
Navigate to VPN Settings:
- In System Settings, click on “VPN” in the sidebar.
-
Modify VPN Configuration:
- Click the Info button next to the VPN service you want to modify.
- Change any settings if needed.
- Click “OK” (or “Cancel” if no changes are needed).
Step 5: Remove a VPN Configuration
To remove a VPN configuration:
-
Open System Settings:
- Click the Apple menu and select “System Settings.”
-
Navigate to VPN Settings:
- In System Settings, click on “VPN” in the sidebar.
-
Remove VPN Configuration:
- Click the Info button next to the VPN service you want to remove.
- Click “Remove Configuration,” then confirm removal.
Using the VPN Status Icon
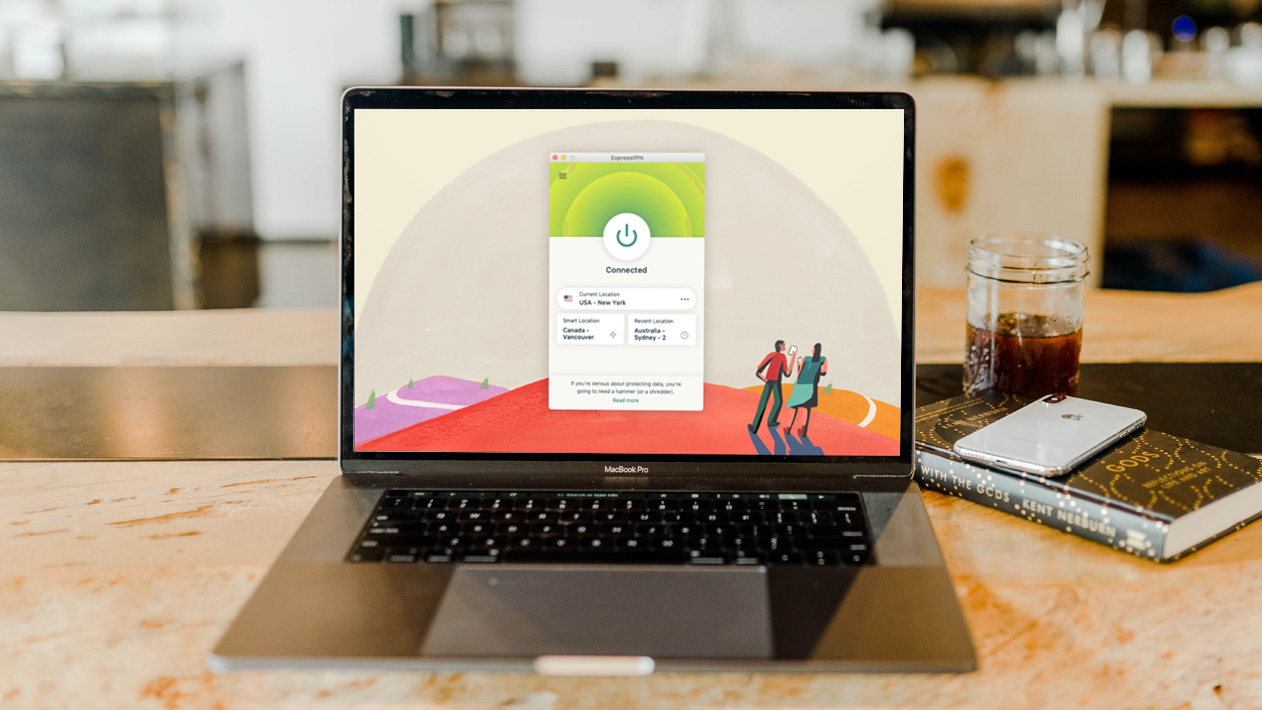
Once set up, use the VPN status icon in the menu bar to connect to the network and switch between VPN services. This icon provides quick access to configurations, allowing easy toggling of the VPN.
Troubleshooting Common Issues
While setting up a VPN on your Mac is generally straightforward, common issues may arise. Here are troubleshooting tips:
Read more: Mastering VPN Management
Connection Issues
- Ensure a stable internet connection and correct configuration settings.
- Check firewall settings to ensure they are not blocking the VPN connection.
Authentication Problems
- Double-check username and password.
- Ensure the correct authentication method is used (e.g., certificate or username/password combination).
Server Issues
- Try connecting to a different server within the same region or a nearby location.
Performance Issues
- Switch to a different server or adjust VPN settings for better performance.
Additional Tips for Using a VPN on Your Mac
-
Regularly Update Your VPN Software:
- Ensure you have the latest security patches and features.
-
Use a Reliable VPN Provider:
- Choose a reputable provider known for reliability and strong security features.
-
Monitor Your Data Usage:
- Be mindful of data usage, especially on a limited data plan.
-
Use Two-Factor Authentication (2FA):
- Enable 2FA whenever possible for added security.
Mastering a VPN on your Mac involves understanding key features, setting up configurations correctly, and troubleshooting common issues. By following these steps and tips, you can ensure a secure and private online experience. Prioritize online security and privacy by choosing a reliable VPN provider and regularly updating your software. With these guidelines, you’ll be well-equipped to navigate the world of VPNs on your Mac.


