
Home>Software and Apps>How To Change VPN
Software and Apps
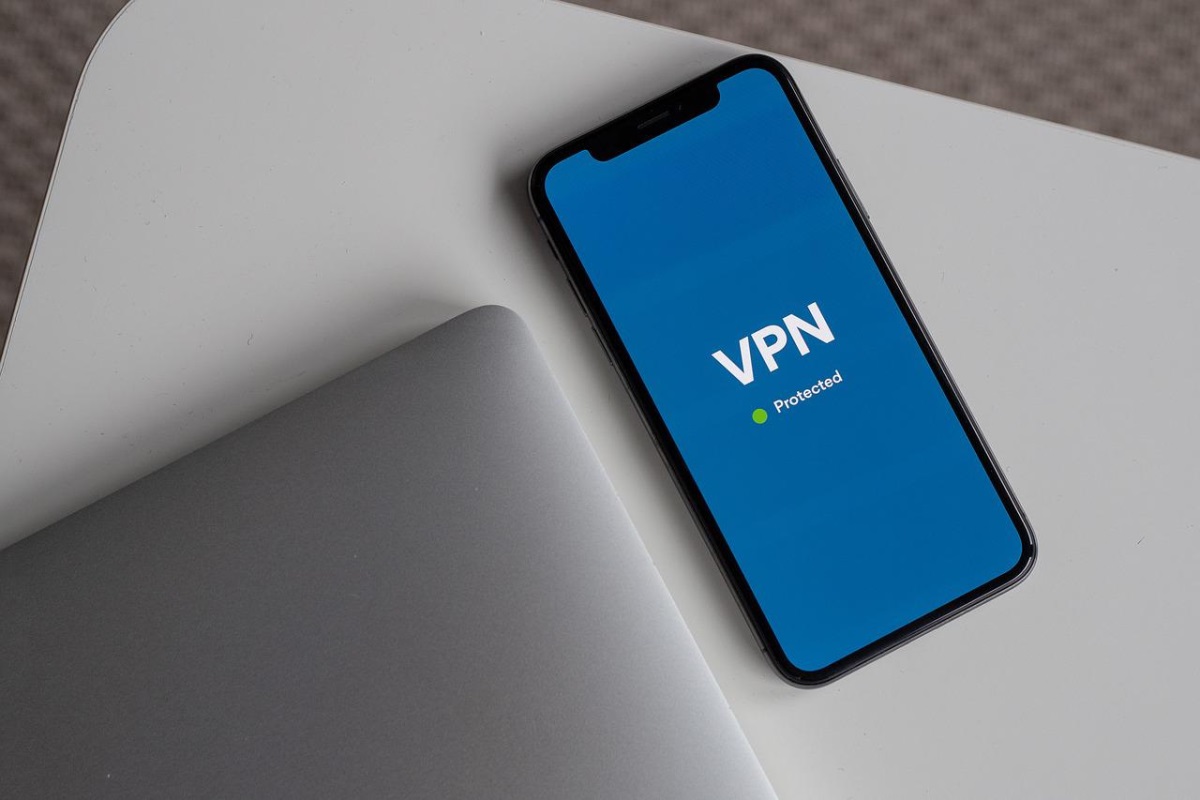
How To Change VPN
Modified: September 5, 2024
Learn how to change VPN settings on your device with our step-by-step guide. Find the best software and apps for seamless VPN switching. Protect your online privacy today!
(Many of the links in this article redirect to a specific reviewed product. Your purchase of these products through affiliate links helps to generate commission for Techsplurge.com, at no extra cost. Learn more)
Why Change Your VPN?
Understanding the reasons for switching VPNs can help you make an informed decision. Here are some common motivations:
- Security Concerns: Suspecting your current VPN is compromised or lacks adequate security? It's time to switch. Seek VPNs with robust encryption and a strong security track record.
- Performance Issues: Experiencing slow speeds or frequent disconnections? A better-optimized VPN can significantly enhance your online experience.
- Geographical Restrictions: Need to access region-restricted content? A VPN can mask your IP address, making it appear as though you're browsing from a different location.
- Cost: Some VPNs are expensive, especially those with advanced features or high-speed connections. Finding a more affordable option that meets your needs is always beneficial.
- User Interface: Struggling with a difficult-to-navigate interface? Switching to a more user-friendly VPN can simplify your life.
Types of VPNs
Different VPNs offer various features and benefits. Here are some common types:
- Consumer VPNs: Designed for individual users, these often come with user-friendly interfaces and support a wide range of devices.
- Business VPNs: Tailored for businesses, these offer advanced features like multi-user support, enhanced security protocols, and better performance for large-scale data transfer.
- Free VPNs: Free to use but often come with limitations such as data caps, slower speeds, and fewer server locations.
- Paid VPNs: Offer more features and better performance compared to free options but require a subscription fee.
- Open-Source VPNs: Developed by communities, these are often free and highly customizable but may require technical expertise to set up.
Steps to Change Your VPN
Switching VPNs involves several steps, which can vary depending on the type of VPN and device. Here’s a general guide:
1. Research New VPN Options
Before making the switch, research different VPN options to find one that meets your needs. Consider factors such as security, speed, server locations, and user interface.
- Read Reviews: Look up reviews from other users to gauge the VPN's performance and reliability.
- Check Encryption Protocols: Ensure the VPN uses strong encryption protocols like AES-256.
- Check Server Locations: Verify the VPN has servers in locations you need to access.
2. Uninstall Current VPN
If using a desktop or mobile app, uninstall the current VPN software.
- Desktop Apps: Go to your computer's control panel or settings and uninstall the VPN software.
- Mobile Apps: Uninstall the VPN app from your device's app store.
3. Download and Install New VPN
Once you've chosen a new VPN, download and install its software.
- Desktop Apps: Visit the VPN's website and download the software for your operating system (Windows, macOS, etc.).
- Mobile Apps: Download the VPN app from your device's app store.
4. Sign Up for an Account
Most VPNs require you to sign up for an account before use. Follow the sign-up process on the VPN's website.
- Fill Out Registration Form: Provide the required information such as email address, password, and payment details (if applicable).
- Verify Email Address: Check your email for a verification link and follow the instructions to activate your account.
5. Set Up VPN
After signing up, set up the VPN on your device.
- Launch App: Open the newly installed VPN app.
- Log In: Enter your login credentials.
- Choose Server Location: Select a server location from the list provided by the VPN.
- Connect: Click the connect button to establish a connection.
6. Configure VPN (Optional)
Some VPNs offer additional configuration options that might be necessary depending on specific requirements.
- Port Forwarding: Some users might need to set up port forwarding for specific applications.
- Split Tunneling: This feature allows you to choose which apps go through the VPN and which don’t.
7. Test Connection
Once set up, test your connection to ensure it's working correctly.
- Check Speed: Test your internet speed to ensure it hasn’t been significantly affected by the VPN.
- Check IP Address: Use a website like WhatIsMyIP.com to verify if your IP address has changed.
Additional Tips
Here are some additional tips to keep in mind when changing your VPN:
- Backup Data: Before uninstalling your current VPN, back up any important data or settings.
- Check Compatibility: Ensure the new VPN is compatible with all devices you use.
- Read Terms of Service: Always read the terms of service before signing up for a VPN to understand what you're getting into.
- Look for Discounts: Sometimes VPNs offer discounts or promotions, so it’s worth checking their website for any deals.
Changing your VPN can be a simple process if you know what you're doing. By understanding why you need to change, researching new options, and following the steps outlined above, you can easily switch to a better VPN that meets your needs. Always prioritize security and performance when choosing a VPN, and don’t hesitate to reach out if you encounter any issues during the process.