
Gadgets
How to Factory Reset Chromecast Audio
Modified: September 5, 2024
Learn how to factory reset your Chromecast Audio and troubleshoot common issues with gadgets. Get step-by-step instructions and tips for a smooth reset process.
(Many of the links in this article redirect to a specific reviewed product. Your purchase of these products through affiliate links helps to generate commission for Techsplurge.com, at no extra cost. Learn more)
Table of Contents
Introduction
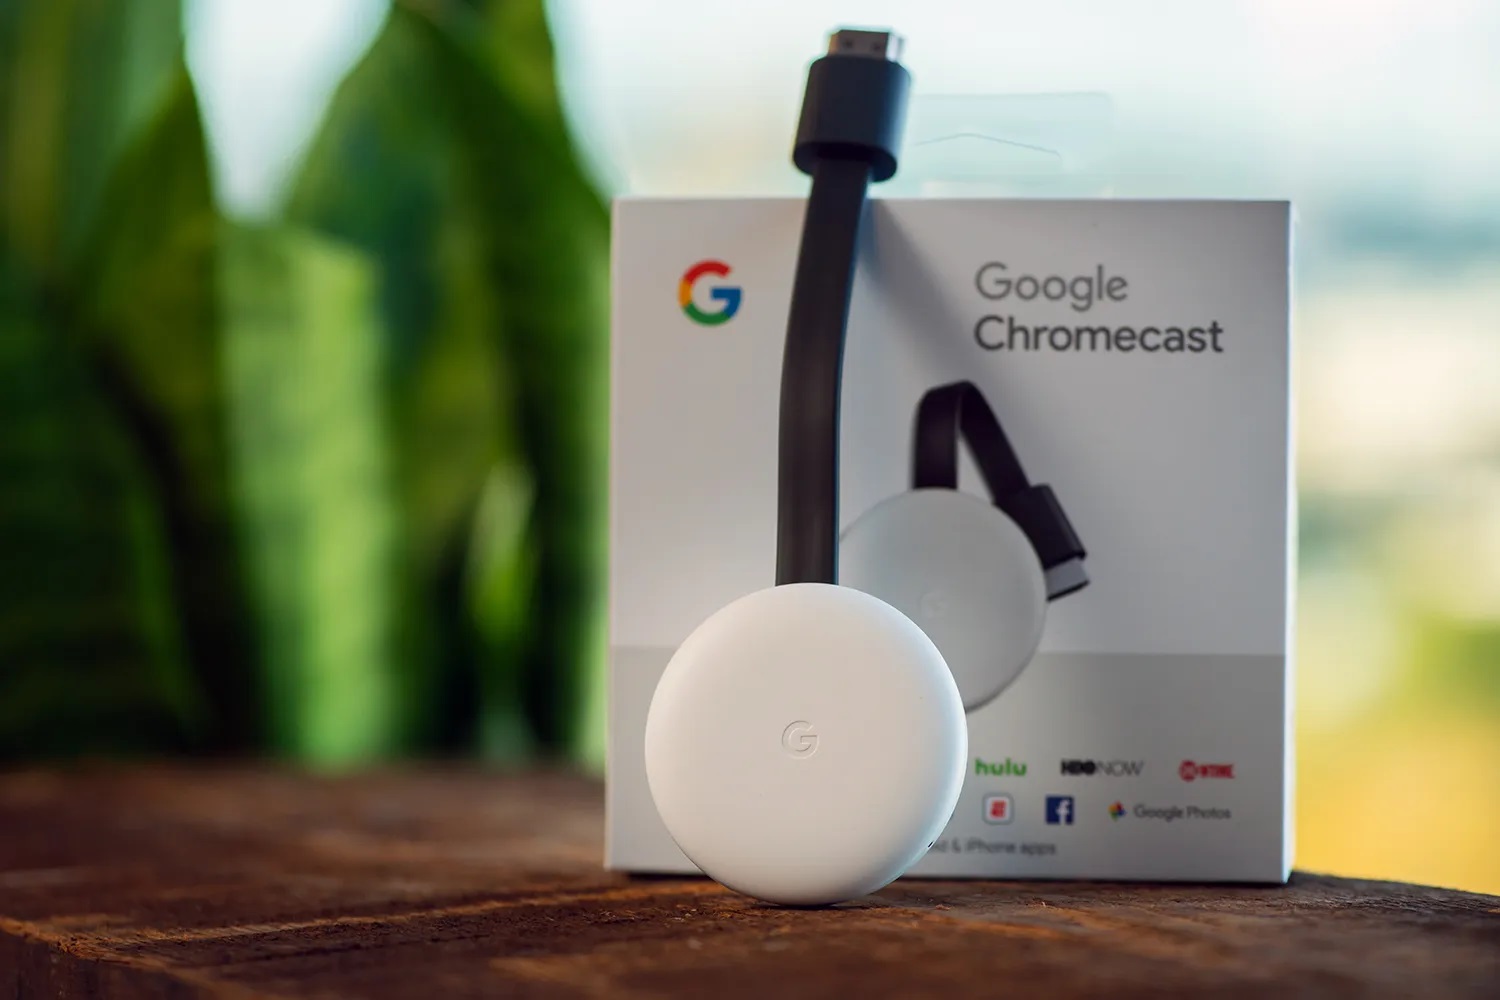
Chromecast Audio is a versatile streaming device designed to bring high-quality audio to any speaker system. However, like any technology, it can sometimes encounter issues that hinder its performance. One of the most effective solutions to these problems is to perform a factory data reset. This guide will walk you through the steps to factory reset your Chromecast Audio, explaining the reasons why you might need to do so and providing detailed instructions for both hard and soft resets.
Why Do You Need to Reset Chromecast Audio?
Before diving into the reset process, it's essential to understand why you might need to perform a factory data reset on your Chromecast Audio. Here are some key scenarios where a reset might be necessary:
Performance Issues
Over time, your Chromecast Audio may experience lag, stuttering, or buffering during streaming. These issues can be due to memory clogs or software glitches that accumulate with prolonged use. A reset can clear these issues, providing a fresh start for smoother operation.
Connectivity Problems
Chromecast Audio relies on a stable Wi-Fi connection to function correctly. If you encounter difficulties in connecting your device to the Wi-Fi network or if it frequently disconnects, a reset could resolve these connectivity issues by refreshing the network settings.
Software Updates
Sometimes, a reset is necessary to ensure that your Chromecast successfully installs the latest firmware updates. These updates are vital for security, performance improvements, and new features. Resetting can help in the proper application of these updates if they don't install automatically.
Device Setup Issues
If you've recently moved or changed your wireless router, you might need to reset your Chromecast Audio to adapt to the new network settings. Additionally, if you've set up the device with a Google account that you no longer have access to, a factory reset will clear all associated data and allow you to set it up again.
General Troubleshooting
In some cases, a factory reset can simply serve as a troubleshooting step to resolve any unknown issues that might be affecting the device's performance.
Methods for Factory Resetting Chromecast Audio
There are two primary methods to factory reset your Chromecast Audio: the hard reset method and the soft reset method. Both methods are effective, but they differ in their approach and accessibility.
Hard Reset Method
The hard reset method involves using the physical button on the Chromecast Audio device. This method is particularly useful when the Chromecast App cannot find your device, or if you're experiencing connectivity issues.
Steps for Hard Reset:
- Connect Your Device: Connect your Chromecast Audio to the speaker using one of the three supported audio cables.
- Power On: Power on the Chromecast Audio by plugging in the power adapter and ensuring it is properly connected.
- Press and Hold: Locate the reset button on the Chromecast Audio. While the device is powered on, press and hold the reset button until the LED light starts to blink orange.
- Release Button: Release the button when the LED light turns solid white. This indicates that the device has been reset.
- Setup Again: After the reset, you will need to set up your Chromecast Audio as a new device.
Soft Reset Method
The soft reset method involves using the Chromecast App on your mobile device or the Google Cast extension on your PC. This method is more convenient but may not be accessible in all situations, especially if the Chromecast App cannot find your device.
Steps for Soft Reset:
- Open Google Home App: Open the Google Home app on your mobile device.
- Select Device: Tap on your Chromecast Audio device in the app.
- Settings: Scroll down to the bottom of the settings menu and select “Remove device.”
- Factory Reset: Tap “Factory reset” to confirm the action.
- Setup Again: After the reset, you will need to set up your Chromecast Audio as a new device.
Troubleshooting Tips
If you're having trouble with the reset process, here are some additional troubleshooting tips:
LED Light Behavior
When performing a hard reset, pay close attention to the LED light behavior. The LED should start blinking orange and then turn solid white when you release the button. If the LED does not change color or flash, it may indicate that the reset button is not functioning correctly.
Rapid Pressing and Releasing
In some cases, you might need to rapidly press and release the reset button to achieve the desired effect. This method was suggested by users who encountered issues with the standard reset procedure.
Power Cycle
If the hard reset method does not work, try power cycling your Chromecast Audio. Unplug the power cable, wait for 30 seconds, and then plug it back in. This can sometimes resolve connectivity issues.
Common Issues and Solutions
Here are some common issues users face when trying to factory reset their Chromecast Audio and their solutions:
Device Not Found
If the Chromecast App cannot find your device, you will need to use the hard reset method. This ensures that the device returns to its factory settings and can be set up again from scratch.
LED Not Changing Color
If the LED light does not change color or flash during the hard reset process, it may indicate that the reset button is not functioning correctly. Try using the soft reset method or power cycling the device.
Connectivity Issues
If you're experiencing connectivity issues after the reset, ensure that your Wi-Fi network settings are correct. You may need to reconnect your device to the network and restart the setup process.
Additional Resources
For more comprehensive guides on Chromecast Audio, including troubleshooting tips and setup instructions, you can visit the official Google Nest Community or the Google Support page. These resources provide additional information and support for users encountering specific issues with their devices.
By understanding the reasons behind the need for a factory data reset and following the step-by-step instructions provided in this guide, you can ensure that your Chromecast Audio continues to function optimally and provides you with high-quality audio streaming experiences.