
Gadgets
How To Rename Chromecast
Modified: September 5, 2024
Learn how to rename your Chromecast and personalize your gadgets with our step-by-step guide. Make your devices truly yours!
(Many of the links in this article redirect to a specific reviewed product. Your purchase of these products through affiliate links helps to generate commission for Techsplurge.com, at no extra cost. Learn more)
Table of Contents
Why Rename Your Chromecast?
Renaming your Chromecast device can be quite useful for several reasons:
- Identification: Quickly identify which device you're interacting with, especially if you have multiple Chromecast devices.
- Organization: Organize your devices more effectively by naming them based on their location or purpose.
- Customization: Choose a name that reflects the location or purpose of the device, making it easier to remember.
- App Installation: Ensure you're installing the right app on the right device by renaming them.
Step-by-Step Guide to Renaming Chromecast
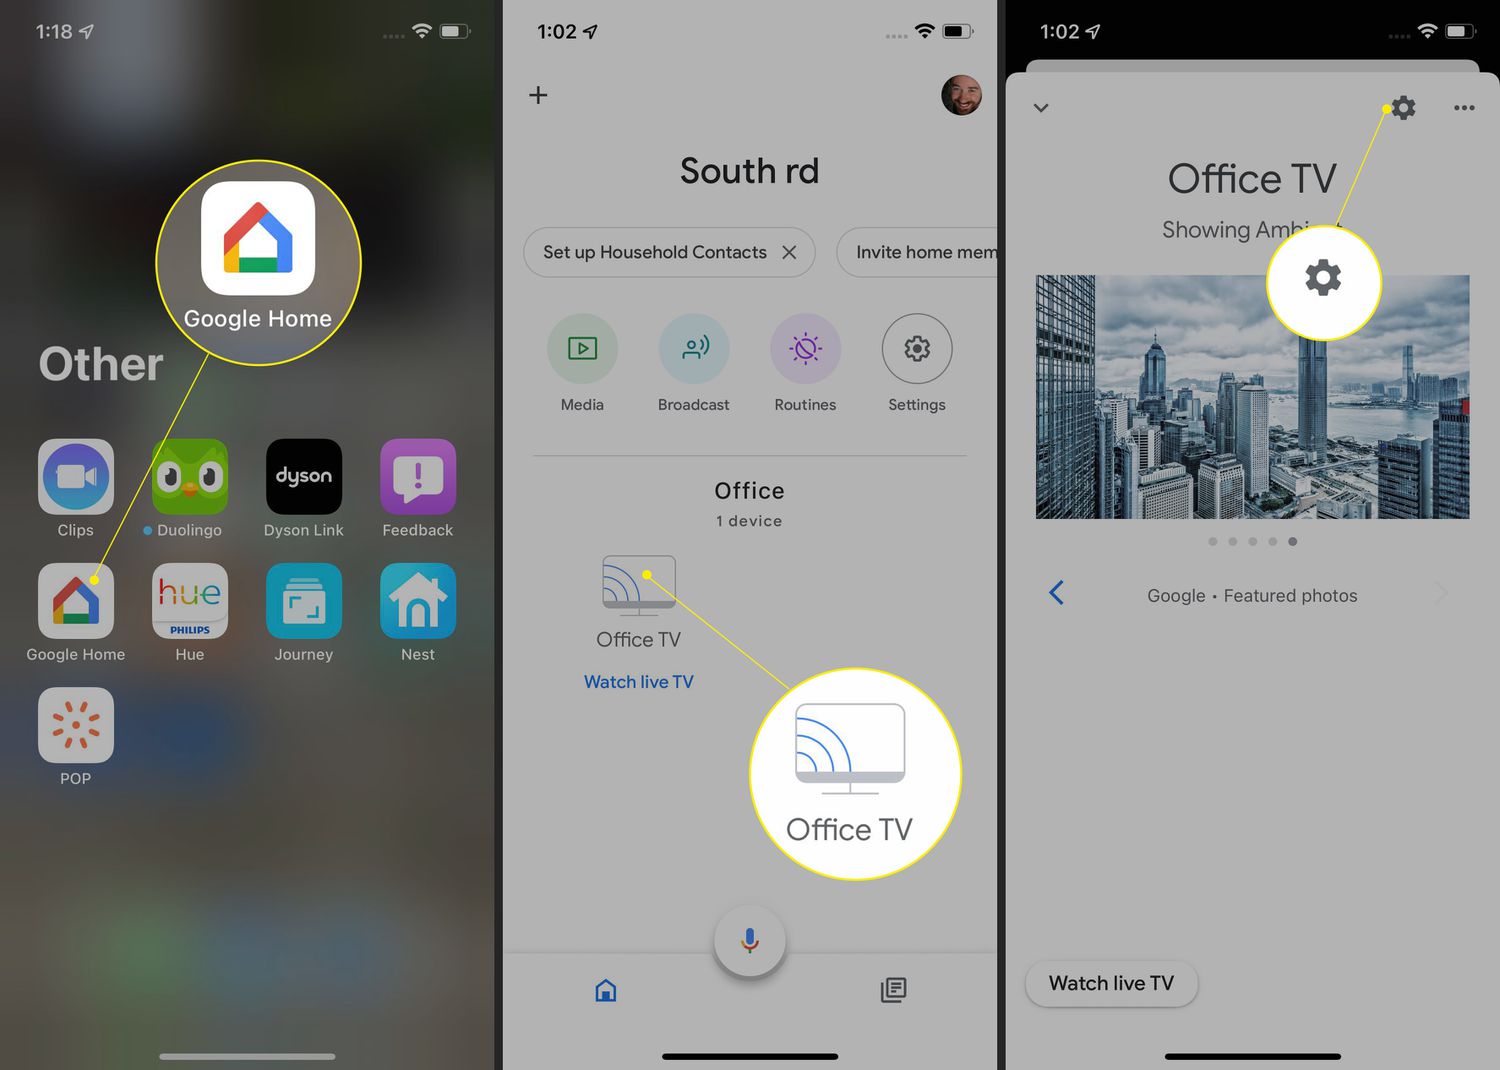
Renaming your Chromecast is a simple process using the Google Home app. Follow these steps:
Step 1: Ensure Your Chromecast is Powered On
Make sure the device is powered on and connected to the same Wi-Fi network as your mobile device. The TV doesn't need to be on, but it can provide visual feedback.
Step 2: Start the Chromecast App
Install the Chromecast app on your mobile phone. Available for both Android and iOS devices, open the app and ensure it is connected to the same Wi-Fi network as your Chromecast.
Step 3: Connect to Your Chromecast
The app will search for all available Chromecast devices on the network. Once it detects your device, tap on it to establish a connection. This will list the details of the connected device, including the option to change its name.
Step 4: Rename Your Chromecast
To rename your Chromecast, follow these steps:
- Tap on the Device Name: Locate the name field of your Chromecast device in the app.
- Edit the Name: Tap on the name field to bring up a popup window where you can edit the name.
- Enter a New Name: Type in the new name you want to give your Chromecast. You can use up to 24 characters.
- Save the Change: Once you've entered the new name, tap "OK" to save the change. If your TV is on, you should see the new name displayed on the screen.
Additional Tips
Here are some additional tips to keep in mind when renaming your Chromecast:
- Length Limitation: The name can be up to 24 characters long, balancing readability and customization.
- Character Usage: Use any characters from your local language, including letters, numbers, and special characters.
- Device Visibility: Quickly identify which device you're interacting with, especially useful for multiple devices in different rooms.
- App Installation: Ensure you're installing the right app on the right device by renaming them.
- Room Setup: If you've set up rooms in the Google Home app, renaming your Chromecast can help you organize devices within those rooms.
Troubleshooting Common Issues
While renaming your Chromecast is generally straightforward, some common issues might arise. Here are some troubleshooting tips:
- Device Not Detected: Ensure the Chromecast is powered on and connected to the same Wi-Fi network as your mobile device.
- Name Not Changing: If the name doesn't change after saving, try restarting the app or your device.
- Character Limitation: Shorten the name if it exceeds the 24-character limit. The app won't allow saving a name that's too long.
- Special Characters: If special characters cause issues, try using only letters and numbers.

