Home>Software and Apps>How To Install A VPN On Kodi

Software and Apps
How To Install A VPN On Kodi
Modified: September 5, 2024
Learn how to easily install a VPN on Kodi to enhance your online security and access geo-restricted content. Follow our step-by-step guide for a seamless setup. Protect your privacy and unlock unlimited streaming with this essential software and app.
(Many of the links in this article redirect to a specific reviewed product. Your purchase of these products through affiliate links helps to generate commission for Techsplurge.com, at no extra cost. Learn more)
Table of Contents
Why Use a VPN with Kodi?
Before diving into the installation process, understanding the importance of using a VPN with Kodi is crucial. Here are some key reasons:
Read more: Effortlessly Install VPN on Kodi Fire Stick
Access Region-Blocked Content
Many streaming platforms, including Netflix, Hulu, and BBC iPlayer, have region-specific content. This means certain shows or movies are only available in specific countries. By using a VPN, you can change your IP address to one from a different country, thereby gaining access to these geo-restricted add-ons and content.
Get Geo-Restricted Add-Ons
Kodi's add-ons are often restricted based on your location. For instance, some NFL games might be unavailable in certain regions due to blackouts. A VPN helps you access these geo-restricted add-ons by changing your IP address to one that is not blocked.
Prevent Tracking
Internet Service Providers (ISPs) often track browsing activities and retain information. A VPN masks your activities, preventing your ISP from potentially throttling your internet connection. This ensures that your streaming experience remains uninterrupted and secure.
Avoid Blackouts
Sports events, especially those involving popular teams like the NFL or NHL, often get blacked out in certain regions to encourage more people to attend live games. A VPN allows you to watch these events from the comfort of your own home, bypassing these blackouts.
Read more: How To Install VPN On Vizio Smart TV
Safeguard Against Hacking
Using a VPN encrypts your browsing activity, IP address, and online identity. This makes you less vulnerable to hacking, cyber attacks, and data theft. By encrypting your traffic, a VPN provides an additional layer of security that protects you from malicious activities.
Choosing the Best VPN for Kodi
With numerous VPN options available, selecting the best one for Kodi can be daunting. Here are some top recommendations:
NordVPN
NordVPN is widely regarded as one of the best VPNs for Kodi. It offers excellent streaming capabilities, robust encryption, and a massive server network of over 5,700 servers worldwide. NordVPN is particularly effective at unblocking blocked content, including streaming platforms and Kodi add-ons.
Surfshark
Surfshark is another top contender for Kodi users. It provides speedy connections and unblocks a wide range of geo-restricted content. Surfshark also offers a 30-day money-back guarantee, making it a risk-free option to try out.
Read more: How To Stream Kodi From PC To Chromecast
ExpressVPN
ExpressVPN is known for its private streaming capabilities. It offers fast speeds and reliable connections, making it ideal for streaming high-quality content on Kodi. ExpressVPN also has a strong track record of unblocking geo-restricted content.
CyberGhost
CyberGhost offers a massive server network and is particularly effective at unblocking geo-restricted add-ons on Kodi. It also provides robust security features, including AES-256 encryption, which ensures your data remains secure.
How to Install a VPN on Kodi
Installing a VPN on Kodi is a straightforward process that can be completed in a few minutes. Here’s a step-by-step guide:
Choose Your VPN
First, decide which VPN service you want to use. For Kodi, we recommend NordVPN, Surfshark, or ExpressVPN due to their excellent streaming capabilities and robust security features.
Read more: Top Free VPN for Kodi
Download and Install the VPN App
Once you’ve chosen your VPN, download and install the app on the device you use with Kodi. Most popular VPNs have apps available for Android, iOS, Windows, and macOS.
Log In to Your VPN Account
After installing the app, log in with your VPN account details. If you’re new to the VPN service, you’ll need to create an account first.
Connect to a VPN Server
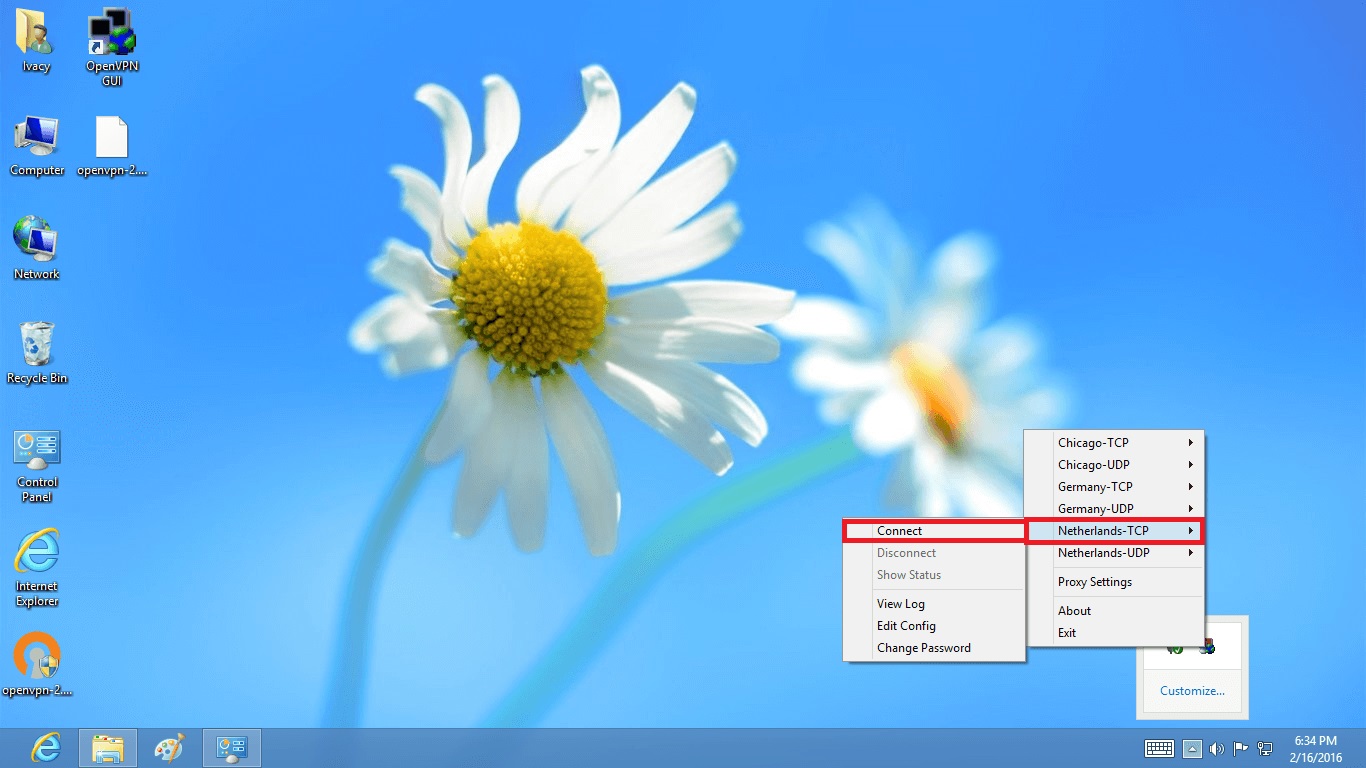
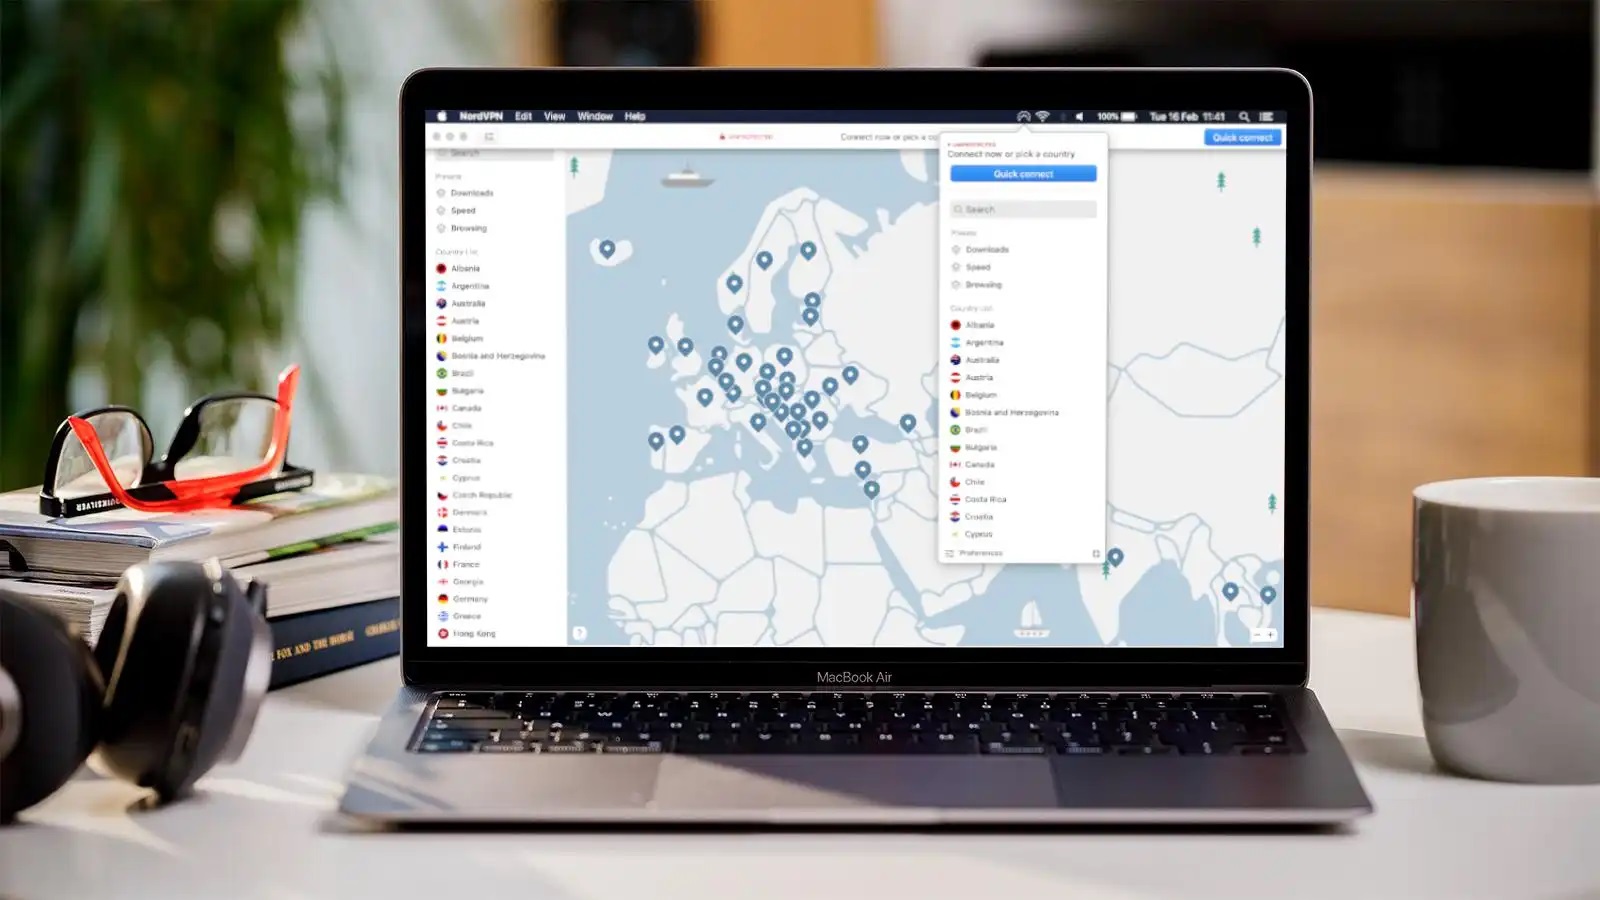
Select the server location you want to connect to. For example, if you want to access US streaming services like Hulu or Sling TV, choose a US VPN server. If you just want a security boost without unblocking geo-restricted content, you can connect to any nearby country.
Launch Kodi Securely
Once connected to the VPN server, launch Kodi. You should now be able to use region-locked add-ons without any issues. If problems persist, contact your VPN’s support team for more advice.
Read more: Enhance Your Kodi Experience With A VPN
Installing a VPN on Kodi Using a Router
Another way to set up a VPN for Kodi is by installing it on your router. This method encrypts all devices connected to your network simultaneously, providing comprehensive protection for your entire household. Here’s how to do it:
Check Your Router’s Compatibility
Ensure that your router supports VPN configuration. Some routers come with DD-WRT firmware, which allows for easy VPN setup.
Install the VPN on Your Router
If your router supports it, install the VPN software directly onto the router. This will encrypt all traffic passing through it, protecting all devices connected to your network.
Configure Your Router
Follow the instructions provided by your VPN service to configure the router. This typically involves logging into your router’s settings, selecting the VPN server, and enabling the VPN connection.
Using Kodi VPN Add-Ons
While installing the VPN app on your device is the most common method, some VPN providers offer Kodi-specific add-ons. However, not all VPNs have these add-ons available, so this method may not be as versatile as using a dedicated VPN app.
Steps to Install Kodi VPN Add-Ons
- Install the VPN Add-On: Go to the Kodi repository and search for the VPN add-on provided by your VPN service. Install it like any other add-on.
- Open the Add-On: Once installed, open the VPN add-on.
- Configure Your VPN: Follow the instructions within the add-on to configure your VPN settings.
- Log In: Log in with your VPN account details.
- Activate: Click on “Activate” to start using the VPN with Kodi.
Benefits of Using a VPN with Kodi
Using a VPN with Kodi offers numerous benefits beyond just accessing geo-restricted content:
Enhanced Privacy
A VPN masks your IP address and encrypts your traffic, making it difficult for ISPs or third-party trackers to monitor your activities. This ensures that your streaming habits remain private and secure.
Improved Security
By encrypting your data, a VPN protects you from hacking attempts and cyber attacks. This is particularly important when using unofficial Kodi repositories, which may contain malware.
Faster Streaming
Some VPNs offer optimized servers for streaming, which can improve your Kodi experience by reducing latency and ensuring faster connections. This is crucial for smooth streaming of high-quality content.
Installing a VPN on Kodi is an essential step for anyone looking to maximize their streaming experience while maintaining online security and privacy. With the right VPN, you can access a wide range of geo-restricted content, bypass blackouts, and protect yourself from tracking and hacking. By following the steps outlined in this guide, you can easily set up a VPN on Kodi and enjoy a safer, more secure streaming experience.
Not all VPNs are created equal, so choose one that is compatible with Kodi and offers robust security features. Whether you opt for NordVPN, Surfshark, or another top contender, using a VPN will elevate your Kodi experience to new heights.

