Home>Software and Apps>How To Clear VPN Cache


Software and Apps
How To Clear VPN Cache
Modified: September 5, 2024
Learn how to clear VPN cache on your device to resolve connectivity issues and optimize the performance of your software and apps. Follow these simple steps to clear VPN cache easily.
(Many of the links in this article redirect to a specific reviewed product. Your purchase of these products through affiliate links helps to generate commission for Techsplurge.com, at no extra cost. Learn more)
Why Clear VPN Cache?
Clearing the cache of your Virtual Private Network (VPN) can be a crucial step in maintaining your online security and ensuring that your VPN is functioning optimally. Over time, the cache can accumulate data that may interfere with your VPN's performance, leading to issues such as slower speeds, disconnections, and even security vulnerabilities. Here are some reasons why you should regularly clear your VPN cache:
- Performance Issues: A cluttered cache can slow down your VPN, leading to slower connection speeds and frequent disconnections.
- Security Risks: An outdated cache can store sensitive information that could be exploited by malicious actors, compromising your online security.
- Data Accumulation: Over time, the cache can accumulate a significant amount of data, which may not be necessary for your current VPN usage.
- Compatibility Problems: An outdated cache can sometimes cause compatibility issues with new updates or changes in the VPN service.
Steps to Clear VPN Cache
The steps to clear the VPN cache vary depending on the VPN service you are using. Below are detailed instructions for some of the most popular VPN services:
ExpressVPN
Desktop:
- Launch the ExpressVPN application on your desktop.
- Click on the gear icon in the bottom left corner to access the settings.
- Look for an option labeled “Clear Cache” or “Clear Data.” This option might be located under the “Advanced” or “General” settings.
- A confirmation prompt will appear; click “Yes” or “Clear” to proceed with clearing the cache.
Mobile:
- Launch the ExpressVPN application on your mobile device.
- Tap on the gear icon in the bottom right corner to access the settings.
- Look for an option labeled “Clear Cache” or “Clear Data.” This option might be located under the “Advanced” or “General” settings.
- A confirmation prompt will appear; tap “Yes” or “Clear” to proceed with clearing the cache.
NordVPN
Desktop:
- Launch the NordVPN application on your desktop.
- Click on the gear icon in the bottom left corner to access the settings.
- Look for an option labeled “Clear Cache” or “Clear Data.” This option might be located under the “Advanced” or “General” settings.
- A confirmation prompt will appear; click “Yes” or “Clear” to proceed with clearing the cache.
Mobile:
- Launch the NordVPN application on your mobile device.
- Tap on the gear icon in the bottom right corner to access the settings.
- Look for an option labeled “Clear Cache” or “Clear Data.” This option might be located under the “Advanced” or “General” settings.
- A confirmation prompt will appear; tap “Yes” or “Clear” to proceed with clearing the cache.
ProtonVPN
Desktop:
- Launch the ProtonVPN application on your desktop.
- Click on the gear icon in the bottom left corner to access the settings.
- Look for an option labeled “Clear Cache” or “Clear Data.” This option might be located under the “Advanced” or “General” settings.
- A confirmation prompt will appear; click “Yes” or “Clear” to proceed with clearing the cache.
Mobile:
- Launch the ProtonVPN application on your mobile device.
- Tap on the gear icon in the bottom right corner to access the settings.
- Look for an option labeled “Clear Cache” or “Clear Data.” This option might be located under the “Advanced” or “General” settings.
- A confirmation prompt will appear; tap “Yes” or “Clear” to proceed with clearing the cache.
TunnelBear VPN
Desktop:
- Launch the TunnelBear VPN application on your desktop.
- Click on the gear icon in the bottom left corner to access the settings.
- Look for an option labeled “Clear Cache” or “Clear Data.” This option might be located under the “Advanced” or “General” settings.
- A confirmation prompt will appear; click “Yes” or “Clear” to proceed with clearing the cache.
Mobile:
- Launch the TunnelBear VPN application on your mobile device.
- Tap on the gear icon in the bottom right corner to access the settings.
- Look for an option labeled “Clear Cache” or “Clear Data.” This option might be located under the “Advanced” or “General” settings.
- A confirmation prompt will appear; tap “Yes” or “Clear” to proceed with clearing the cache.
Additional Tips for Clearing VPN Cache
While the above steps cover the most common methods for clearing VPN cache, there are some additional tips that can help you maintain your VPN's performance and security:
- Regularly Update Your VPN: Keeping your VPN software up-to-date is crucial for ensuring that you have the latest security patches and performance improvements.
- Use a VPN with a Built-in Cache Cleaner: Some VPN services come with built-in features that automatically clear the cache at regular intervals. Look for such features when choosing a VPN service.
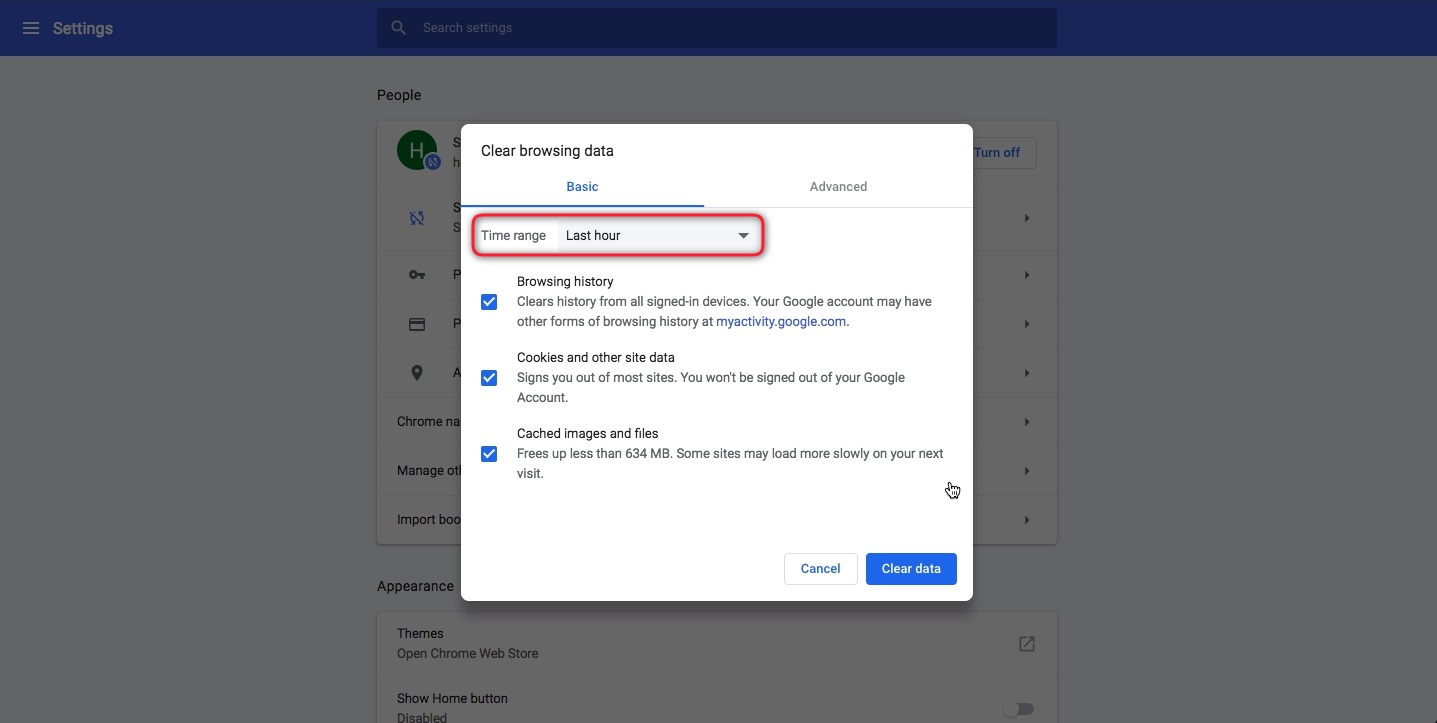
- Clear Browser Cache: If you are using a VPN browser extension, clearing your browser's cache can also help resolve performance issues related to the VPN.
- Check for Updates: Regularly check for updates to your operating system and other software as they can sometimes conflict with your VPN's functionality.
Clearing the cache of your VPN is an essential step in maintaining its performance and security. By following the steps outlined above for various popular VPN services, you can ensure that your VPN is running optimally and securely. Regularly clear your VPN cache to avoid performance issues and potential security risks. If you encounter any difficulties during the process, refer to the specific instructions provided by your VPN service for more detailed guidance.

