Home>Software and Apps>How to Use Google Authenticator QR Code without Old Phone

Software and Apps
How to Use Google Authenticator QR Code without Old Phone
Modified: September 5, 2024
Learn how to transfer Google Authenticator QR codes to a new phone seamlessly. Follow our step-by-step guide for a hassle-free transition. Perfect for those interested in software and apps.
(Many of the links in this article redirect to a specific reviewed product. Your purchase of these products through affiliate links helps to generate commission for Techsplurge.com, at no extra cost. Learn more)
Table of Contents
How to Use Google Authenticator QR Code without Old Phone
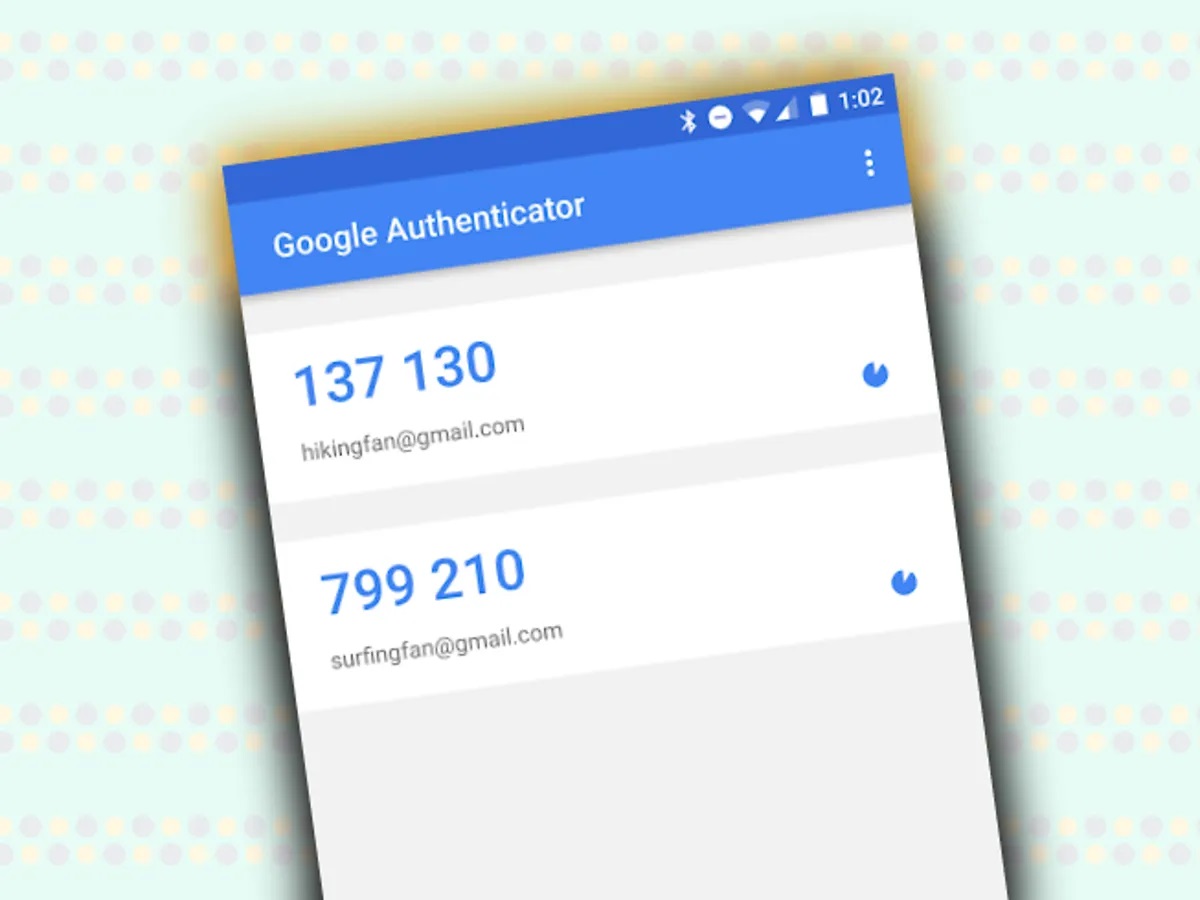
Google Authenticator is a popular two-factor authentication (2FA) app that adds an extra layer of security to online accounts. It generates time-based one-time passwords (TOTPs) for identity verification during logins. One standout feature is its ability to sync verification codes across devices, making it easy to switch phones. This guide will walk you through setting up and using Google Authenticator with a QR code, focusing on transferring codes to a new phone without needing the old one.
Step 1: Download and Install Google Authenticator
For Android Users:
- Open Google Play Store on the new device.
- Search for "Google Authenticator."
- Select the app from search results and tap "Install."
- Once installed, open the app.
For iOS Users:
- Open the App Store on the new device.
- Search for "Google Authenticator."
- Select the app from search results and tap "Get."
- Once installed, open the app.
Step 2: Set Up Google Authenticator
Read more: Lost Phone? Use Google Authenticator
Option 1: Set Up with a Google Account
-
Open the App:
- Launch Google Authenticator on the new device.
-
Get Started:
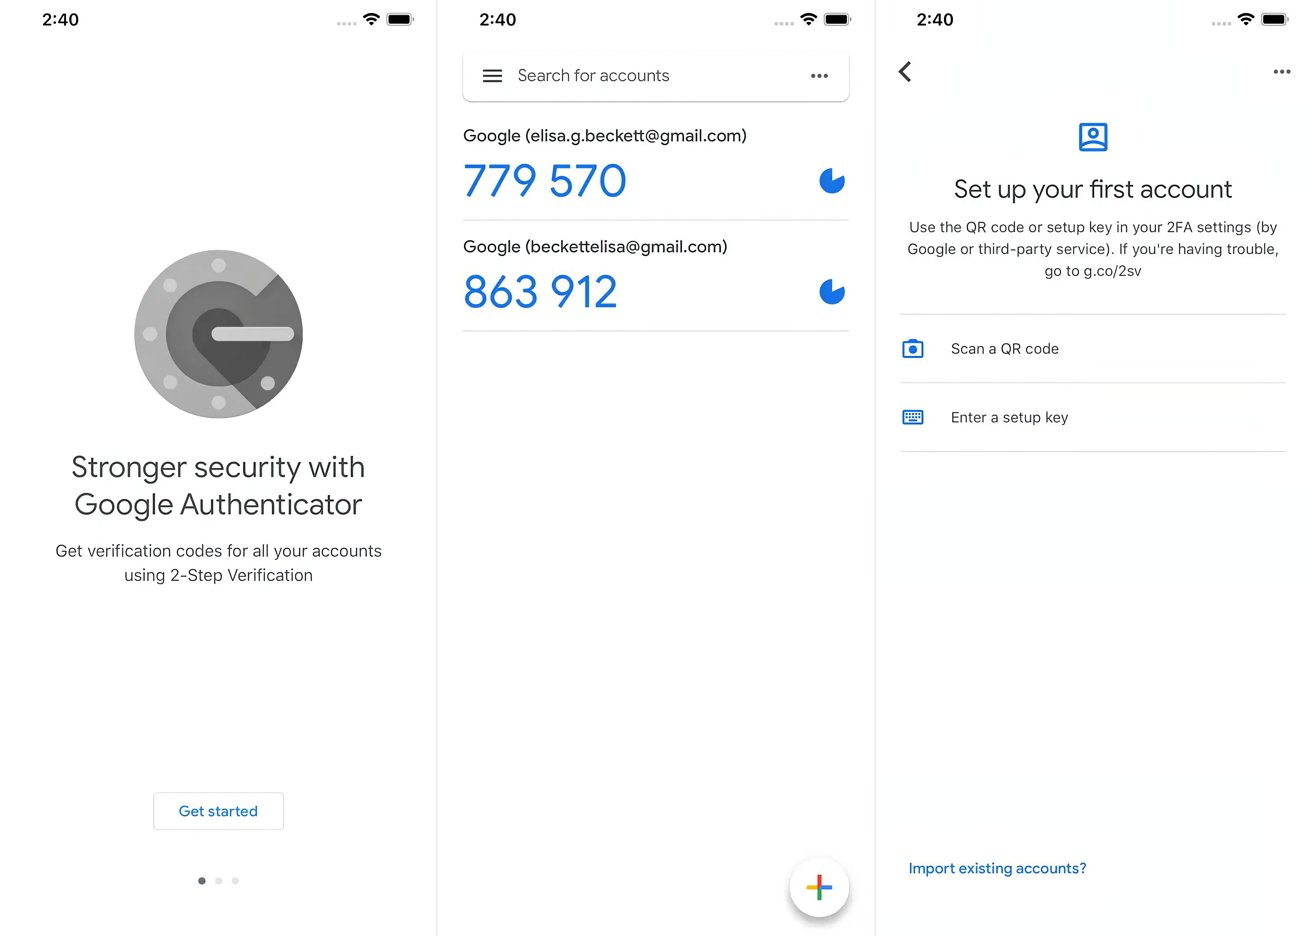
- Tap "Get Started."
-
Log In or Use Without an Account:
- Choose to log in with a Google account or use the app without logging in. Logging in saves 2FA data.
-
Add Accounts:
- If logged in, a list of previously set up accounts will appear. Add new accounts by tapping the "+" icon.
-
Scan QR Code:
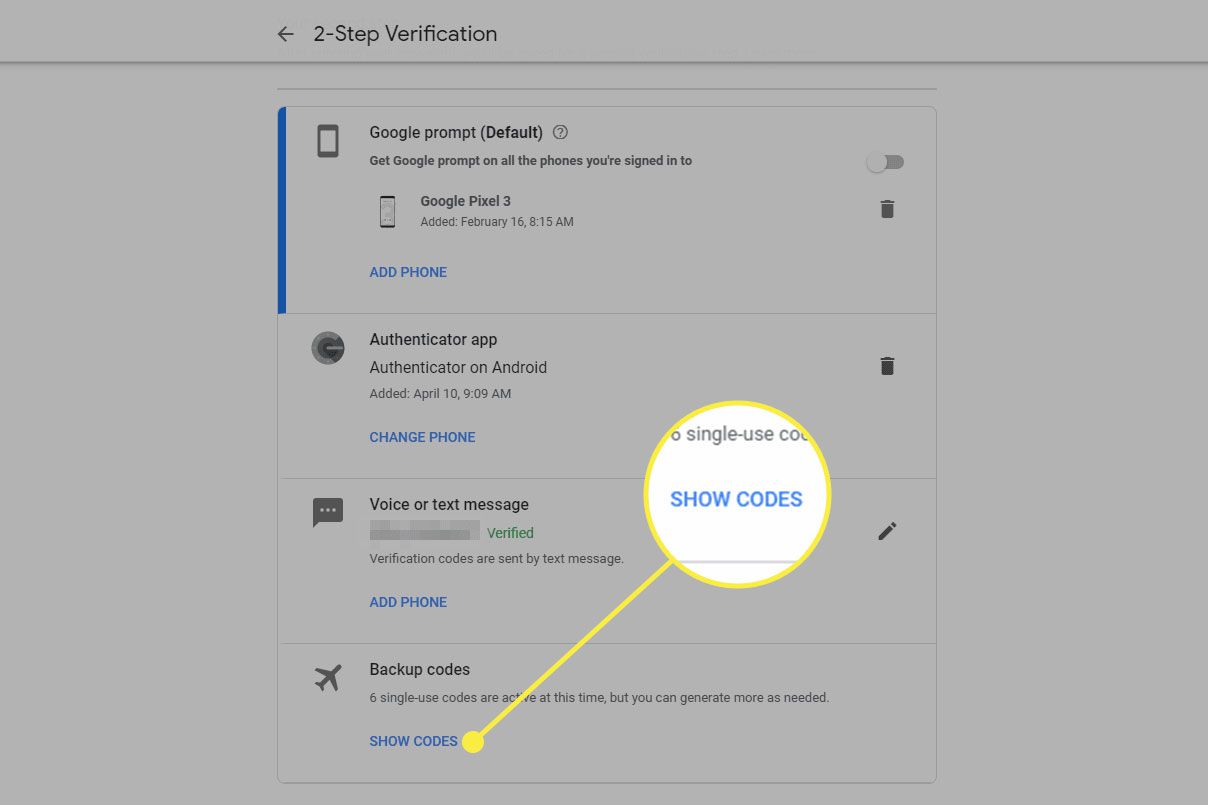
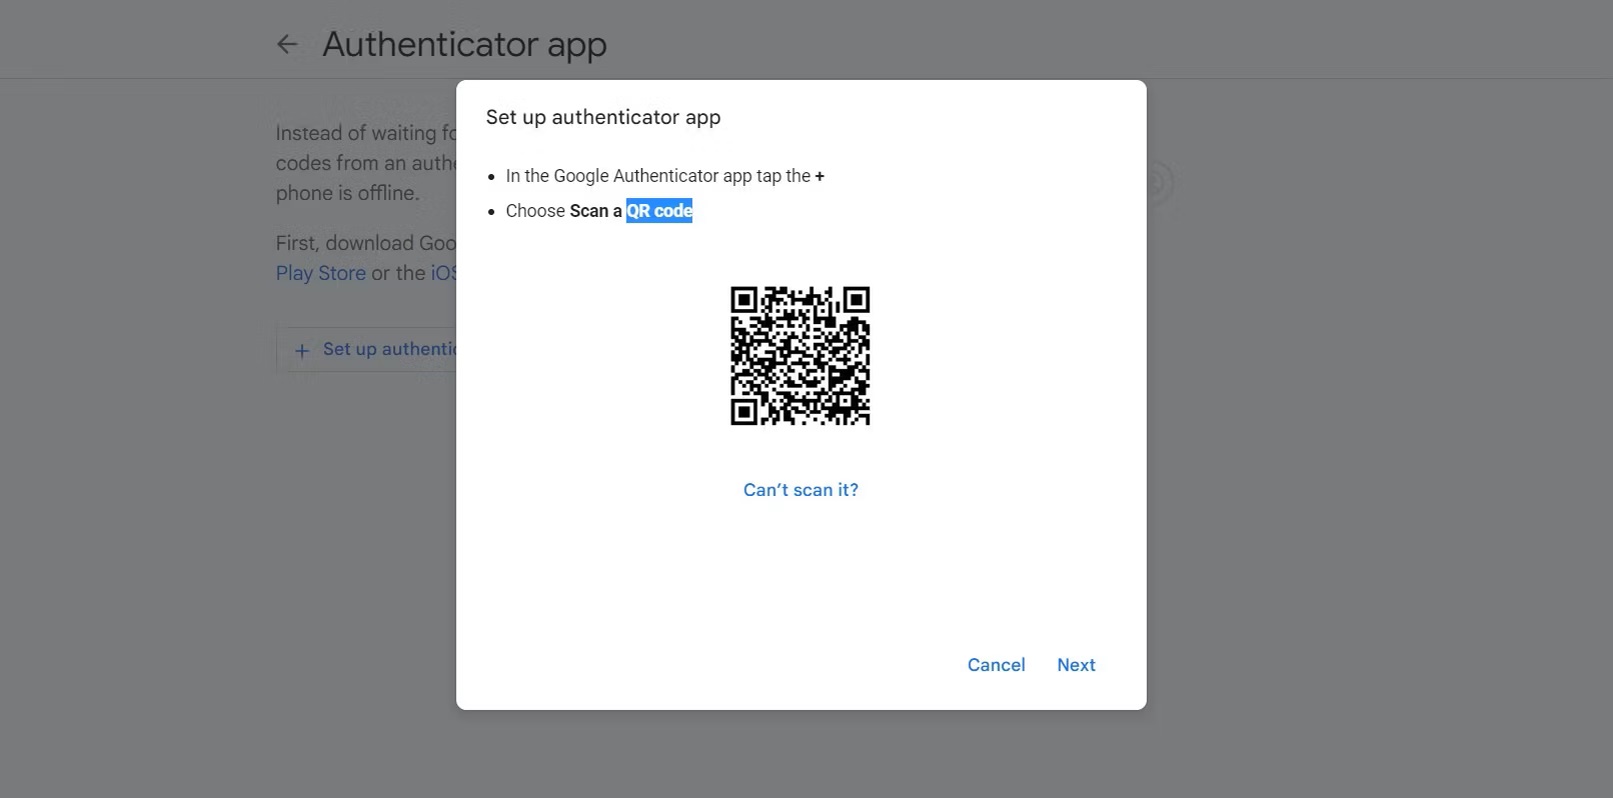
- Navigate to the 2-Step Verification section in the service you want to secure, then click "Get started."
-
Scan the QR Code:
- Tap the "+" icon, then "Scan QR code."
- Hold the phone’s camera over the QR code displayed on another screen. The app will automatically detect and scan the code.
-
Verify Code:
- Enter the 6-digit code shown in the app into the corresponding field on the other screen to verify setup.
-
Sync Codes (Optional):
- Ensure codes are synced across devices by logging into the Google account within the app. A green cloud with a check mark indicates successful syncing.
Option 2: Manually Enter Key
If scanning the QR code is not possible, manually enter the key provided by the service.
-
Open the App:
- Launch Google Authenticator on the new device.
-
Get Started:
- Tap "Get Started."
-
Enter Key Manually:
- Tap "Enter key manually."
- Input the 16-digit secret key provided by the service.
-
Verify Code:
- Enter the 6-digit code shown in the app into the corresponding field on the other screen to verify setup.
Step 3: Transfer Codes to a New Phone
Using Google Account Sync
If Google Authenticator was set up with a Google account, transferring codes to a new phone is simple.
-
Open the App on New Device:
- Launch Google Authenticator on the new device.
-
Sign In to Google Account:
- Tap "Get Started."
- Sign in to the Google account.
-
Sync Codes Automatically:
- Codes will appear in the app once logged in to the Google account.
Manual Transfer
For those using Google Authenticator without a Google account or preferring manual transfer:
-
Open the App on Old Device:
- Launch Google Authenticator on the old device.
-
Create QR Code:
- Tap the menu icon (three horizontal lines) and select "Transfer accounts."
- Tap "Export accounts."
- Unlock the device if prompted.
-
Select Accounts:
- Choose the accounts to transfer to the new device.
-
Generate QR Code:
- Tap "Next."
- A QR code for each selected account will be generated.
-
Open New Device App:
- Launch Google Authenticator on the new device.
-
Import Accounts:
- Tap the menu icon and select "Transfer accounts."
- Tap "Import accounts."
- Scan the QR code generated on the old device using the new device’s camera.
-
Verify Transfer:
- Confirmation will appear once Authenticator codes have been transferred.
Step 4: Organize and Edit Codes
After transferring codes, organizing them for easier access is beneficial.
-
Open the App:
- Launch Google Authenticator on the new device.
-
View Codes:
- A list of all connected accounts with their corresponding codes will appear.
-
Edit Codes:
- Swipe left on any code to show the edit option.
- Update the username for the code or change the associated Google account.
-
Organize Codes:
- Tap the menu icon and select “Organize codes.” Group similar accounts together for easier management.
Google Authenticator is a powerful tool for securing online accounts. Following these steps, setting up and transferring 2FA codes to a new phone becomes straightforward. The app’s ability to sync codes across devices ensures continuous protection with the latest verification codes. Whether using Google Authenticator with a Google account or without one, the process remains simple and secure. Always save backup codes and keep the app updated for maximum security and functionality.

