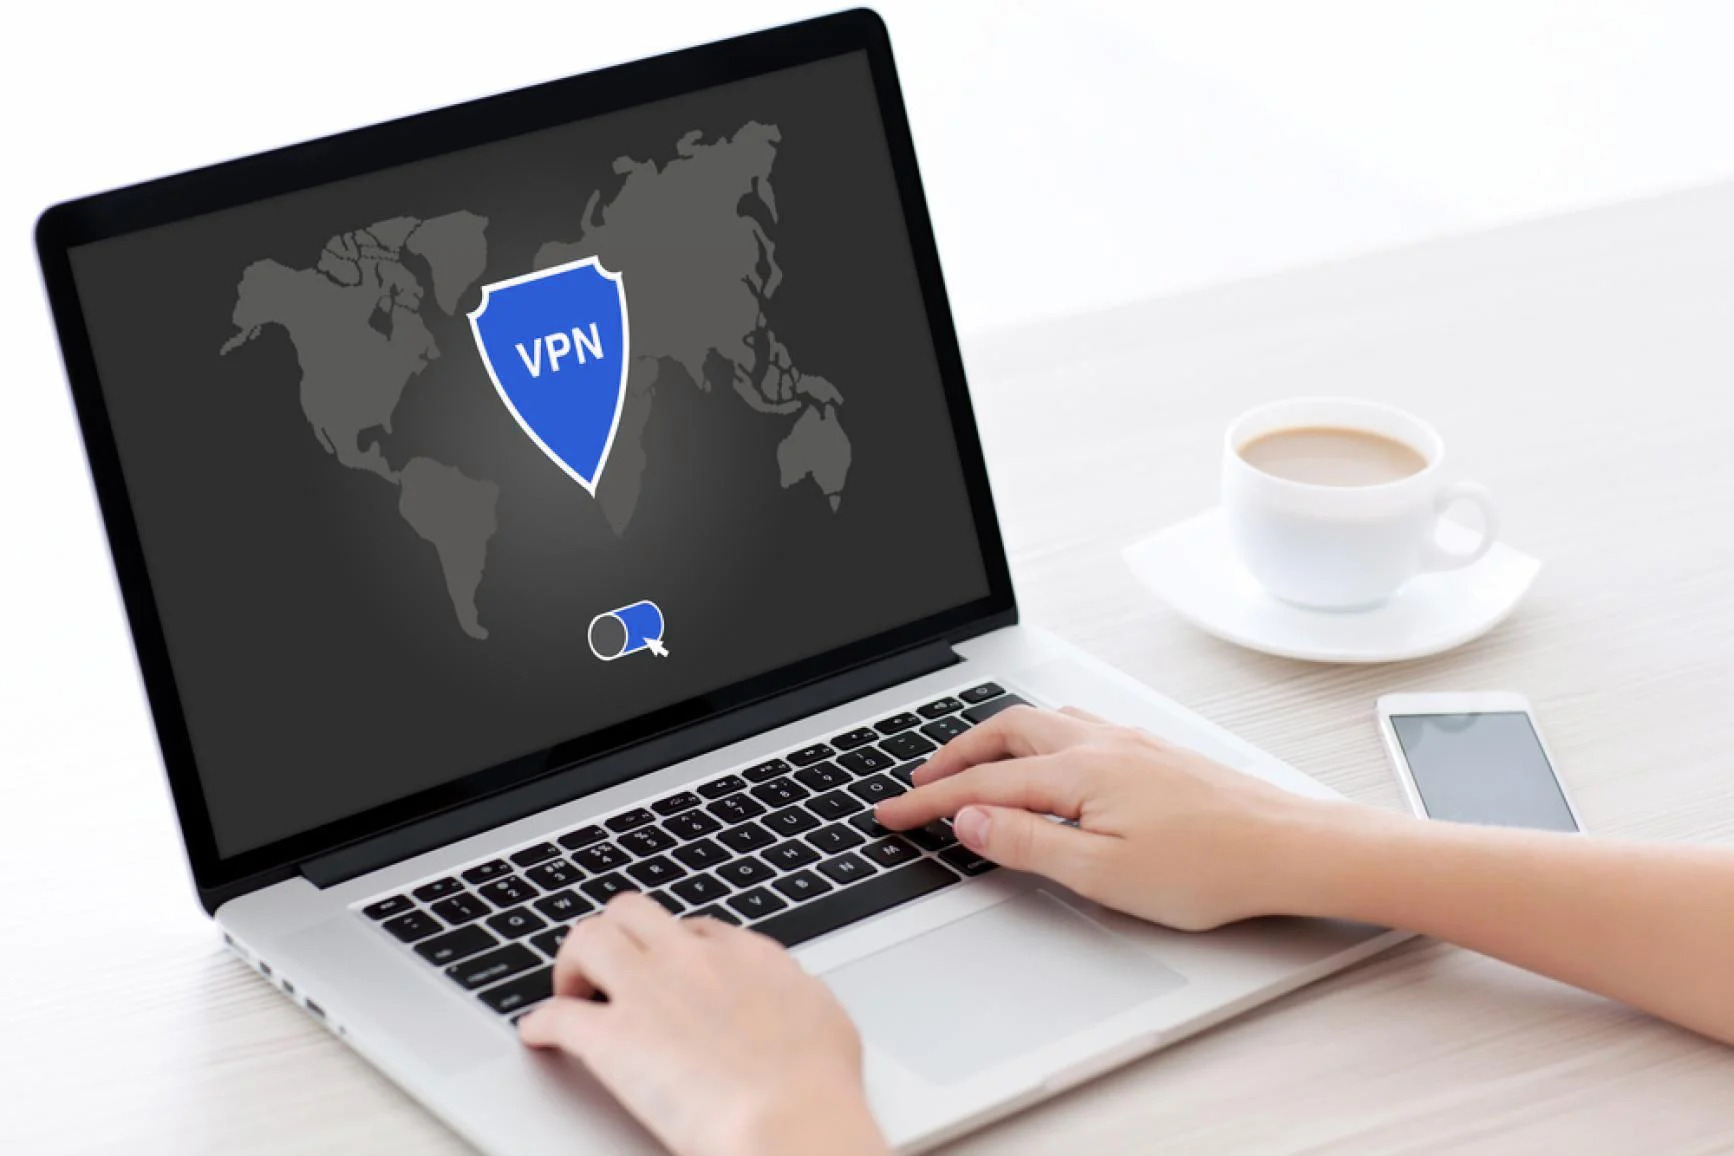
Home>Software and Apps>Setting Up Your Own Home VPN Server: A Step-by-Step Guide
Setting Up Your Own Home VPN Server: A Step-by-Step Guide Setting Up Your Own Home VPN Server: A Step-by-Step Guide

Software and Apps

Setting Up Your Own Home VPN Server: A Step-by-Step Guide

Written by: Shirley Record

Learn how to set up your own home VPN server with this step-by-step guide. Secure your connection and access your favorite software and apps from anywhere.

(Many of the links in this article redirect to a specific reviewed product. Your purchase of these products through affiliate links helps to generate commission for Techsplurge.com, at no extra cost. Learn more)

Table of Contents

Introduction

In today's interconnected world, ensuring the security and privacy of our online activities has become increasingly crucial. With the rise of remote work and the growing concerns over data privacy, many individuals are turning to Virtual Private Networks (VPNs) as a means of safeguarding their internet connections. While commercial VPN services are widely available, setting up your own home VPN server offers a compelling alternative that provides greater control and customization.

By establishing a personal VPN server within the confines of your home network, you can create a secure tunnel for your internet traffic, effectively shielding your data from prying eyes. This not only bolsters your online privacy but also enables you to access your home network resources remotely, adding a layer of convenience to your digital lifestyle.

In this comprehensive guide, we will walk you through the process of setting up your own home VPN server, from selecting the appropriate hardware and software to configuring your router and securing the VPN connection. Whether you're a tech enthusiast looking to delve into networking or an individual seeking to fortify your online security, this step-by-step guide will equip you with the knowledge and tools necessary to establish a robust and reliable VPN server within the comfort of your own home.

As we embark on this journey, it's important to note that while the setup process may seem daunting at first, the rewards of owning and managing your own VPN server are well worth the initial investment of time and effort. By the end of this guide, you'll not only have a deeper understanding of VPN technology but also the satisfaction of having built a personalized solution tailored to your specific needs and preferences. So, without further ado, let's dive into the world of home VPN servers and unlock the potential of secure, private internet connectivity right from your own abode.


Understanding VPN and Its Benefits

A Virtual Private Network (VPN) serves as a secure conduit for transmitting data across public networks, such as the internet. By leveraging encryption and tunneling protocols, a VPN establishes a private and encrypted connection between the user's device and a remote server, effectively shielding the transmitted data from unauthorized access or interception.

Benefits of Using a VPN

  1. Enhanced Privacy and Security: One of the primary advantages of utilizing a VPN is the bolstering of online privacy and security. By encrypting the data transmitted through the VPN tunnel, it becomes significantly more challenging for malicious actors, ISPs, or government entities to eavesdrop on the user's online activities. This is particularly crucial when accessing public Wi-Fi networks, where the risk of data interception is heightened.

  2. Bypassing Geographical Restrictions: VPNs enable users to circumvent geographical restrictions imposed by content providers or governmental bodies. By connecting to a server located in a different region, individuals can access region-locked content, such as streaming services, websites, and online platforms, that may be inaccessible from their actual location.

  3. Anonymity and Identity Protection: VPNs mask the user's IP address, effectively concealing their true location and identity. This anonymity adds a layer of protection against online tracking, profiling, and targeted advertising, fostering a more private and unobtrusive online experience.

  4. Secure Remote Access: For individuals working remotely or managing home networks, a VPN facilitates secure remote access to local resources, such as files, printers, and network-attached storage devices. This enables seamless and secure connectivity to home or office networks from external locations, bolstering productivity and accessibility.

  5. Protection Against Throttling and Surveillance: In some regions, ISPs engage in bandwidth throttling or monitor users' online activities. By utilizing a VPN, individuals can mitigate these practices, as the encrypted traffic makes it challenging for ISPs to monitor, analyze, or manipulate the user's internet connection.

In essence, understanding the functionality and benefits of a VPN is pivotal in recognizing its potential as a versatile tool for safeguarding online activities, accessing restricted content, and establishing secure connections to remote networks. As we delve deeper into the process of setting up a home VPN server, these advantages will underscore the significance of owning and managing a personalized VPN solution tailored to individual needs and preferences.


Choosing the Right Hardware and Software

When embarking on the journey of setting up your own home VPN server, the first crucial step is to carefully select the appropriate hardware and software components that will form the foundation of your secure network infrastructure. The effectiveness and reliability of your VPN server hinge upon the hardware and software choices you make, as they directly impact the server's performance, security features, and compatibility with your existing network environment.

Hardware Considerations

1. Router Compatibility:

The router plays a pivotal role in facilitating VPN connectivity, and not all routers are equipped to handle VPN traffic effectively. It's imperative to ensure that your existing router supports VPN passthrough or, ideally, offers native VPN server capabilities. Alternatively, you may opt to invest in a VPN-compatible router that aligns with your specific requirements.

2. Processing Power and Memory:

Selecting a suitable hardware platform to host your VPN server is crucial. Depending on the anticipated workload and the number of concurrent connections, you should consider a device with adequate processing power and memory to handle the encryption and decryption processes efficiently.

3. Network Interface:

The network interface of the hardware device should align with your network infrastructure, whether it's Ethernet, Wi-Fi, or a combination of both. Additionally, ensuring compatibility with the VPN software you intend to use is essential for seamless integration.

Software Considerations

1. VPN Server Software:

Choosing the right VPN server software is paramount to the success of your home VPN deployment. Open-source solutions like OpenVPN and SoftEther offer robust security features, flexibility, and extensive community support. Alternatively, commercial VPN server software may provide a more user-friendly interface and additional features tailored to specific use cases.

2. Operating System:

The choice of operating system for your VPN server warrants careful consideration. Linux distributions, such as Ubuntu Server and CentOS, are popular choices due to their stability, security, and extensive support for VPN server applications. Windows Server also offers native VPN server capabilities, catering to users more familiar with the Windows environment.

3. Security and Updates:

Prioritize security and regular updates when selecting software components for your VPN server. Opt for reputable VPN server software that receives frequent security patches and updates to mitigate potential vulnerabilities and ensure the ongoing protection of your network.

By meticulously evaluating and selecting the right hardware and software components for your home VPN server, you lay a solid foundation for a secure, reliable, and customizable VPN solution tailored to your specific needs. The subsequent steps of configuring your router, setting up the VPN server, and securing the connection will build upon this foundation, culminating in a robust and personalized home VPN deployment.


Configuring Your Router for VPN Access

Configuring your router to enable VPN access is a pivotal step in establishing a secure and seamless connection to your home VPN server. Whether your router natively supports VPN passthrough or requires manual configuration, the process involves adjusting the router settings to facilitate the secure transmission of VPN traffic. Here's a comprehensive guide to configuring your router for VPN access:

1. Router Compatibility Assessment

Before delving into the configuration process, it's essential to ascertain your router's compatibility with VPN protocols and server-client communication. Some routers feature built-in VPN server capabilities, while others may necessitate firmware updates or third-party firmware installations to enable VPN support. Refer to the router's documentation or manufacturer's website to determine its VPN compatibility and available configuration options.

2. VPN Passthrough Activation

If your router supports VPN passthrough, ensure that the corresponding VPN protocols, such as PPTP, L2TP, or IPSec, are enabled within the router's settings. VPN passthrough functionality allows VPN traffic to traverse the router without hindrance, facilitating the establishment of secure connections to external VPN servers.

3. Port Forwarding Configuration

For routers without native VPN server capabilities, port forwarding plays a crucial role in directing incoming VPN traffic to the designated VPN server within your home network. Identify the specific ports associated with your chosen VPN protocol (e.g., UDP 1194 for OpenVPN) and configure port forwarding rules within the router's settings to redirect incoming VPN traffic to the internal IP address of your VPN server.

4. Dynamic DNS Setup

In scenarios where your home network possesses a dynamic IP address assigned by the Internet Service Provider (ISP), configuring Dynamic DNS (DDNS) becomes imperative. DDNS services enable the association of a domain name with your dynamic IP address, ensuring consistent accessibility to your VPN server, even as the IP address changes. Integrate your router with a DDNS provider and configure the necessary settings to enable seamless VPN connectivity.

5. Firmware Updates and VPN Client Installation

To optimize VPN compatibility and performance, ensure that your router's firmware is up to date. Additionally, if your router supports VPN client functionality, install and configure the VPN client settings within the router's interface to streamline the establishment of outbound VPN connections from your home network.

By meticulously configuring your router for VPN access, you pave the way for secure and efficient communication between external VPN clients and your home VPN server. This foundational step sets the stage for the subsequent deployment and utilization of your personalized home VPN solution, empowering you with enhanced privacy, security, and remote network accessibility.


Setting Up Your VPN Server

Setting up your own VPN server is a pivotal phase in the process of establishing a secure and personalized home network infrastructure. This step involves deploying the chosen VPN server software on a designated hardware platform within your home network, configuring the server settings, and creating user accounts for seamless VPN access. Here's a detailed guide to setting up your VPN server:

1. VPN Server Software Installation

Begin by installing the selected VPN server software on the designated hardware device within your home network. Whether you opt for open-source solutions like OpenVPN or commercial VPN server software, follow the installation instructions provided by the respective software vendor. Ensure that the server hardware meets the minimum system requirements specified by the VPN server software to guarantee optimal performance and stability.

2. Server Configuration and Initialization

Once the VPN server software is installed, proceed to configure the server settings according to your specific requirements. This includes defining the encryption protocols, authentication methods, and network interface bindings. Additionally, set up the server's IP addressing scheme and ensure that the server's firewall rules permit VPN traffic to traverse the network unimpeded.

3. User Account Creation and Permissions

Create user accounts within the VPN server software to facilitate secure and authenticated access for authorized individuals. Define user-specific permissions, such as access to specific network resources or the ability to establish VPN connections from external locations. Implement robust password policies and multi-factor authentication mechanisms to fortify the security of user accounts and mitigate unauthorized access attempts.

4. Certificate and Key Generation

Generate the necessary cryptographic certificates and keys required for secure VPN communication. This involves creating server certificates, client certificates for user devices, and associated private keys. Adhere to best practices for certificate management, such as utilizing strong encryption algorithms and safeguarding the private keys from unauthorized access.

5. Testing and Validation

After completing the initial setup and configuration, conduct thorough testing to validate the functionality and security of the VPN server. Test the server's connectivity from both internal and external network locations, ensuring that VPN connections can be established securely. Verify the integrity of the encryption protocols, certificate authentication, and user access controls to preemptively identify and address any potential issues.

By meticulously following these steps, you will successfully set up your own VPN server, empowering yourself with a secure, private, and customizable network infrastructure tailored to your specific needs. The subsequent phase of securing your VPN connection will further enhance the resilience and privacy of your home VPN deployment, culminating in a robust and reliable solution for safeguarding your online activities and accessing your home network resources remotely.


Securing Your VPN Connection

Securing your VPN connection is paramount to fortifying the privacy, integrity, and resilience of your home VPN deployment. By implementing robust security measures and best practices, you can safeguard the VPN communication channels, mitigate potential vulnerabilities, and ensure that your data remains shielded from unauthorized access. Here's a comprehensive overview of the essential steps to secure your VPN connection:

1. Encryption and Authentication Protocols

Utilize strong encryption algorithms, such as AES (Advanced Encryption Standard) with 256-bit keys, to encrypt the VPN traffic traversing the communication channels. Additionally, enforce robust authentication mechanisms, such as certificate-based authentication or multi-factor authentication, to verify the identities of both the VPN server and the connecting clients. By combining encryption and authentication, you establish a secure and trustworthy VPN connection resistant to eavesdropping and unauthorized access attempts.

2. Firewall and Access Control Policies

Implement stringent firewall rules and access control policies within your home network to regulate the flow of VPN traffic and prevent unauthorized access to the VPN server. Configure the network firewall to permit VPN-specific traffic while blocking unauthorized connection attempts from external sources. Additionally, enforce access control lists (ACLs) to restrict VPN access to authorized users and devices, further fortifying the security of the VPN communication channels.

3. Regular Security Audits and Updates

Conduct periodic security audits of your VPN server and associated network infrastructure to identify and remediate potential security vulnerabilities. Stay abreast of security advisories and updates released by the VPN server software vendor, router manufacturer, and operating system providers. Promptly apply security patches and updates to mitigate known vulnerabilities and bolster the resilience of your VPN connection against emerging threats.

4. Intrusion Detection and Prevention

Deploy intrusion detection and prevention systems (IDPS) within your home network to monitor and analyze VPN traffic for signs of unauthorized access attempts, anomalous behavior, or potential security breaches. Leverage IDPS solutions to detect and thwart malicious activities targeting the VPN server, enhancing the overall security posture of your home network and VPN infrastructure.

5. User Education and Awareness

Educate and raise awareness among the users accessing the VPN server regarding best practices for secure VPN usage. Emphasize the importance of safeguarding VPN credentials, adhering to password policies, and exercising caution when connecting to the VPN from external networks. By fostering a security-conscious user culture, you bolster the overall resilience and integrity of the VPN connection.

By diligently implementing these security measures, you fortify the privacy, integrity, and accessibility of your home VPN connection, creating a secure and reliable conduit for accessing your home network resources and safeguarding your online activities. The culmination of these efforts results in a robust and resilient VPN deployment that empowers you with enhanced privacy, security, and control over your digital interactions.


Connecting to Your Home VPN Server

Once your home VPN server is set up and secured, the next crucial step is establishing connections to the server from external locations. This process enables you to leverage the secure VPN tunnel to access your home network resources, browse the internet with enhanced privacy, and circumvent geographical restrictions. Here's a detailed guide on connecting to your home VPN server:

1. Client Configuration

Begin by configuring the VPN client software on the devices from which you intend to establish VPN connections. Whether it's a desktop computer, laptop, smartphone, or tablet, install the appropriate VPN client application compatible with your chosen VPN protocol. Input the necessary connection details, including the server's public IP address or domain name, authentication credentials, and encryption settings, to facilitate the establishment of secure VPN connections.

2. Connection Establishment

Launch the VPN client application and initiate the connection to your home VPN server. Upon establishing the VPN connection, the client device creates a secure and encrypted tunnel to the server, effectively shielding the transmitted data from potential eavesdropping or interception. Verify the successful establishment of the VPN connection and ensure that the client device's network traffic is now routed through the VPN server, safeguarding your online activities and enhancing your privacy.

3. Network Resource Access

With the VPN connection in place, you can now access your home network resources as if you were physically present within your home network. This includes accessing shared files, printers, network-attached storage (NAS) devices, and other internal resources securely and seamlessly. Additionally, the VPN connection enables you to browse the internet using your home network's internet connection, adding an extra layer of privacy and security to your online interactions, especially when utilizing public Wi-Fi networks.

4. Troubleshooting and Optimization

In the event of connectivity issues or performance concerns, troubleshoot the VPN connection to identify and address potential issues. Verify the client device's network settings, firewall configurations, and VPN client software parameters to ensure seamless and reliable VPN connectivity. Additionally, consider optimizing the VPN client settings, such as enabling split tunneling or adjusting encryption parameters, to enhance the performance and efficiency of the VPN connection.

By following these steps, you can seamlessly connect to your home VPN server, harnessing the power of secure and private internet connectivity from external locations. The ability to access your home network resources and browse the internet with enhanced privacy and security underscores the value of owning and managing a personalized VPN solution tailored to your specific needs and preferences.


Troubleshooting Common Issues

While setting up and connecting to your home VPN server, you may encounter common issues that can impede the seamless operation of the VPN connection. Addressing these issues promptly is essential to ensure the reliability and effectiveness of your home VPN deployment. Here are some common issues you may encounter and troubleshooting steps to resolve them:

1. Connectivity Problems

If you experience difficulty establishing a VPN connection, verify the network settings on both the VPN server and client devices. Ensure that the server's firewall permits incoming VPN traffic and that the client device's network configuration aligns with the VPN connection requirements. Additionally, confirm that the server's public IP address or domain name is accessible from the external network.

2. Slow Performance

In cases where the VPN connection exhibits sluggish performance, consider optimizing the encryption settings and VPN protocol parameters. Adjusting the encryption algorithm or enabling hardware acceleration on the server hardware can enhance the VPN connection's throughput and responsiveness. Furthermore, evaluate the network bandwidth and latency between the client and server locations to identify potential performance bottlenecks.

3. DNS Resolution Issues

If you encounter challenges with DNS resolution while connected to the VPN, review the DNS settings within the VPN client configuration. Ensure that the client device's DNS settings are configured to utilize the VPN server's DNS resolver, enabling seamless resolution of internal network resources and external domain names. Additionally, consider implementing split tunneling to selectively route DNS queries through the VPN connection.

4. Client Compatibility

When utilizing diverse client devices to connect to the VPN server, compatibility issues may arise due to differences in VPN client software and settings. Ensure that the VPN client applications are updated to the latest versions and are compatible with the chosen VPN protocol. Additionally, verify that the client devices' network configurations do not conflict with the VPN connection parameters.

5. Security and Authentication Failures

In the event of authentication failures or security-related issues, review the server's authentication settings, certificate configurations, and user account permissions. Confirm that the cryptographic certificates and keys are valid and have not expired. Additionally, assess the integrity of the encryption and authentication protocols to preemptively identify potential security vulnerabilities.

By proactively troubleshooting these common issues, you can optimize the reliability and performance of your home VPN connection, ensuring seamless access to your home network resources and enhanced privacy for your online activities. Regularly evaluating and addressing potential issues contributes to the resilience and effectiveness of your personalized home VPN deployment.


Conclusion

In conclusion, the journey of setting up your own home VPN server is a rewarding endeavor that culminates in the establishment of a secure, private, and customizable network infrastructure tailored to your specific needs. By meticulously navigating through the process of selecting the right hardware and software components, configuring your router for VPN access, setting up the VPN server, securing the VPN connection, and troubleshooting common issues, you have embarked on a transformative path toward fortifying your online privacy and accessibility.

The benefits of owning and managing a personalized home VPN server extend far beyond the realm of secure internet connectivity. You have empowered yourself with the ability to access your home network resources remotely, browse the internet with enhanced privacy and security, and bypass geographical restrictions, all within the confines of your own abode. This level of control and autonomy over your digital interactions is invaluable in today's interconnected landscape, where data privacy and security are paramount concerns.

Furthermore, the knowledge and skills acquired throughout this process have equipped you with a deeper understanding of VPN technology, network configuration, and security best practices. The ability to navigate the intricacies of VPN deployment and management underscores your commitment to safeguarding your digital footprint and leveraging technology to enhance your online experiences.

As you reflect on the journey of setting up your home VPN server, it's essential to recognize the significance of continuous vigilance and proactive maintenance. Regularly auditing the security of your VPN infrastructure, staying informed about emerging threats, and optimizing the performance of your VPN connections are pivotal in ensuring the ongoing resilience and effectiveness of your home VPN deployment.

Ultimately, the culmination of this endeavor empowers you with a sense of ownership and control over your digital interactions, fostering a heightened level of confidence and privacy in your online activities. The personalized nature of your home VPN server underscores your commitment to leveraging technology to create a secure and tailored digital environment that aligns with your individual preferences and requirements.

As you embark on this transformative journey, the rewards of owning and managing your own home VPN server are not merely confined to the realm of technology; they extend to the empowerment and autonomy that come with taking charge of your digital security and privacy. This journey marks the beginning of a new chapter in your digital lifestyle, where the boundaries of online privacy and accessibility are defined by your own terms and preferences.

Was this page helpful?

Related Post