
Home>Reviews>Gadgets>Fixing Your Chromecast Remote: A Step-by-Step Guide
Gadgets
Fixing Your Chromecast Remote: A Step-by-Step Guide
Modified: September 5, 2024
Learn how to fix your Chromecast remote with our step-by-step guide. Get your gadgets working again with these easy troubleshooting tips.
(Many of the links in this article redirect to a specific reviewed product. Your purchase of these products through affiliate links helps to generate commission for Techsplurge.com, at no extra cost. Learn more)
Introduction
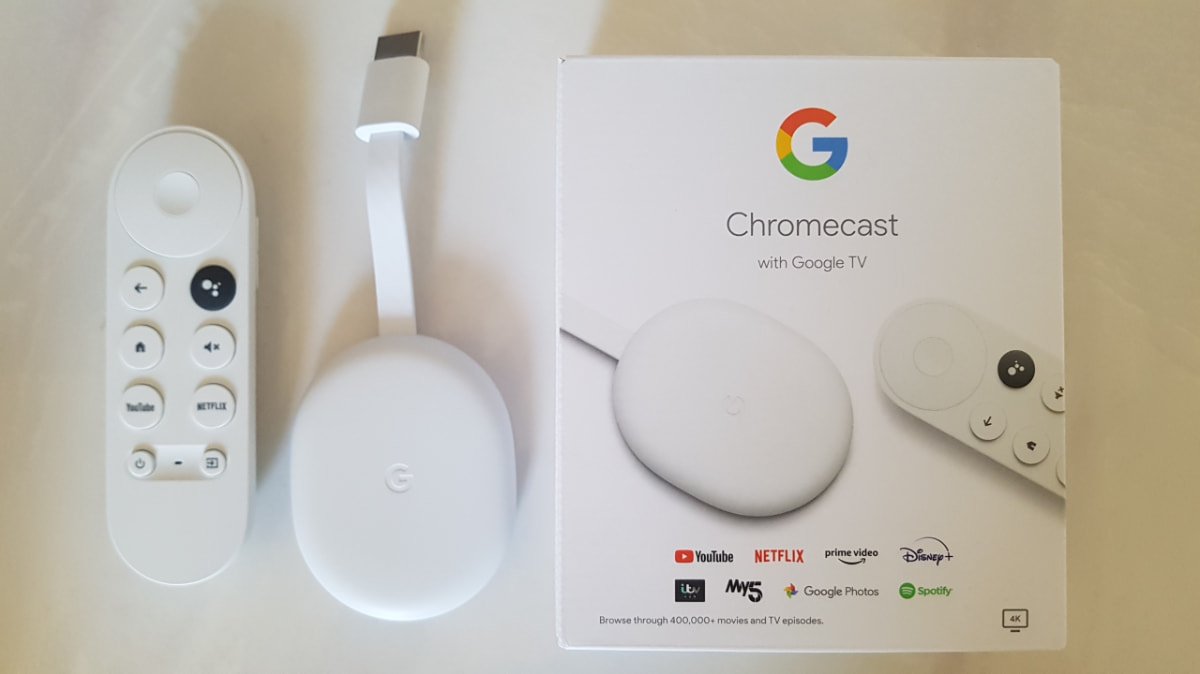
Chromecast with Google TV is a popular streaming device that offers a seamless viewing experience. However, like any other electronic device, it can sometimes encounter issues. One common problem users face is with the Chromecast remote, which can stop working or fail to pair properly. This article will guide you through a step-by-step process to troubleshoot and fix your Chromecast remote.
Understanding the Chromecast Remote
Before diving into troubleshooting, it's essential to understand how the Chromecast remote works. The remote is designed to control various functions of your TV, soundbar, or receiver. It can be used to adjust the volume, turn the TV on and off, and switch between different HDMI inputs. The remote pairs automatically with your Chromecast device, but sometimes it may require manual setup.
Basic Troubleshooting Steps
If your Chromecast remote is not working, there are several basic troubleshooting steps you can take:
-
Reboot Your Chromecast: Sometimes, a simple reboot can resolve connectivity issues. Unplug your Chromecast from the power source, wait for 30 seconds, and then plug it back in.
-
Reboot Your Router: Your router might be the culprit if your Chromecast remote is not functioning. Unplug your router, wait for 30 seconds, and then plug it back in.
-
Check the Batteries: Ensure that the batteries in your remote are not dead. Replace them if necessary.
-
Check for Obstacles: Make sure there are no obstacles between the remote and the Chromecast device that could be interfering with the signal.
Setting Up Your Chromecast Remote
If the basic troubleshooting steps do not resolve the issue, you may need to set up your Chromecast remote manually. Here’s a detailed guide on how to do it:
Turn On Your TV and Connect Chromecast
- Turn On Your TV: First, turn on your TV and switch to the correct HDMI input where your Chromecast is connected.
- Plug in Chromecast: Ensure that your Chromecast is properly plugged into an available HDMI input on your TV.
- Power Up Chromecast: Plug one end of the power adapter cable into your Chromecast and the other end into an open outlet.
Pair the Remote
- Wait for Pairing: Wait for the remote to pair automatically. In most cases, this process happens automatically, but if the TV screen shows "Start pairing," you need to manually pair the remote.
- Press Back and Home Buttons: Press and hold the "Back" and "Home" buttons on the remote until the light on the remote starts to pulse.
- Select Language: Once the remote is paired, select the language you want to use from the TV screen.
Set Up Remote Control
- Check Remote Status: Check the TV screen for the status of your remote. If your remote is set up, you can proceed to finish the setup with the TV and remote.
- Set Up Remote Manually: If the screen shows a message like "Control volume and power with your Chromecast remote," you need to set up your remote manually.
- Select Set Up Remote: Select "Set up remote" from the options provided.
- Choose Device: If you select "Not now," you can set up the remote later in settings. If you want to set up the volume button, select the device you use to play sound (e.g., soundbar or receiver).
- Test Volume: When the screen shows "You'll hear music next," make sure your sound device's volume is on and select "Next" to get the music.
- Point Remote at Device: When the music plays, point your Chromecast remote at the device and toggle the volume up and down.
- Confirm Volume Works: Under "Do the volume buttons work?" select "Yes" or "No, try again." You must point your remote at the device for the volume buttons to work.
Set Up Power Button
- Turn Off TV: If you want to set up the power button, press the power button on the remote to turn off the TV and wait 8 seconds.
- Turn TV Back On: Turn the TV back on.
- Confirm Power Works: Under "Did your TV turn off and on again?" select "Yes" or "No, try again."
Set Up Input Button
- Press Input Button: On your remote, press the input button to switch through all of your TV inputs.
- Switch Back to HDMI Port: If the input button works, make sure to switch back to the HDMI port your Chromecast is connected to.
- Confirm Input Works: Under "Did the input button work?" select "Yes" or "No, try again."
Advanced Troubleshooting Steps
If the basic setup steps do not resolve the issue, you may need to perform some advanced troubleshooting:
-
Check for Firmware Updates: Ensure that your Chromecast device has the latest firmware update. You can check for updates in the Google Home app.
-
Reset Chromecast: If the issue persists, you might need to reset your Chromecast device. To do this, go to Settings > System > Reset > Reset Chromecast.
-
Check for Interference: Sometimes, other electronic devices in your home can interfere with the signal of your Chromecast remote. Try moving other devices away from your Chromecast.
-
Use a Different HDMI Port: If you're using an HDMI port that's already occupied by another device, try switching to a different port.
-
Replace Batteries: If you've already checked that the batteries are not dead, try replacing them with new ones.
-
Reinstall Apps: Sometimes, issues can arise from corrupted app data. Try uninstalling and reinstalling any apps that might be causing problems.
Setting Up Volume, Power, and Input Buttons
If you didn't configure your Chromecast Voice Remote to control devices like your TV, receiver, or soundbar during the initial setup, you can set them up later in Chromecast settings:
- Turn On Chromecast: At the top right of your TV screen, select your profile and go to Settings.
- Select Remotes & Accessories: Choose "Remotes & Accessories" and then select "Set up remote buttons."
- Add a Device: If you haven't added a device yet, you'll need to add one before continuing. Select "Add a device" and type in your device brand.
- Configure Volume: From the remote buttons setup screen, select "Volume" and choose the device you want to play sound from. The screen will show "You'll hear music next." Make sure your device's sound is on and select "Next."
- Test Volume: When you hear the music, point your Chromecast remote at the device and toggle the volume up and down. In the section "Do the volume buttons work?" select "Yes" or "No, try again."
- Configure Power: From the remote control setup screen, select "Power" and choose the device you want to turn on and off with the remote. Turn off your device by pressing the power button on the remote and wait 8 seconds before turning it back on. In the section "Did the power button work?" select "Yes" or "No, try again."
- Configure Input: From the remote control setup screen, select "Input." On your remote, press the Input button to switch through all your TV inputs. If the input button works, make sure to switch back to the HDMI port your Chromecast is connected to. In the section "Did the input button work?" select "Yes" or "No, try again."
Final Thoughts
Fixing your Chromecast remote can be a straightforward process if you follow the right steps. By understanding how the remote works and performing basic and advanced troubleshooting, you can resolve most issues. Always check for firmware updates, reset your device if necessary, and ensure that there are no obstacles interfering with the signal. If you're still having trouble, setting up the volume, power, and input buttons manually can help you regain control over your device. With these steps, you'll be able to enjoy seamless streaming with your Chromecast device once again.