Home>Software and Apps>How To Uninstall Hola VPN

How To Uninstall Hola VPN How To Uninstall Hola VPN

Software and Apps

How To Uninstall Hola VPN

Written by: Ivie Catlin

Learn how to uninstall Hola VPN and remove it from your device easily. Get step-by-step instructions for removing software and apps without any hassle.

(Many of the links in this article redirect to a specific reviewed product. Your purchase of these products through affiliate links helps to generate commission for Techsplurge.com, at no extra cost. Learn more)

Table of Contents

Introduction

Uninstalling a software application or browser extension is a common task for many users, and Hola VPN is no exception. Whether you're looking to switch to a different VPN service or simply no longer require the features provided by Hola VPN, the process of uninstalling it can vary based on the operating system and browsers you use. In this guide, we'll walk you through the steps to uninstall Hola VPN from your Windows or Mac computer, as well as removing its browser extension from popular web browsers.

It's important to note that properly uninstalling Hola VPN involves more than just deleting the application or extension. Clearing its data and settings ensures that no residual files or configurations remain on your system, providing a clean slate for any future VPN installations or usage. By following the steps outlined in this guide, you can effectively remove Hola VPN from your devices and browsers, allowing for a smooth transition or a fresh start.

Whether you're a seasoned tech enthusiast or a casual user, understanding how to uninstall software and extensions is a valuable skill. This guide aims to simplify the process and empower you to manage your digital tools with confidence. So, let's delve into the steps to uninstall Hola VPN and ensure that your devices are tailored to your current needs and preferences.


Why Uninstall Hola VPN?

Uninstalling Hola VPN may be a decision driven by various factors, each of which can influence an individual's digital privacy, security, and browsing experience. Understanding the reasons behind the decision to uninstall Hola VPN is crucial in making informed choices about the tools and services used for online activities.

Privacy Concerns:

While VPNs are designed to enhance privacy and security, concerns have been raised about Hola VPN's approach to user data. Hola VPN operates as a peer-to-peer network, utilizing the idle resources of its users to route traffic. This model has raised privacy implications, as it may expose users to potential security risks and compromise their anonymity. Uninstalling Hola VPN can be a proactive step in safeguarding personal data and online activities.

Performance and Reliability:

Users may opt to uninstall Hola VPN due to performance and reliability issues. Some individuals have reported experiencing slow connection speeds and inconsistent performance while using the service. These factors can significantly impact the overall browsing experience, leading users to seek alternative VPN solutions that offer more reliable and efficient performance.

Access to Restricted Content:

Hola VPN has been known for its ability to bypass geo-restrictions and access region-locked content. However, the use of a VPN to access such content may violate the terms of service of streaming platforms and other online services. Additionally, the legality and ethical considerations surrounding the circumvention of geo-blocks vary by region and service provider. As a result, individuals may choose to uninstall Hola VPN to align with legal and ethical guidelines related to content access.

Alternative VPN Preferences:

The decision to uninstall Hola VPN may also stem from a preference for alternative VPN services. Users may seek VPNs with specific features, server locations, or privacy policies that better align with their needs and values. Whether it's a focus on advanced security protocols, dedicated customer support, or a commitment to user privacy, individuals may opt to switch to a different VPN provider that better meets their requirements.

Software Compatibility:

Changes in operating systems, browser updates, or conflicts with other software applications can prompt users to uninstall Hola VPN. Compatibility issues may arise, leading individuals to seek a seamless and integrated experience across their digital tools. Addressing compatibility concerns by uninstalling Hola VPN can contribute to a more harmonious and efficient digital environment.

By recognizing the diverse motivations behind uninstalling Hola VPN, individuals can make informed decisions about their digital privacy, security, and online accessibility. Whether driven by privacy considerations, performance issues, content access ethics, alternative preferences, or software compatibility, the decision to uninstall Hola VPN reflects the dynamic landscape of digital tools and user preferences.


Step 1: Close Hola VPN Application

Before initiating the uninstallation process for Hola VPN, it is essential to ensure that the application is completely closed on your computer. This step is crucial as it prevents any potential conflicts or interruptions during the uninstallation process, allowing for a smooth and seamless removal of the software.

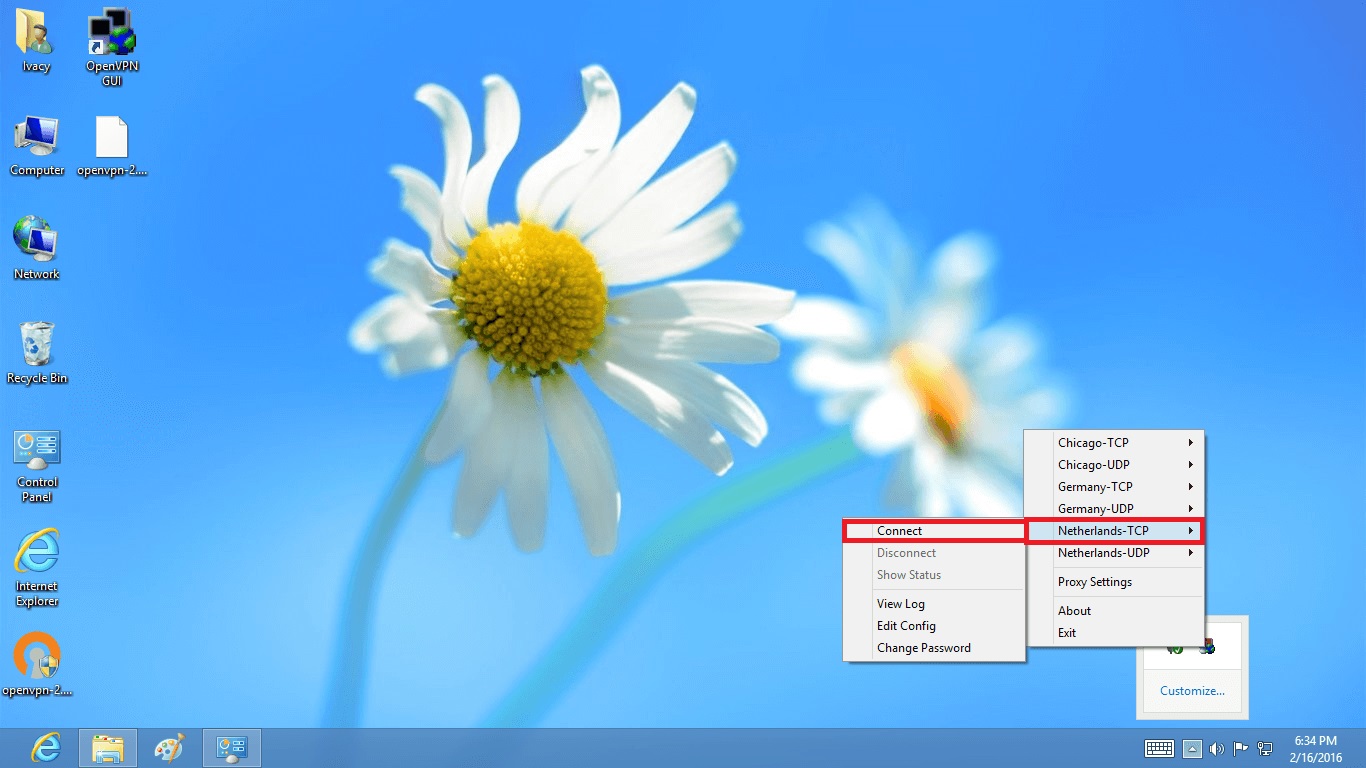
To close the Hola VPN application, start by locating its icon in the system tray or taskbar on your Windows computer or the menu bar on your Mac. Right-click on the Hola VPN icon and select the option to exit or quit the application. Alternatively, you can access the application's settings or preferences menu to find the option to shut down the Hola VPN service.

By closing the Hola VPN application, you are effectively terminating its processes and ensuring that no active connections or background operations interfere with the uninstallation procedure. This step sets the stage for a clean and comprehensive removal of Hola VPN from your computer, preparing the groundwork for the subsequent uninstallation steps.

Ensuring that Hola VPN is fully closed also minimizes the likelihood of encountering any errors or complications during the uninstallation process. By proactively closing the application, you create a controlled environment for the uninstallation, reducing the potential for conflicts with other software or system processes.

Taking the time to close the Hola VPN application demonstrates a methodical approach to software management, emphasizing the importance of preparing the software environment before making significant changes. This proactive step sets the stage for a successful and efficient uninstallation process, laying the foundation for the subsequent steps to remove Hola VPN from your computer and browsers.

By following this initial step to close the Hola VPN application, you establish a solid starting point for the uninstallation process, setting the stage for a systematic and organized approach to managing your digital tools and applications.


Step 2: Uninstall Hola VPN on Windows

Uninstalling Hola VPN from a Windows computer involves navigating through the system settings to remove the application effectively. Here's a step-by-step guide to uninstall Hola VPN on Windows:

  1. Access the Control Panel: Begin by accessing the Control Panel on your Windows computer. You can do this by clicking on the Windows Start button and typing "Control Panel" in the search bar. Select the Control Panel from the search results to open the system settings.

  2. Navigate to Programs and Features: Within the Control Panel, locate the "Programs" category and click on "Uninstall a program" under it. This action will open the list of installed programs on your computer.

  3. Locate Hola VPN: Scroll through the list of installed programs to find Hola VPN. Once you've located it, click on the entry to select it.

  4. Initiate Uninstallation: With Hola VPN selected, click on the "Uninstall" or "Change" option at the top of the program list. This action will prompt the uninstallation wizard to begin the removal process.

  5. Follow the Uninstallation Wizard: The uninstallation wizard will guide you through the process of removing Hola VPN from your Windows computer. Follow the on-screen instructions to proceed with the uninstallation.

  6. Complete the Uninstallation: Once the uninstallation process is complete, you may be prompted to restart your computer to finalize the removal of Hola VPN. Follow any additional instructions provided to ensure that the uninstallation is fully executed.

By following these steps, you can effectively uninstall Hola VPN from your Windows computer, removing the application and its associated files from the system. This process ensures that Hola VPN is completely removed, allowing you to proceed with any alternative VPN solutions or adjustments to your digital privacy and security tools.


Step 3: Uninstall Hola VPN on Mac

Uninstalling Hola VPN from a Mac computer involves a straightforward process that allows you to effectively remove the application and its associated files. Here's a detailed guide to uninstall Hola VPN on your Mac:

  1. Close Hola VPN: Before initiating the uninstallation process, ensure that Hola VPN is completely closed on your Mac. You can do this by clicking on the Hola VPN icon in the menu bar and selecting the option to quit the application. It's essential to terminate all active processes related to Hola VPN before proceeding with the uninstallation.

  2. Open Finder: Navigate to the Finder icon located in the dock or click on the desktop to activate Finder. This step sets the stage for accessing the necessary system locations to uninstall Hola VPN.

  3. Access Applications Folder: Within Finder, locate and click on the "Applications" folder in the sidebar. This action will display a list of installed applications on your Mac, including Hola VPN.

  4. Locate Hola VPN: Scroll through the list of applications to find Hola VPN. Once you've located the Hola VPN icon, proceed to the next step.

  5. Move Hola VPN to Trash: Drag the Hola VPN icon from the Applications folder and drop it into the Trash bin located in the dock. Alternatively, you can right-click on the Hola VPN icon and select the "Move to Trash" option.

  6. Empty Trash: After moving Hola VPN to the Trash, right-click on the Trash bin and select the "Empty Trash" option. Confirm the action when prompted. This step permanently deletes Hola VPN and its associated files from your Mac.

By following these steps, you can effectively uninstall Hola VPN from your Mac, ensuring that the application is completely removed from your system. This process provides a clean slate for any future VPN installations or adjustments to your digital privacy and security tools.


Step 4: Remove Hola VPN Extension from Browsers

Uninstalling Hola VPN also involves removing its browser extension from the web browsers where it may have been installed. Browser extensions, including those related to VPN services, can impact your browsing experience and privacy. Here's a detailed guide on how to remove the Hola VPN extension from popular web browsers:

Google Chrome:

  1. Open Google Chrome and click on the three-dot menu icon in the top-right corner of the browser window.
  2. Navigate to "More tools" and select "Extensions" from the expanded menu.
  3. Locate the Hola VPN extension in the list of installed extensions.
  4. Click on the "Remove" button next to the Hola VPN extension to uninstall it from Google Chrome.

Mozilla Firefox:

  1. Launch Mozilla Firefox and click on the menu button (three horizontal lines) in the top-right corner.
  2. Select "Add-ons" from the menu to access the Add-ons Manager.
  3. Navigate to the "Extensions" tab and find the Hola VPN extension in the list.
  4. Click on the "Remove" button associated with the Hola VPN extension to uninstall it from Mozilla Firefox.

Microsoft Edge:

  1. Open Microsoft Edge and click on the menu button (three horizontal dots) in the top-right corner.
  2. Select "Extensions" from the menu to view the installed extensions.
  3. Locate the Hola VPN extension in the list of installed extensions.
  4. Click on the "Remove" button next to the Hola VPN extension to uninstall it from Microsoft Edge.

Safari (Mac):

  1. Launch Safari and click on "Safari" in the top menu bar.
  2. Select "Preferences" from the drop-down menu and go to the "Extensions" tab.
  3. Find the Hola VPN extension in the list of installed extensions.
  4. Click on the "Uninstall" button associated with the Hola VPN extension to remove it from Safari.

By following these browser-specific steps, you can effectively remove the Hola VPN extension from your web browsers, ensuring that all traces of the VPN service are eliminated from your browsing environment. This process contributes to maintaining a streamlined and personalized browsing experience, free from the influence of the Hola VPN extension.


Step 5: Clear Hola VPN Data and Settings

After uninstalling the Hola VPN application and removing its browser extension, it's essential to address any residual data and settings associated with the software. Clearing Hola VPN data and settings ensures that no remnants of the application linger on your system, providing a clean slate for any future VPN usage or alternative privacy tools.

Clearing Data on Windows:

  1. Delete Hola VPN Folder: Navigate to the installation directory of Hola VPN on your Windows computer. Typically, this can be found in the "Program Files" or "Program Files (x86)" folder. Locate the Hola VPN folder and delete it to remove any remaining program files and configurations.

  2. Clear Registry Entries: Press the Windows key + R to open the Run dialog, then type "regedit" and press Enter to access the Windows Registry Editor. Navigate to the HKEY_CURRENT_USERSoftware and HKEY_LOCAL_MACHINESoftware registry hives, and delete any entries related to Hola VPN.

Clearing Data on Mac:

  1. Remove Preferences: In Finder, navigate to the "Library" folder in your user directory (this folder is hidden by default). Look for any Hola VPN-related preferences or configuration files in the "Preferences" and "Application Support" folders, and delete them.

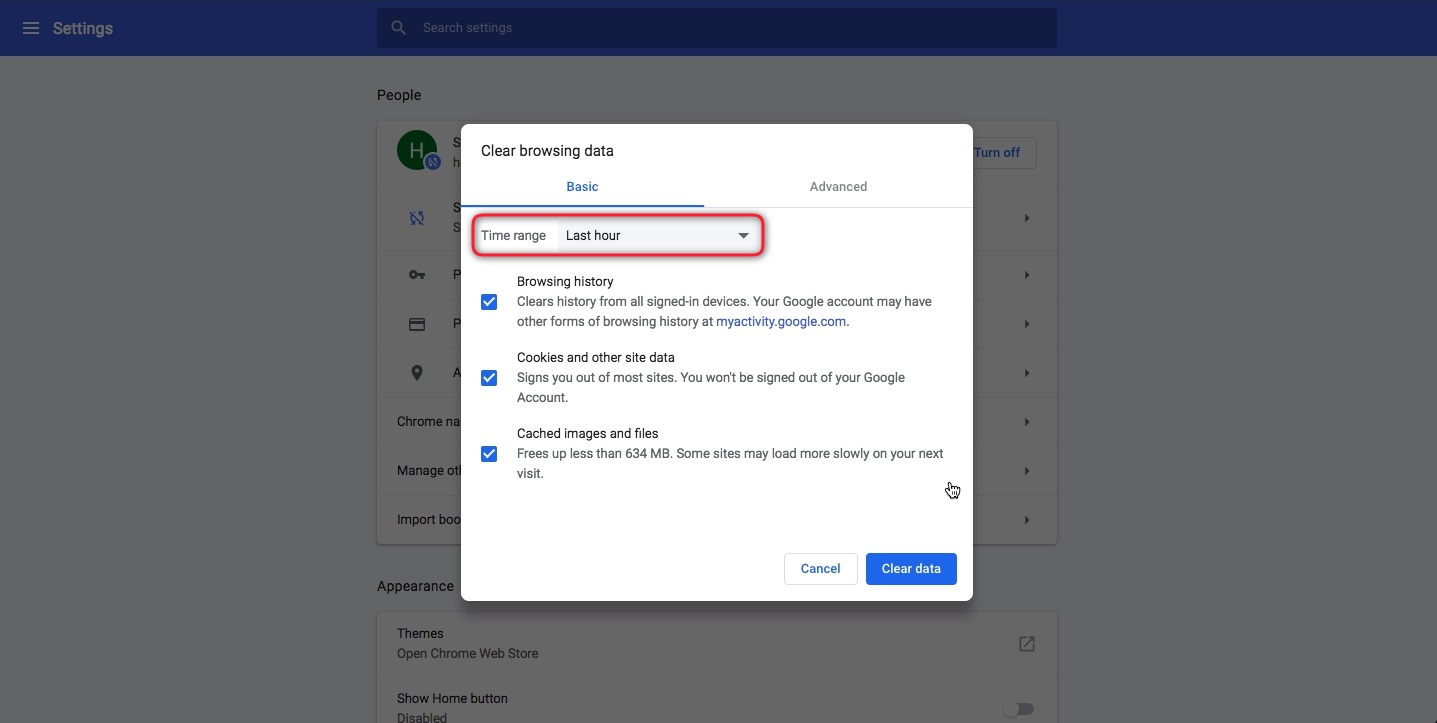
  2. Clear Browser Data: If you used Hola VPN with web browsers on your Mac, consider clearing the browsing data, including cookies and cache, to remove any traces of Hola VPN's activity.

Resetting Browser Settings:

After uninstalling Hola VPN and its extension, it's advisable to reset your web browsers to their default settings. This action ensures that any lingering configurations or preferences related to Hola VPN are eliminated, providing a fresh start for your browsing experience.

By systematically clearing Hola VPN data and settings, you can effectively remove any residual traces of the application from your system. This proactive approach contributes to maintaining a clean and personalized digital environment, free from the influence of Hola VPN.


Conclusion

In conclusion, the process of uninstalling Hola VPN involves a series of deliberate steps aimed at ensuring a thorough removal of the application from your devices and web browsers. By following the outlined steps, you can effectively uninstall Hola VPN from your Windows or Mac computer, remove its browser extension, and clear any residual data and settings associated with the software.

Uninstalling Hola VPN may be driven by various factors, including privacy concerns, performance and reliability issues, ethical considerations related to content access, alternative VPN preferences, and software compatibility. Understanding these motivations empowers users to make informed decisions about their digital privacy, security, and browsing experience. Whether transitioning to a different VPN service, addressing performance issues, or aligning with legal and ethical guidelines, the decision to uninstall Hola VPN reflects the dynamic landscape of digital tools and user preferences.

The meticulous approach to uninstalling Hola VPN underscores the importance of managing digital tools with care and intention. By closing the Hola VPN application, following the specific uninstallation procedures for Windows and Mac, removing the browser extension, and clearing residual data and settings, users can ensure a comprehensive and seamless removal of Hola VPN from their systems.

Furthermore, the process of uninstalling Hola VPN serves as a reminder of the evolving nature of digital privacy and security. It encourages users to critically evaluate the tools and services they use, aligning them with their evolving needs and values. Whether seeking enhanced privacy, improved performance, or ethical content access, the decision to uninstall Hola VPN reflects a proactive approach to managing digital tools in a manner that aligns with individual preferences and considerations.

Ultimately, the ability to uninstall Hola VPN effectively empowers users to curate their digital environments, fostering a sense of control and agency in navigating the ever-changing landscape of online privacy and security. By understanding the motivations behind the decision to uninstall Hola VPN and following the comprehensive uninstallation process, users can confidently shape their digital experiences in alignment with their evolving needs and preferences.

Was this page helpful?

Related Post